You have choices, make the right choice
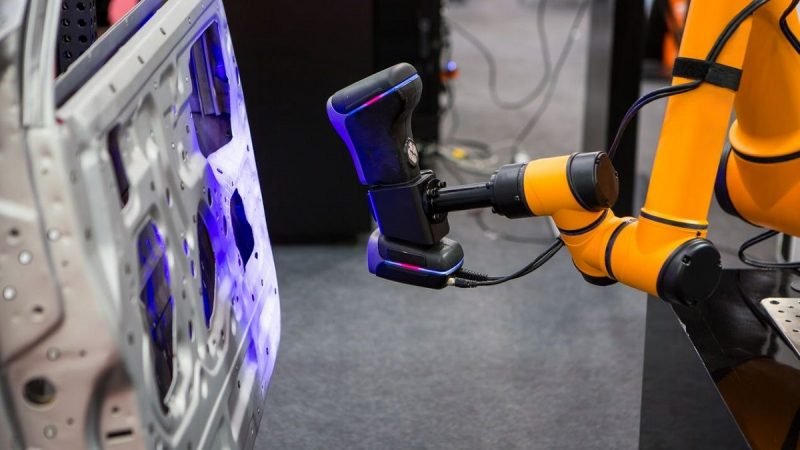
Grid Dynamics Launch Robotic Inspection Programming Solution
Grid Dynamics, a provider of technology consulting, platform and product engineering, AI, and digital‑engagement services, showcased its TPGen robotic solution at the recent Automatica 2025 event for smart automation and robotics in Munich, Germany.

Aberlink builds on its legacy of CMM innovation
Building on a legacy that began in 1995 with the launch of the original Axiom – claimed to be the first fully error-mapped CMM sold at a fraction of the cost of competitors – Aberlink continues to redefine precision, performance, and value.

Sandvik Completes Aquisition of Verisurf Software
Sandvik has announced that it has completed the previously announced acquisition of Verisurf Software Inc., a US-based 3D metrology software solutions provider.

CMM Manager: Slot with MMC
Learn how to create VB Scripting to create a diameter within a slot that MMC can be applied to for position.
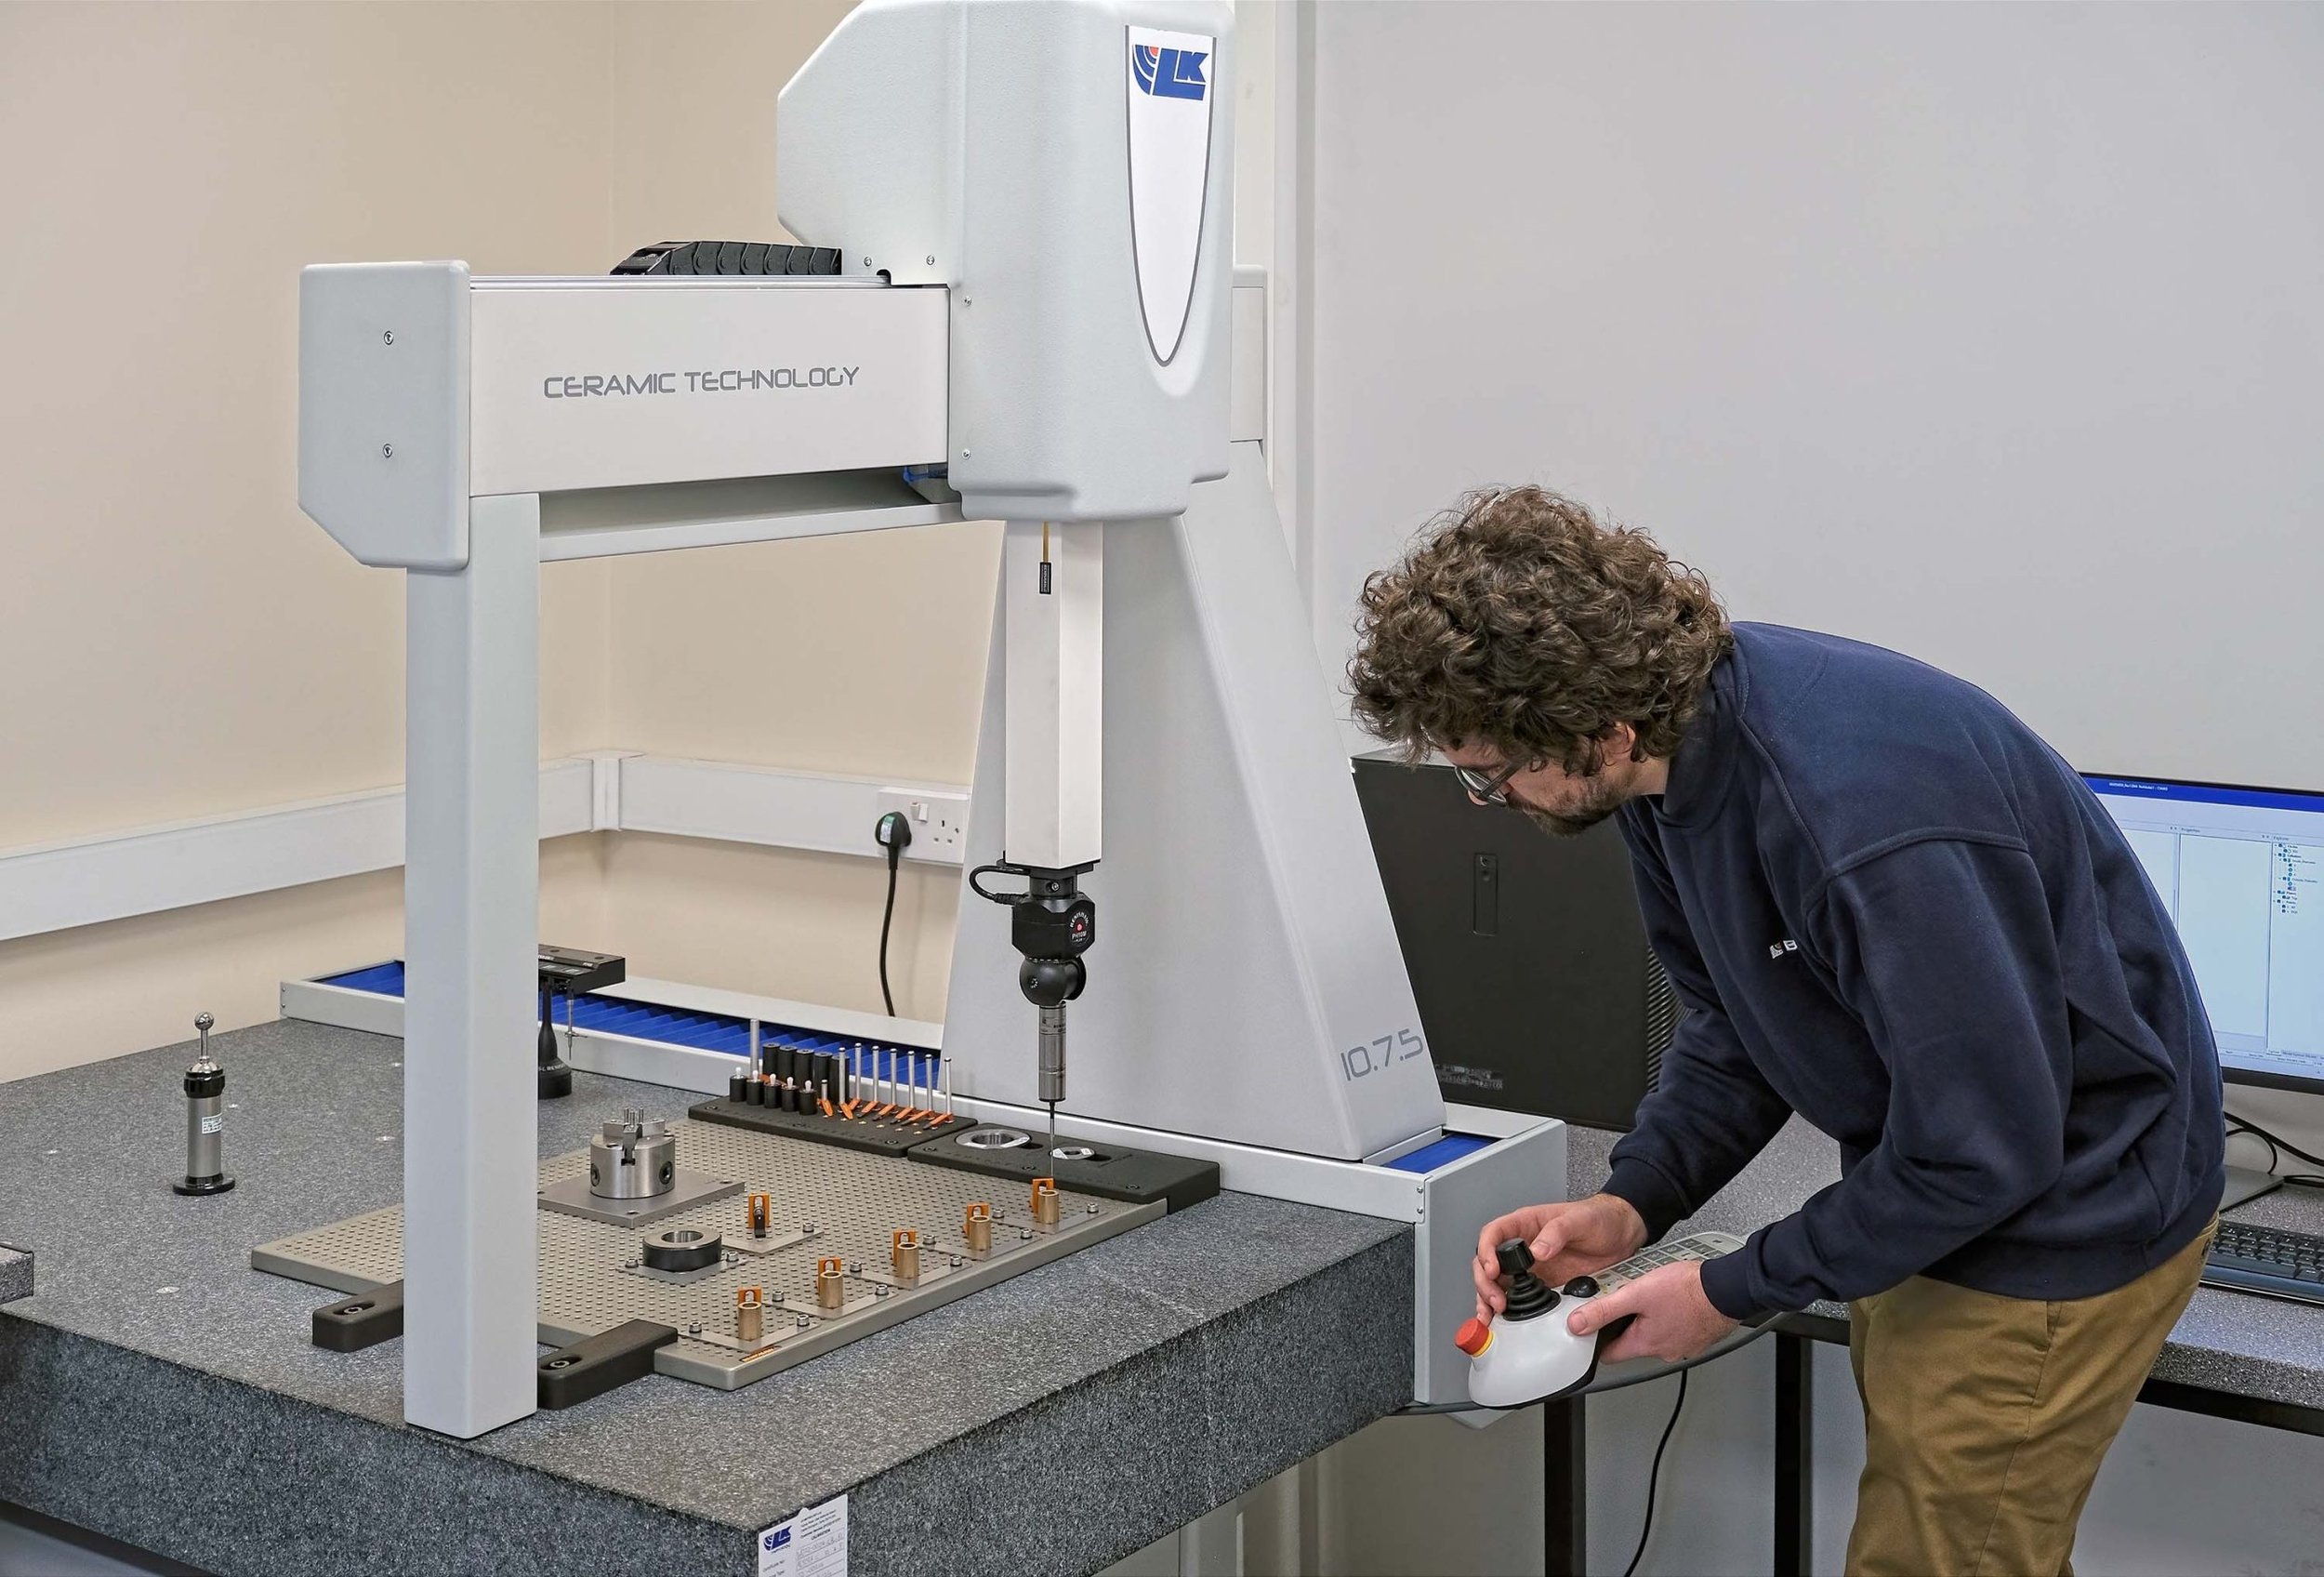
Bearing Specialist Accelerates And Enhances Quality Control
A leading UK manufacturer of bespoke bearings and one of the biggest stockholders and distributers of plain bearings and sintered parts in Europe, Abingdon-based Bowman International has significantly upgraded the inspection of its products with the purchase of a new coordinate measuring machine (CMM) built by LK Metrology, Castle Donington.
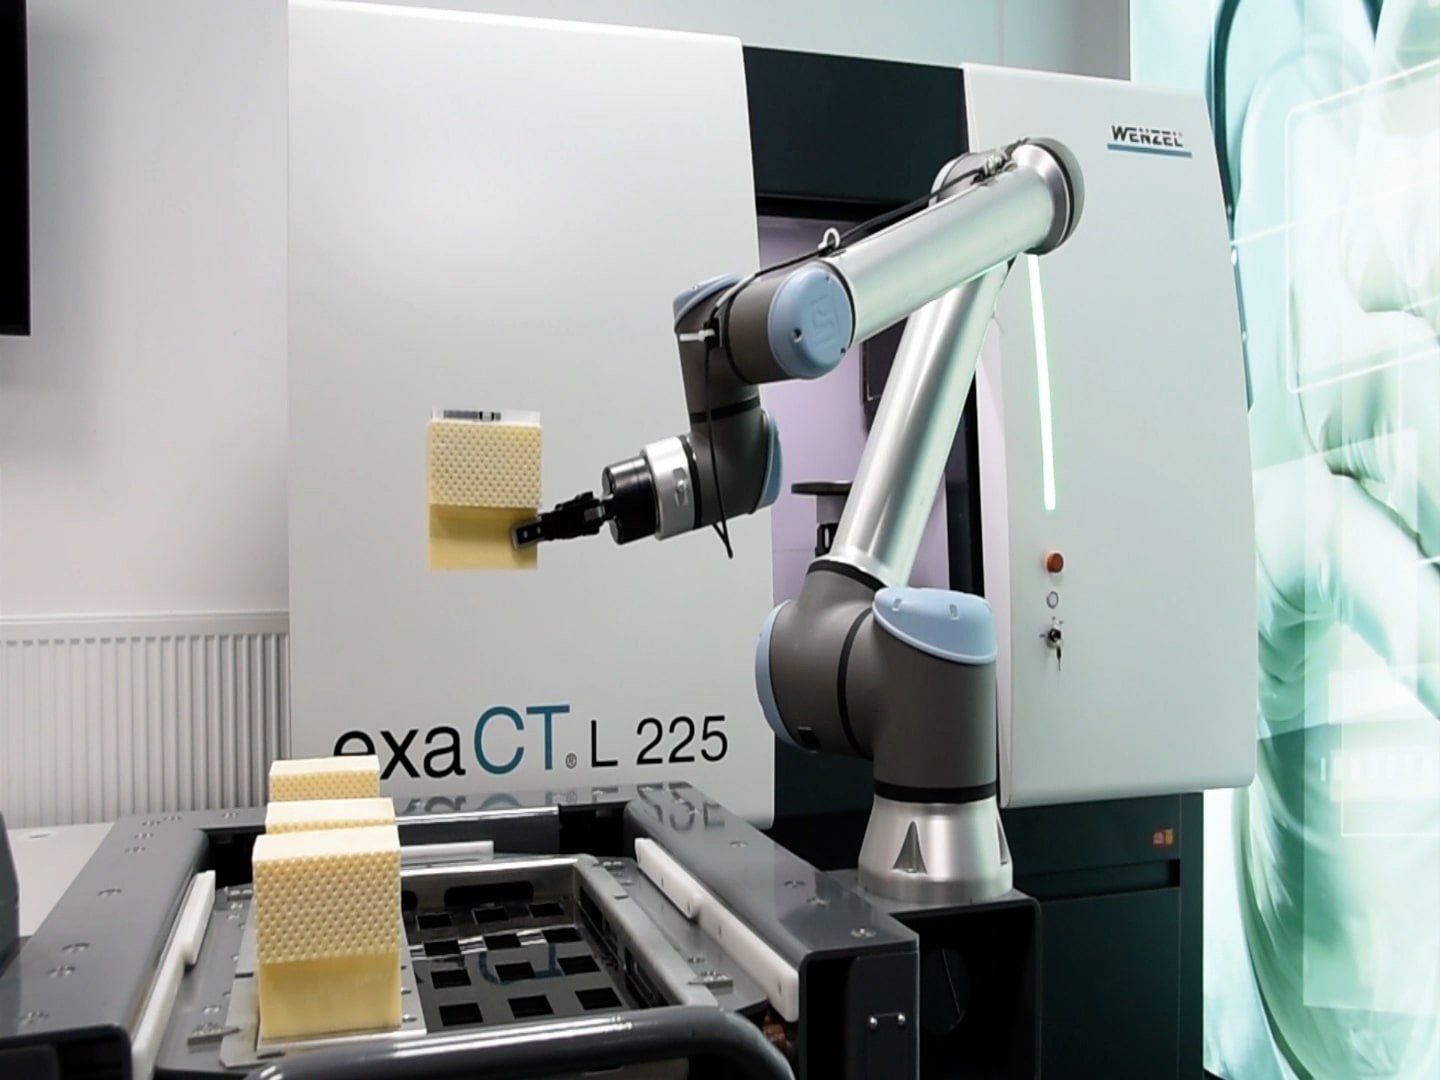
PRECISION MEASUREMENT TRENDS 2025: WHAT YOU NEED TO KNOW
Metrology has evolved significantly from manual measurement tools like calipers and micrometers to advanced digital solutions such as optical scanners and computed tomography systems.
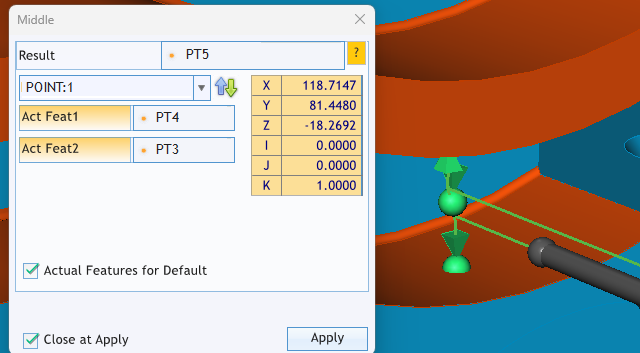
What is DMIS?
DMIS is an information exchange standard published with the International Organization for Standardization (ISO). DMIS defines measurement process plan information for CMMs.
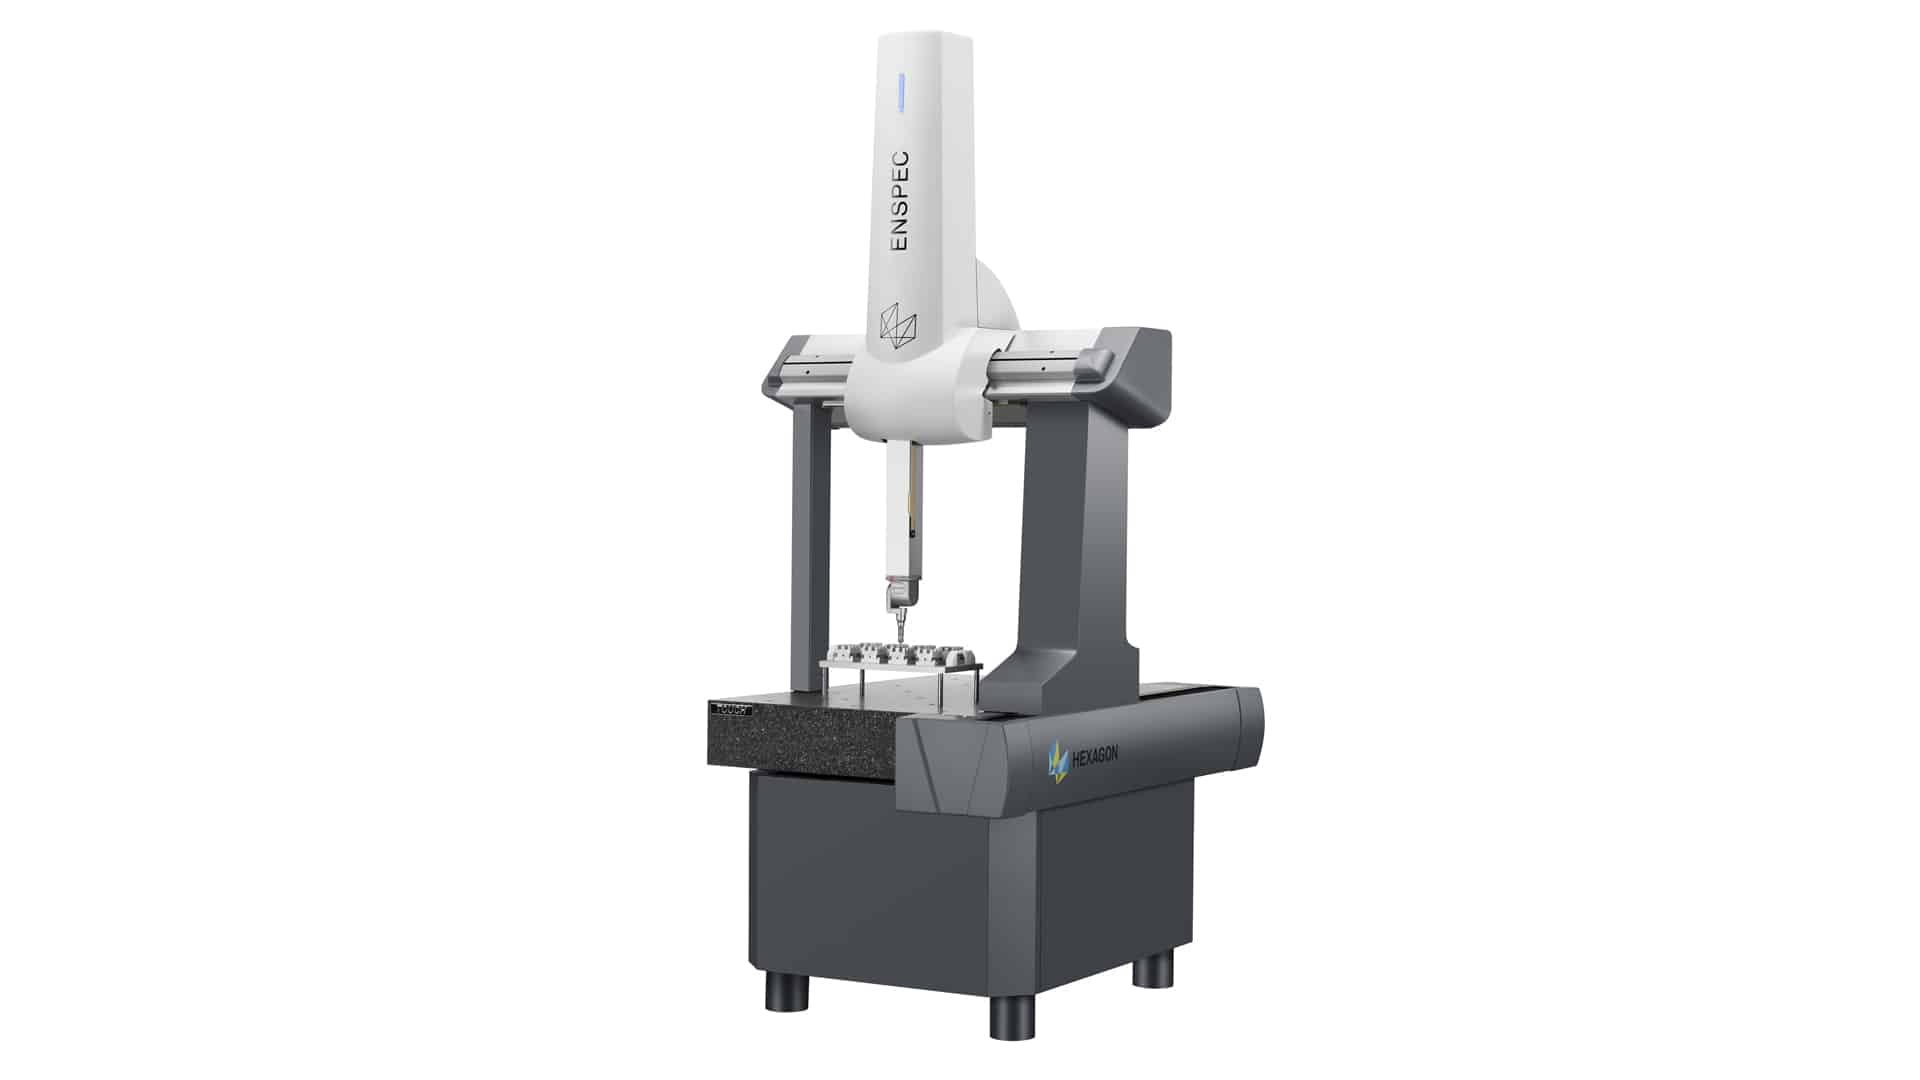
Hexagon introduces ENSPEC to provide tailored metrology solutions
Hexagon, a pioneer in digital reality solutions globally, has introduced ENSPEC, its first metrology product developed in India. The multidimensional coordinate measuring machine (CMM) is made to fulfil the unique needs of Indian manufacturers
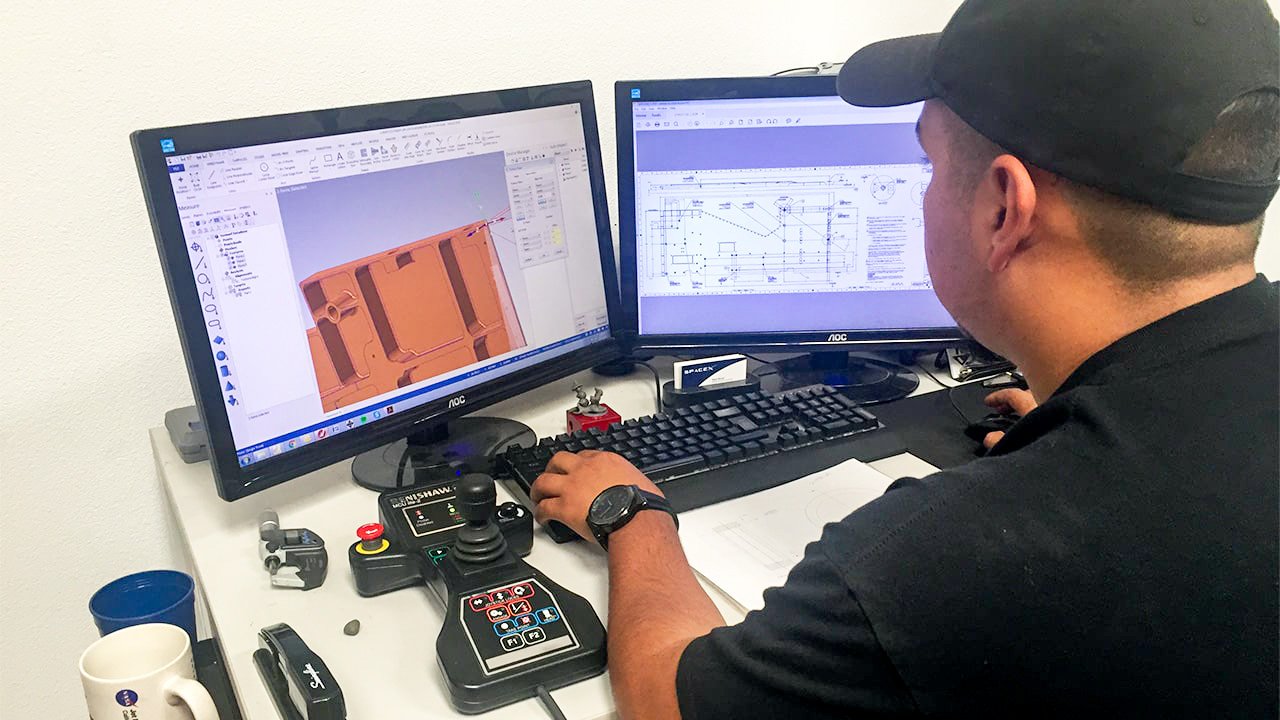
INSPECTION PLANNER – CMM Operator Software
Verisurf’s INSPECTION PLANNER offers economical operator software for running DCC CMM programs created offline with the Verisurf CMM Programming and Inspection Suite.
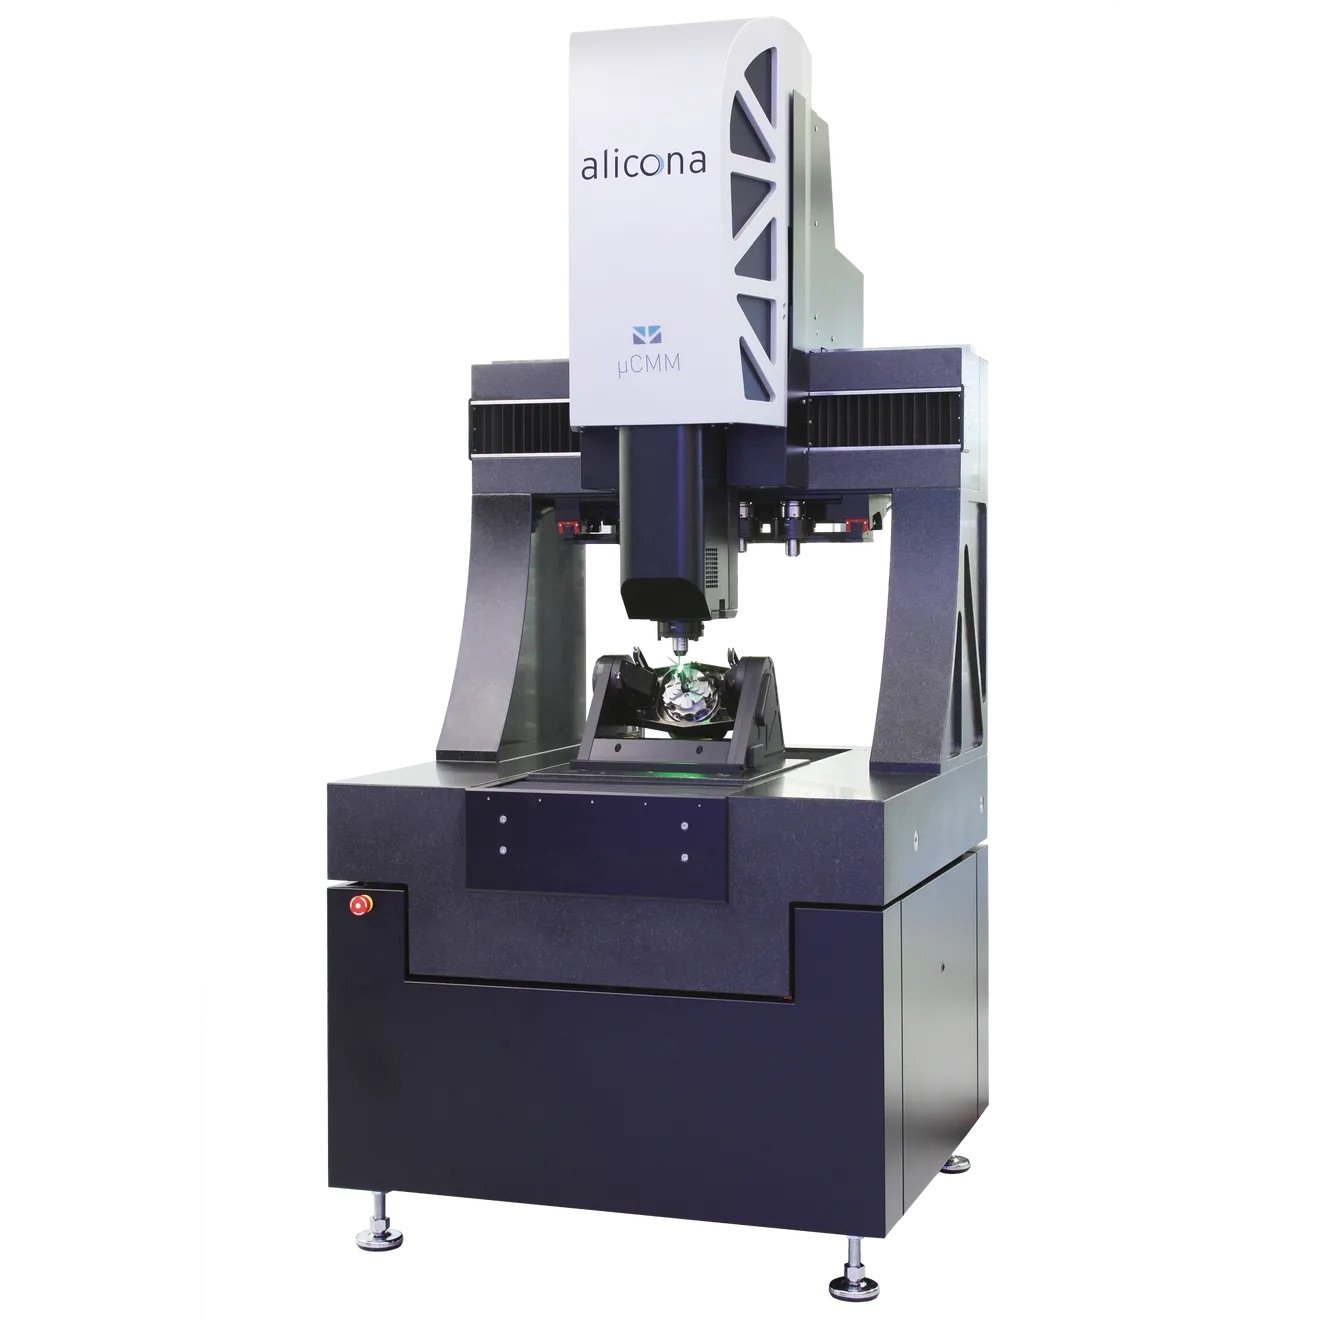
Quality assurance of micro gears with optical metrology
Noise and vibration reduction of dental instruments is one of the joint goals of the wbk Institute of Production Science at the Karlsruhe Institute of Technology (KIT) together with the world-renowned manufacturer of dental products and technology,
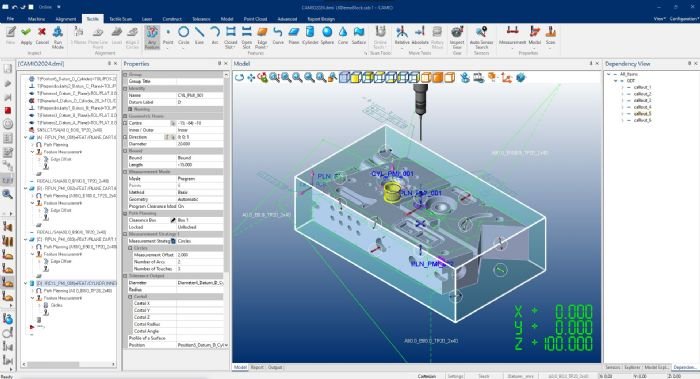
CMM Software for Measurement, Programming, Simulation, Analysis and Reporting
LK Metrology has released Camio 2024, the latest version of its coordinate measuring machine (CMM) software for measurement, programming, simulation, analysis and reporting. It features upgraded performance in several key areas to enhance safety, increase productivity in the quality control department and shorten the lead-time from component production to completion of inspection, according to company officials.
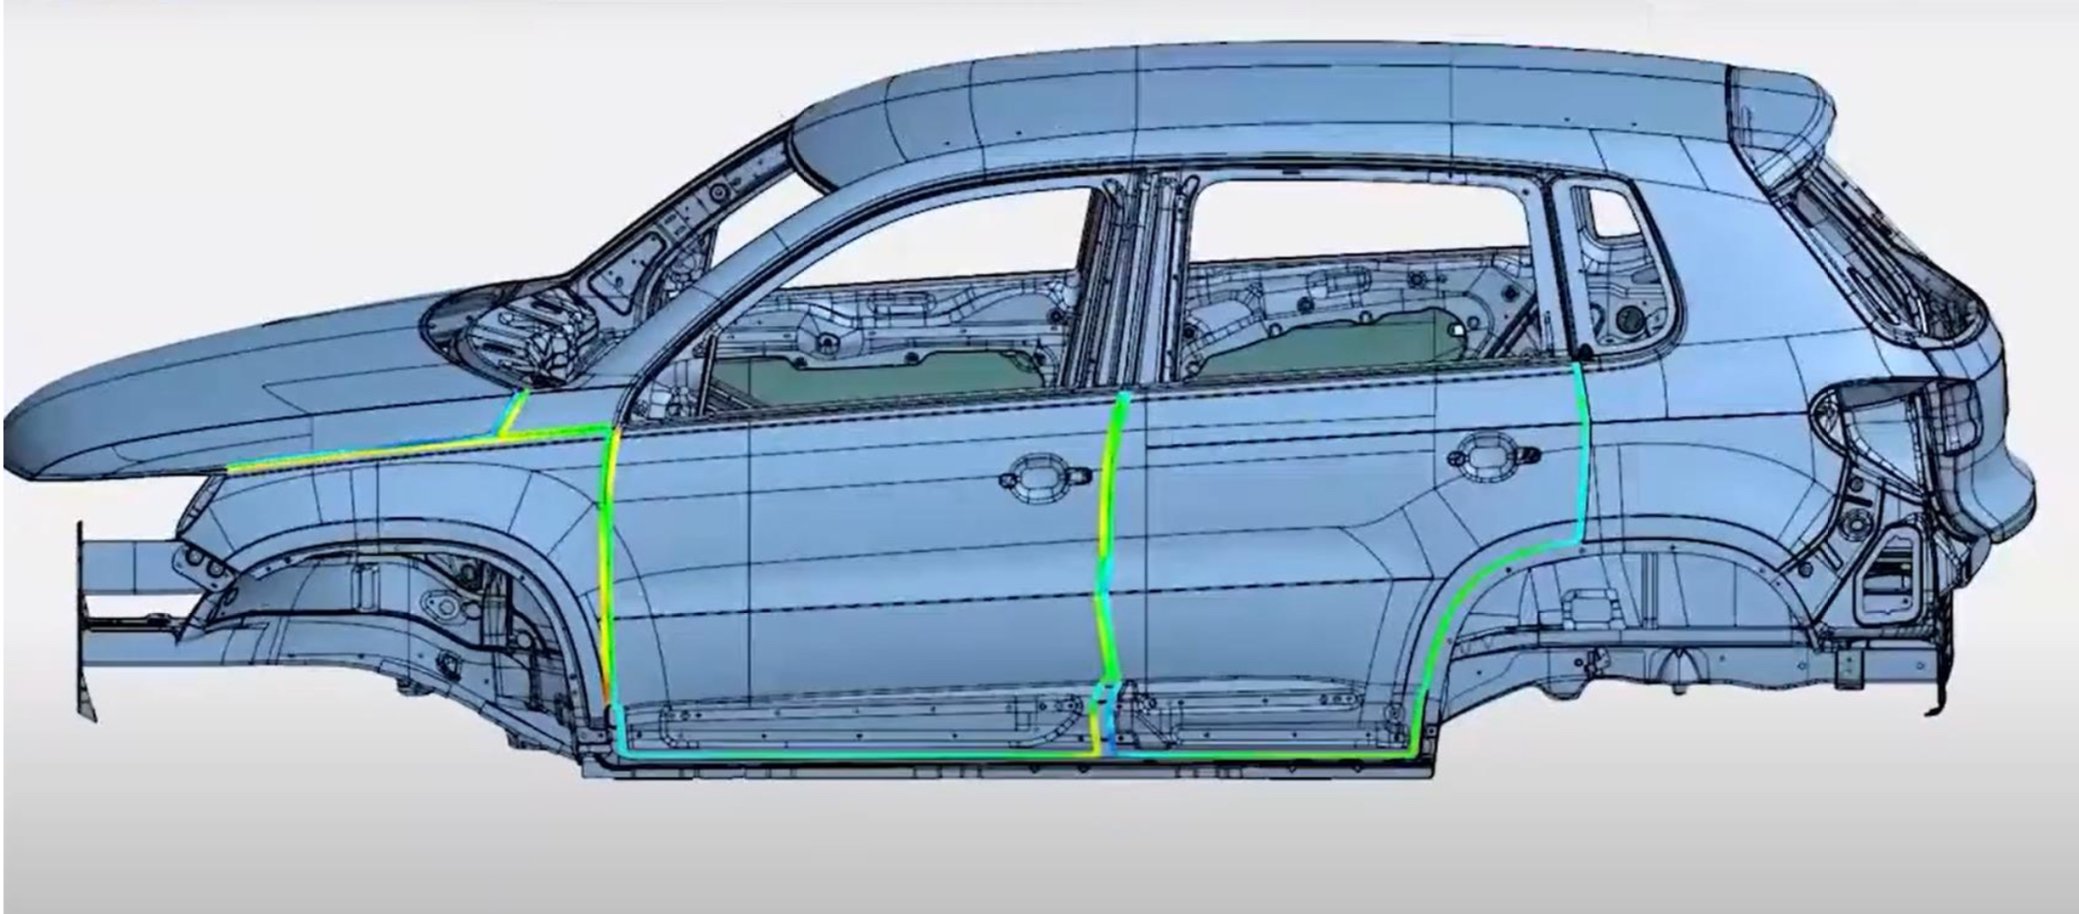
Why 3D scan? - full field data set
One of the major advantages of 3D scanning is it creates “full field data set” or sometime it’s called “digital twin”. The CMM has done a great job when it comes to collecting just enough data accurately and reliably for dimensional inspection purposes. What the CMM is focused on is to verify pre-defined features/dimensions to determine if parts are good or bad. However, when things go wrong and more information is needed to further analyze the root causes it takes a lot of efforts and tedious work to get enough useful information.
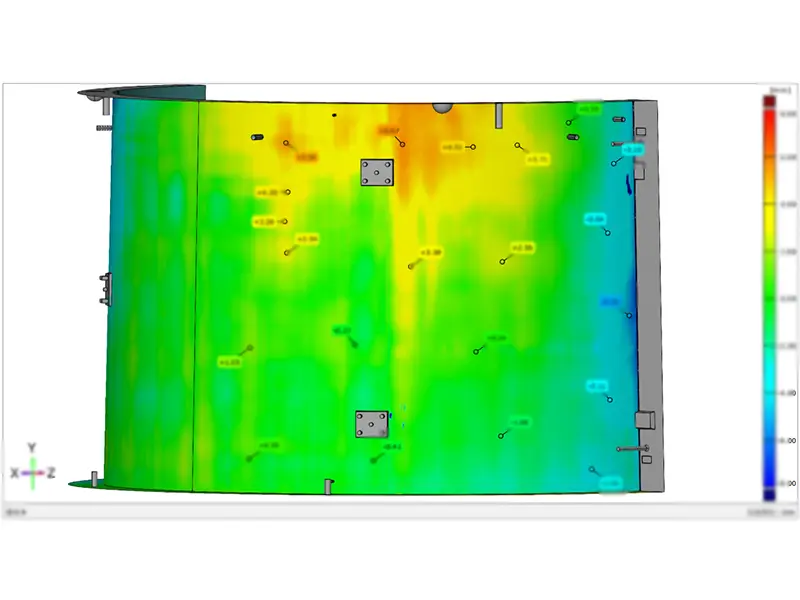
How to Inspect a Wind Turbine Foundation Mold With 3D Scanning
The wind power industry has witnessed tremendous growth over the past few decades, driven by the global push towards renewable energy sources.
Wind turbine foundations are critical components, providing the necessary support for the turbine towers to capture wind energy effectively.
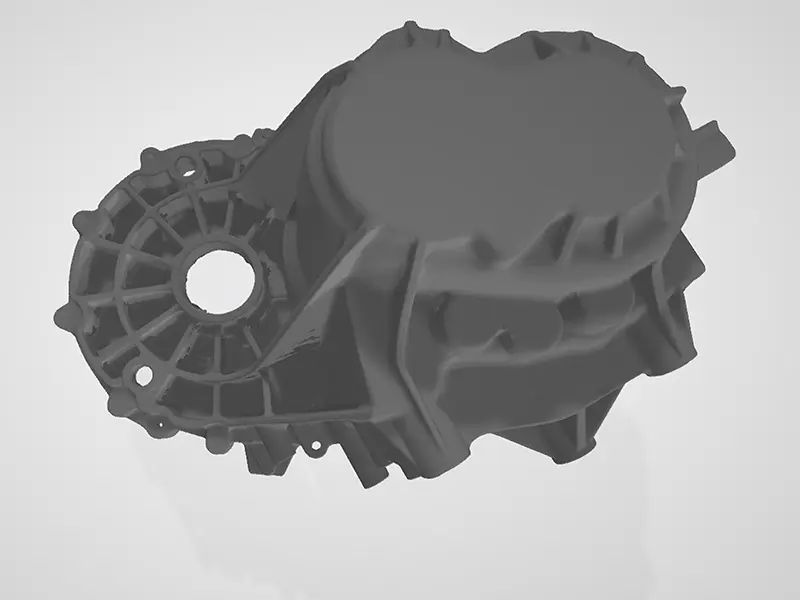
3D Inspect Cast Gearbox Housing For Machining Allowance Analysis
The manufacturing of complex and large-scale alloy die castings is essential in various industries, including automotive, telecommunications, renewable energy, aerospace, and electronics.
As demand for precision in these sectors increases, the necessity for advanced manufacturing techniques and strict quality control intensifies.
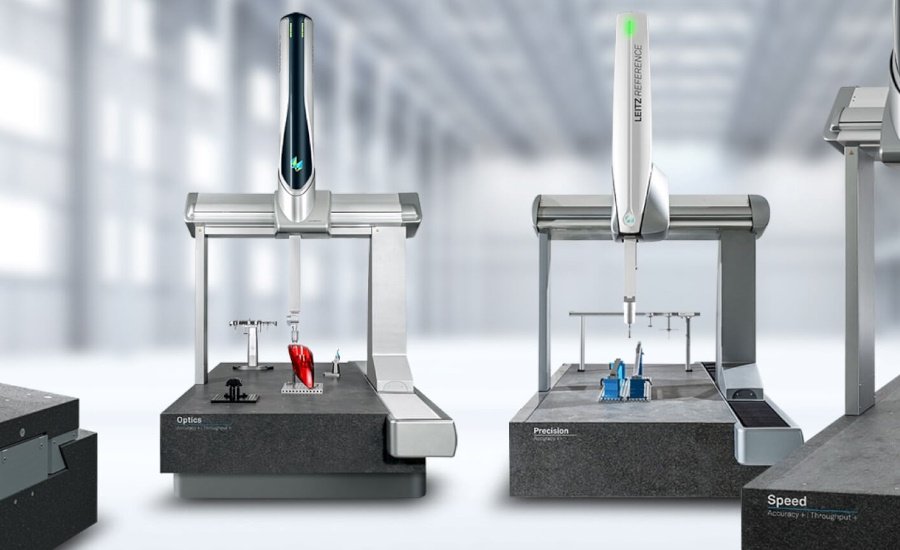
MSI Viking Announces Strategic Partnership with Hexagon Manufacturing Intelligence
MSI Viking announced a major new partnership in the Americas with Hexagon Manufacturing Intelligence, a division of Hexagon. This collaboration is set to enhance MSI Viking’s offerings in coordinate metrology, further solidifying its commitment to delivering excellence in the field.
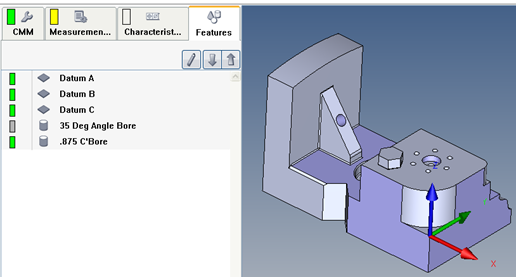
Calypso - Condition Based on Confirm Statement
What to expect. Yes, (it does exist) the CMM will measure the 35 Deg Bore. No, (does not exist) it will skip the 35 Deg Bore and move to the .875 diameter.
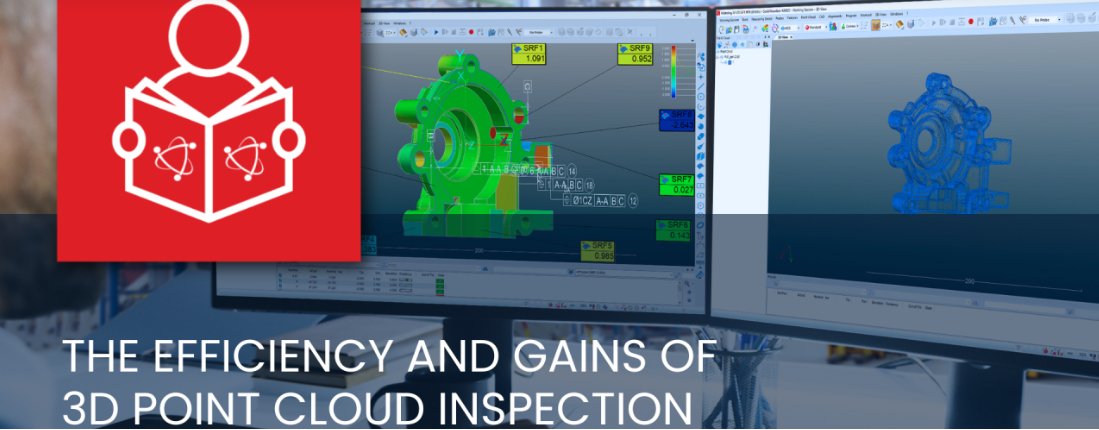
The efficiency and gains of 3D point cloud inspection
Point cloud technology refers to the use of a set of data points in a 3D coordinate system, which is commonly defined by X, Y and Z axes. From a metrological standpoint, the actual points in a point cloud represent those X, Y and Z geometric coordinates for each single point. All together, these point clouds can be used as they are (raw) or filtered to create shapes and surfaces that can be compared with a nominal CAD reference, for example.
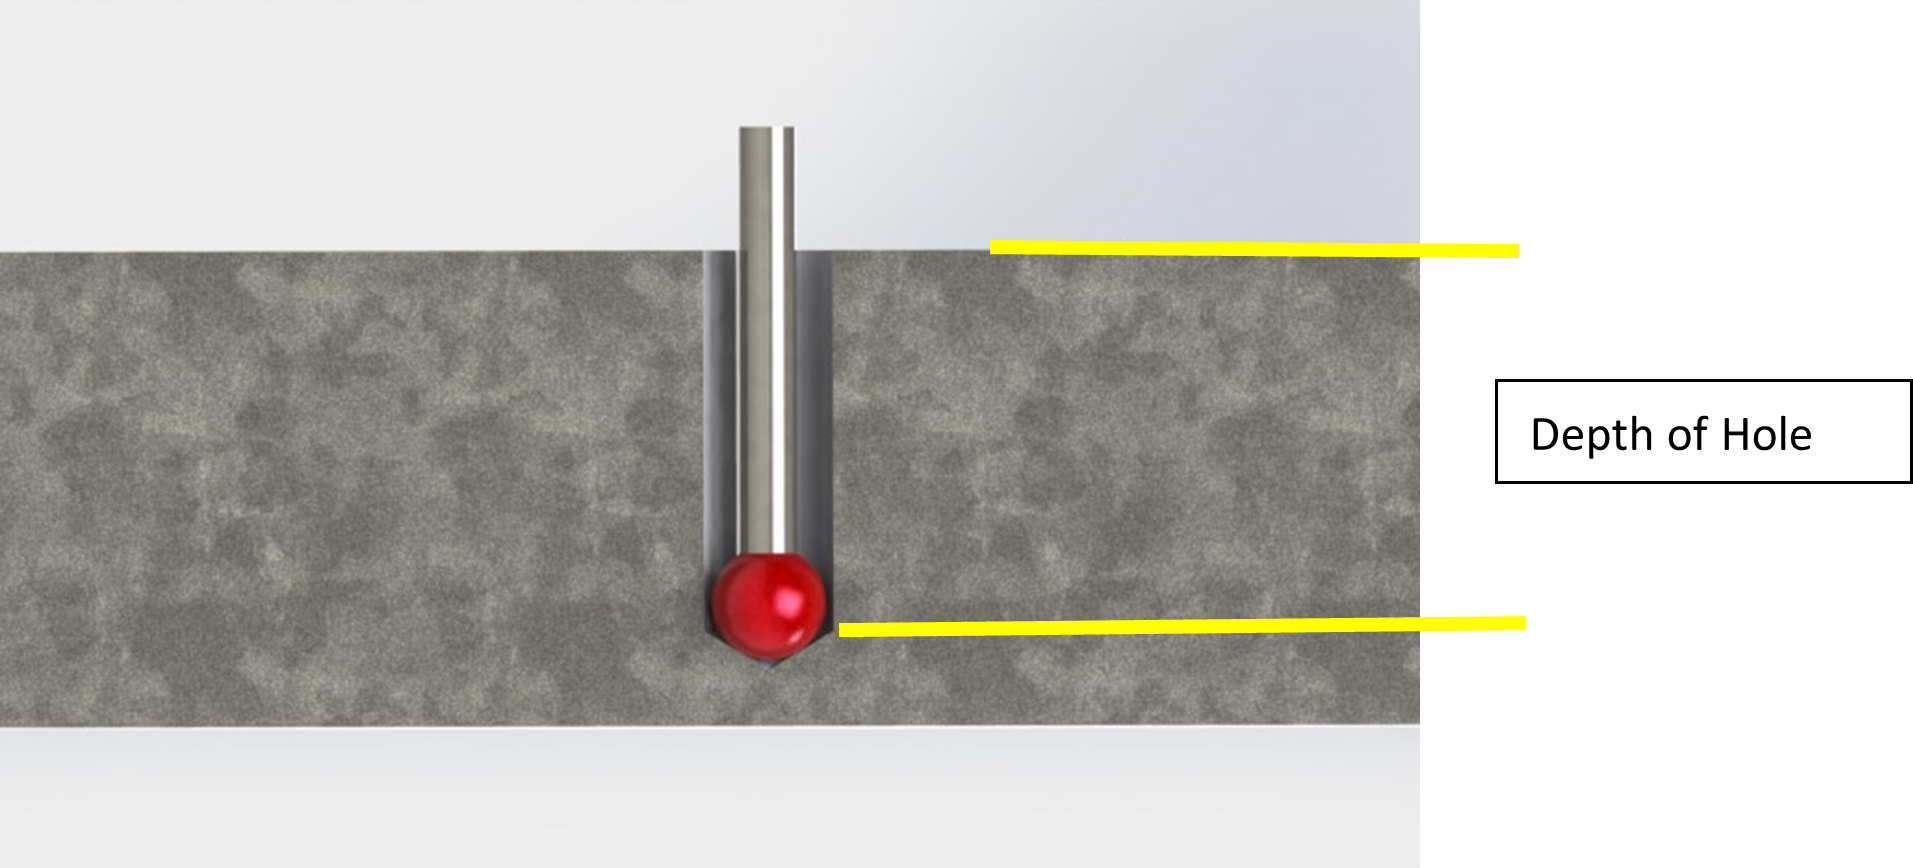
Calypso - Blind Hole Depth
This is an excerpt from the Calypso Handbook
To measure the depth of a blind hole we must calculate the depth by using this process.
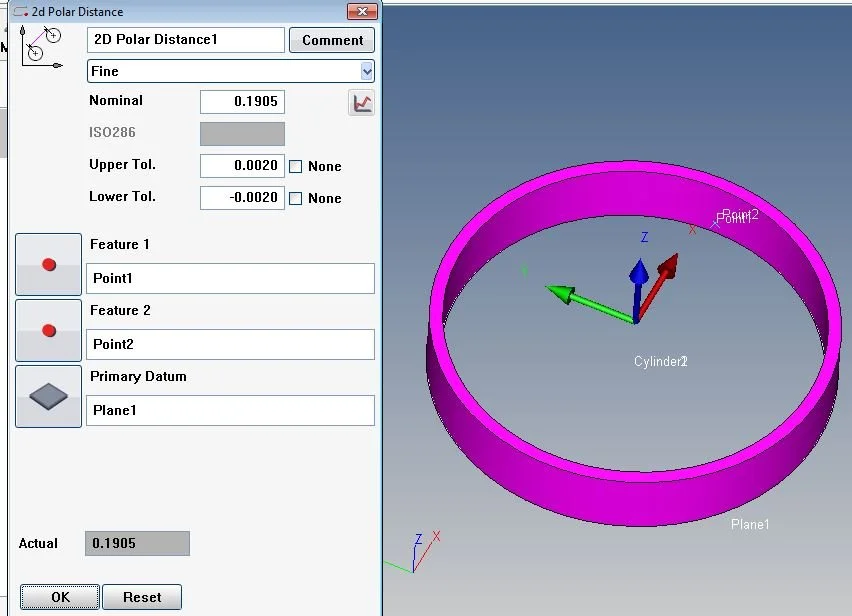
Calypso - Point Recall with Loop
This will create a wall thickness 360° around the part top and bottom 8 points each.
Program
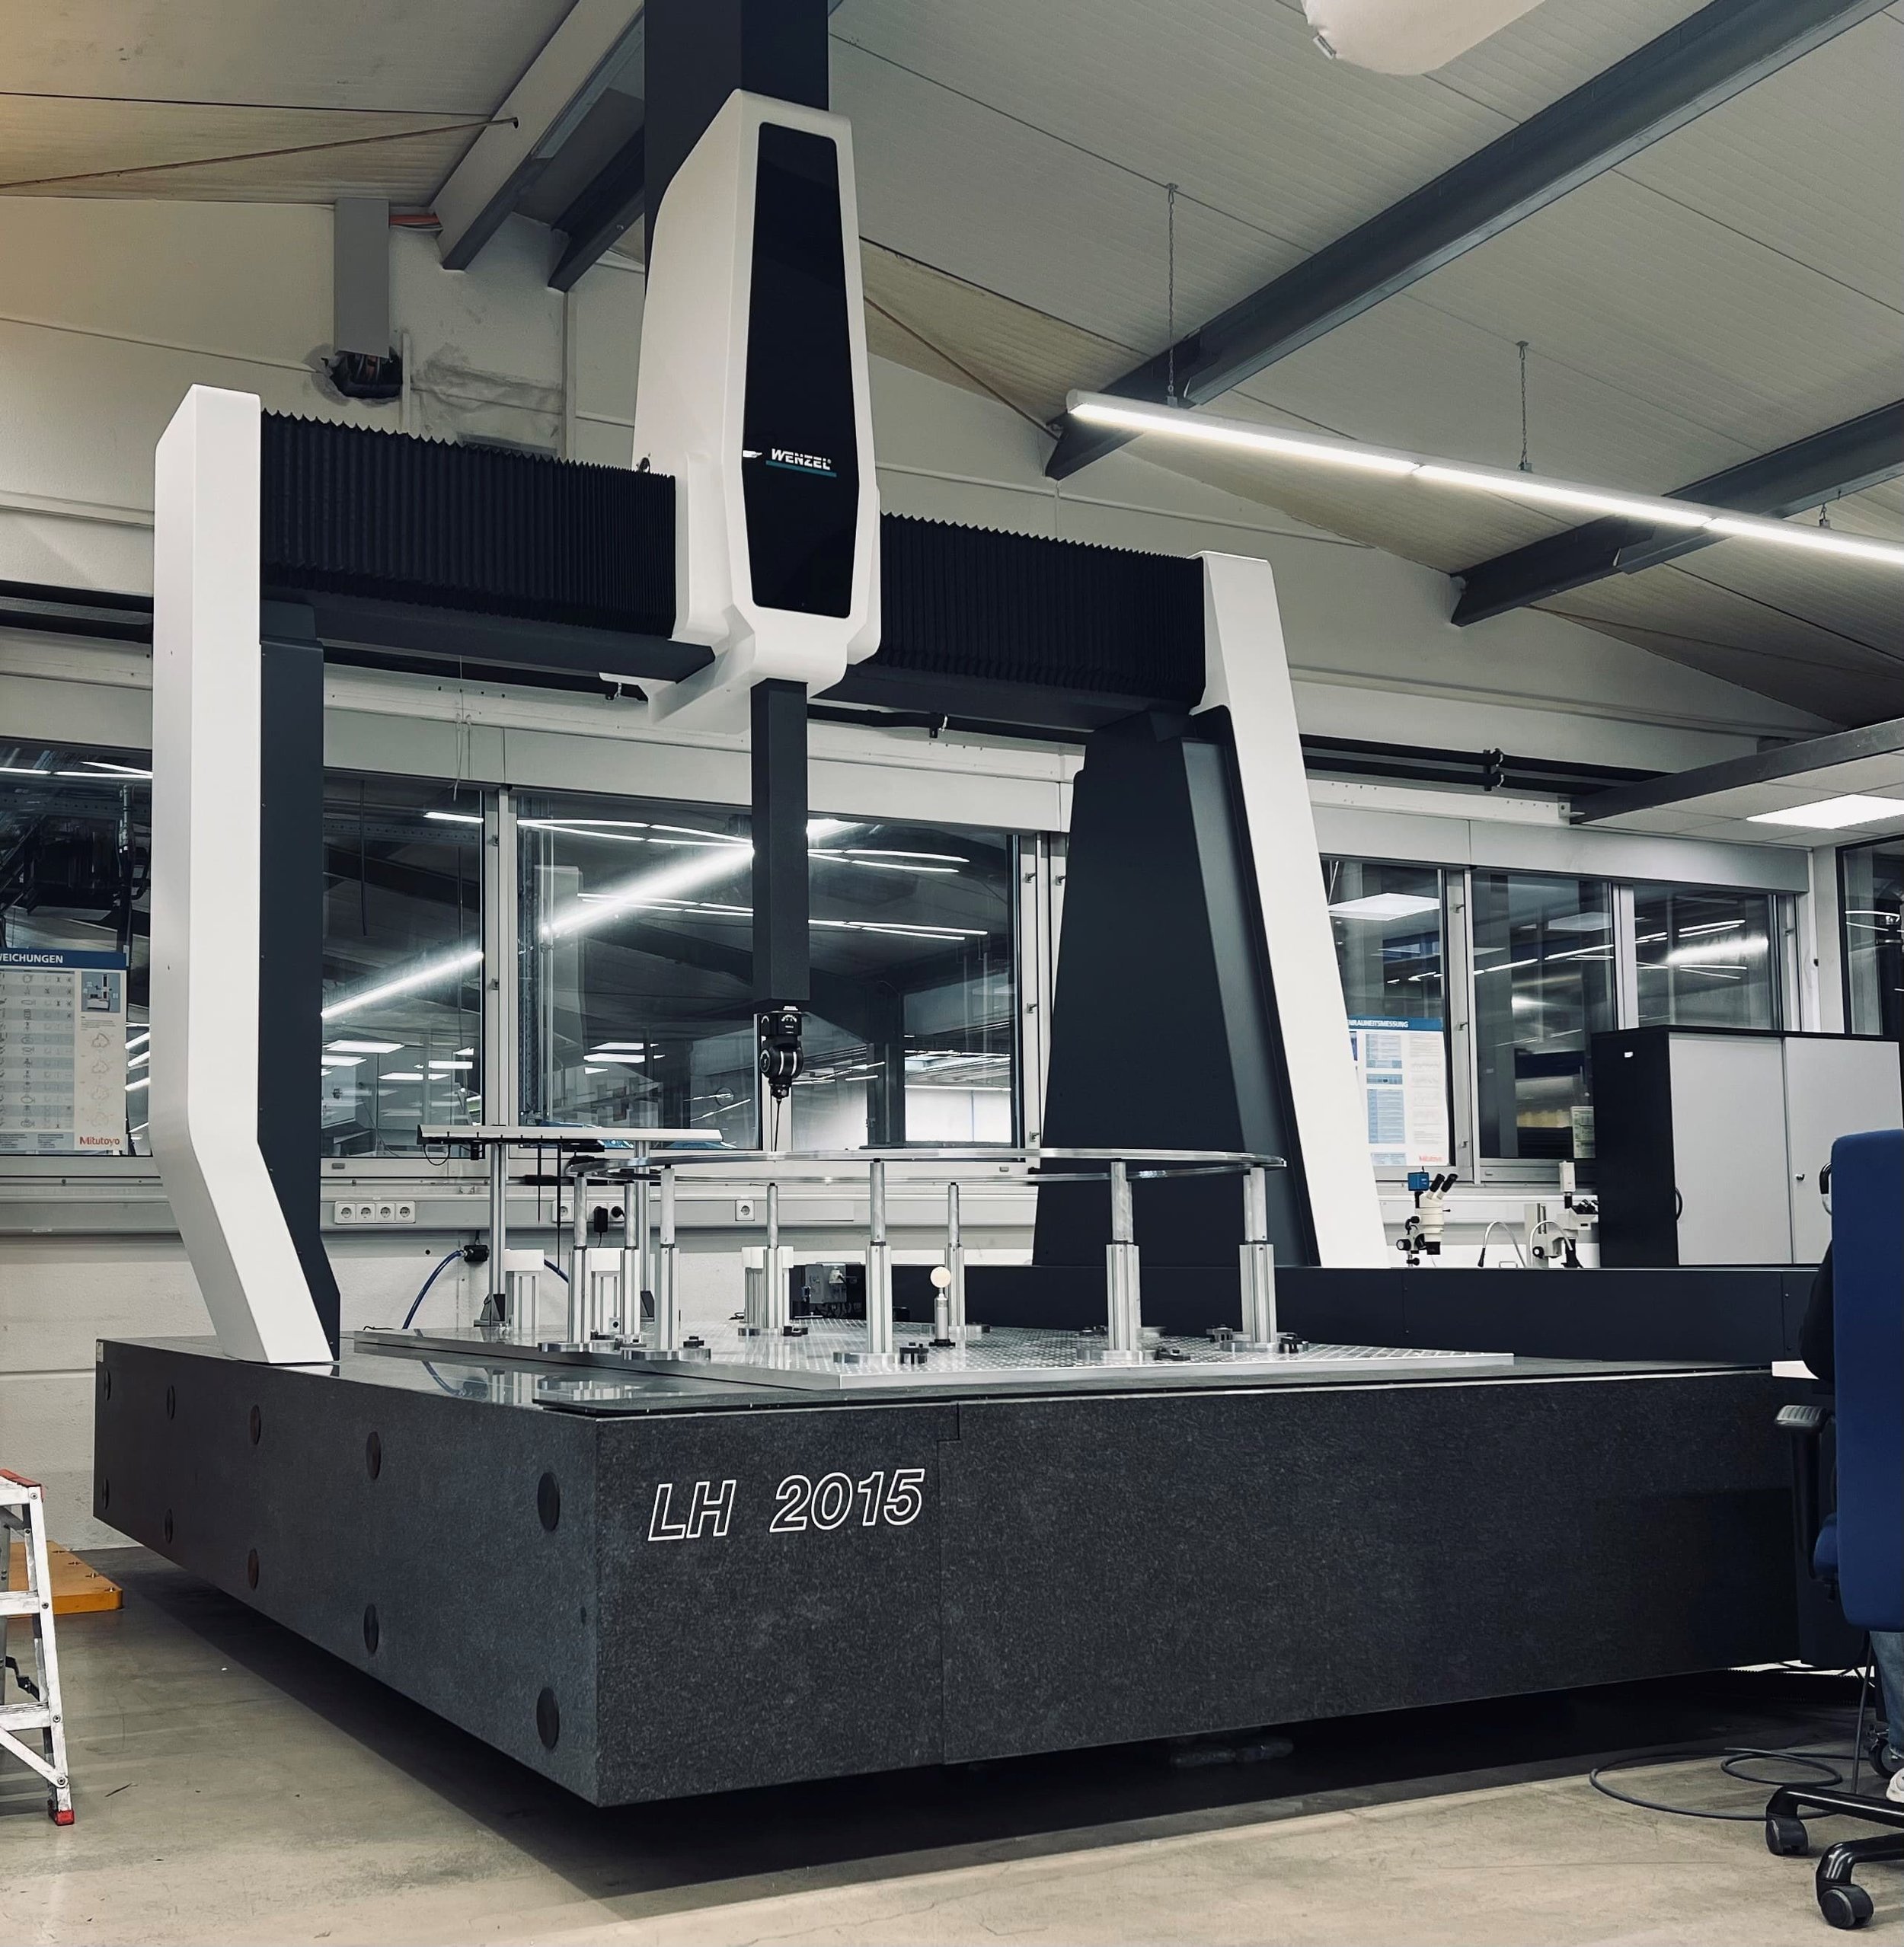
Maximum precision in machining production
The powerful LH 2015 CMM with WM | Quartis software and the REVO in use at BARTH.
