3D Inspect Cast Gearbox Housing For Machining Allowance Analysis
An article from Scantech-3D
The manufacturing of complex and large-scale alloy die castings is essential in various industries, including automotive, telecommunications, renewable energy, aerospace, and electronics.
As demand for precision in these sectors increases, the necessity for advanced manufacturing techniques and strict quality control intensifies.
Introduction of the Client
The client specializes in the manufacturing and processing of large, complex alloy die castings. It boasts an annual production capacity of 30,000 tons.
Their advanced equipment and sophisticated management and processing techniques have established them as a key player in various high-tech and industrial sectors.
Cast Gearbox Housing To Be Measured
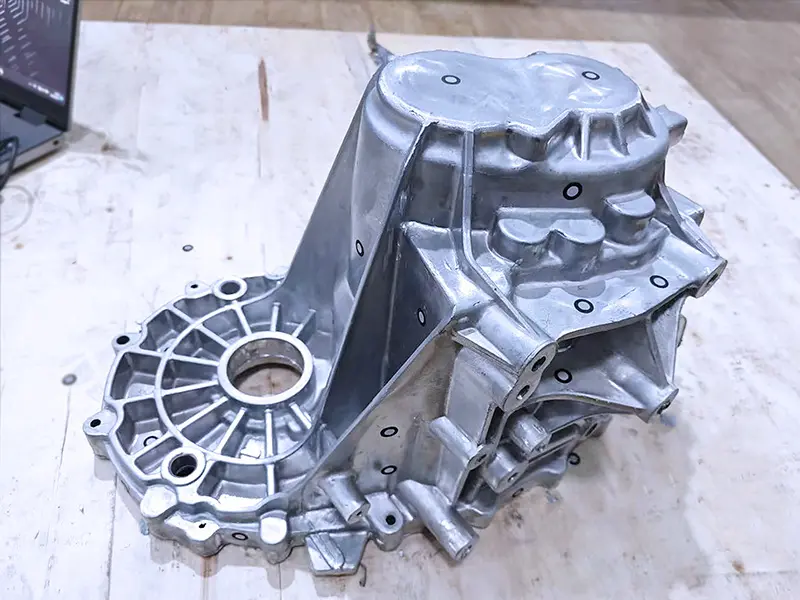
The casting gearbox housing is designed to enclose and support the gears and bearings, which is crucial for transmission systems to function properly.
A well-designed gearbox housing should be able to withstand the loads and stresses it experience during operation.
Measurement Challenges
Castings often have intricate geometries and features that can be challenging to measure. These include internal cavities, ribs, curved surfaces, fillets, chamfers, and non-planar faces with irregular shapes.
Accurate measurement of these intricate details is crucial for quality control and ensuring proper fit and function.
Limits of Previous Measurement Methods
Traditional measurement techniques struggle to capture complete and accurate data due to the complexity and depth of these parts. The conventional methods fall short in several areas:
Limited Access: Deep cavities and tight corners are difficult for traditional measurement methods to reach.
Incomplete Data: Traditional methods can only measure certain key points, missing out on the full surface data required for thorough analysis.
Cumbersome Defect Identification: Identifying and quantifying defects in these intricate parts is a cumbersome process with traditional techniques.
Scantech’s 3D Solutions
To address these challenges, the company used Scantech’s smart handheld 3D scanner SIMSCAN. It is designed to handle the measurement challenges of narrow spaces, making it ideal for measuring this deep-cavity casting.
The SIMSCAN offers a compact and versatile toolset that significantly enhances the inspection process.
Inspection Process
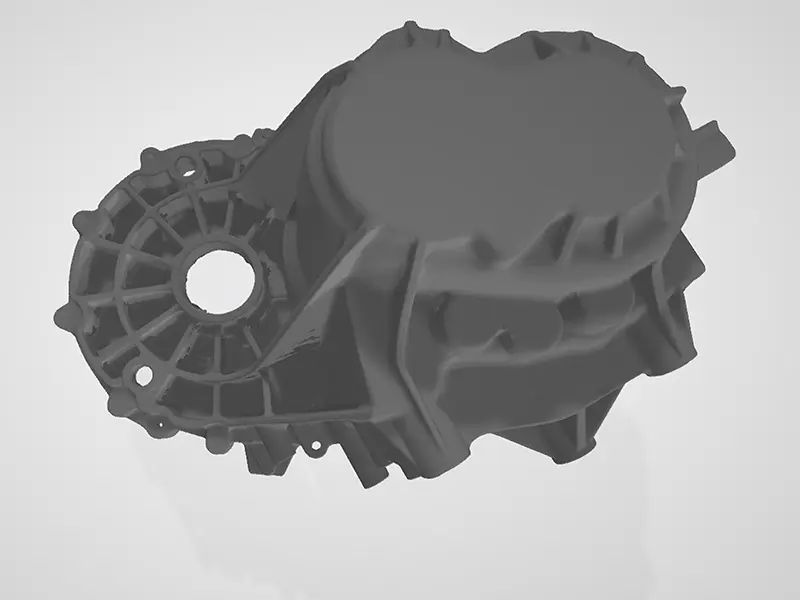
3D Laser Scanning: Utilizing the SIMSCAN, a point cloud of the part was generated in just five minutes.
3D Modeling: At this point, cloud data was transformed into a model.
Data Analysis: Specialized software compared the actual model with the theoretical model, producing a detailed color map that highlights machining allowances.
Key Measurements and Inspections
Allowance for Machining: Ensured there was sufficient material to allow for machining without compromising the integrity of the part.
Overall Dimensions: Measured the length, width, and height of the housing to ensure it meets the design specifications.
Bore Diameters: Measured the diameters of holes, especially those for shafts and bearings, to ensure they were within tolerance.
Surface Flatness: Assessed the flatness of surfaces that would be machined to ensure they were within acceptable limits.
Advantages of the SIMSCAN
The compact size of SIMSCAN enabled convenient access to deep cavities. Its 130-mm short camera distance enabled a steeper view angle, allowing effective laser scanning even in shadowed areas and tight corners with an accuracy of up to 0.020 mm.
Additionally, the scanning process was highly efficient, providing comprehensive data at a rate of 2.8 million measurements/s, much faster than traditional methods. Most importantly, it ensured accurate measurements of complex surfaces, meeting necessary standards.
Benefits of 3D Solutions for Determining Machining Allowance
Comprehensive Data: The 3D laser scanner SIMSCAN captured the complete geometry of the gearbox housing, including complex surfaces and hard-to-reach areas. This comprehensive data collection ensured no features were overlooked and provided a complete picture of the part’s condition.
Precision and Accuracy: 3D scanning technology provides extremely precise and accurate measurements. This was critical for determining the exact machining allowance needed for a gearbox housing, ensuring that the finished product meets all specifications and quality standards.
Efficiency: Traditional measurement methods can be time-consuming, involving manual measurements and potentially multiple iterations. SIMSCAN 3D scanning significantly reduced the time required to gather detailed dimensional data, speeding up the entire inspection and machining process.
Digital Archiving: 3D scanning created a digital record of the gearbox housing’s condition at various stages of the manufacturing process. This digital archive can be used for future reference, quality control, and to ensure traceability in production.
Baseline Establishment: Facilitated the quick and accurate determination of machining baselines, optimizing machining processes and reducing setup times.
Conclusion
The application of Scantech’s SIMSCAN in gearbox housing inspection marks a significant advancement for the company.
This innovative 3D solution not only overcomes the limitations of traditional measurement methods but also provides a more efficient, accurate, and cost-effective approach to identify machining allowance and enhance quality control.
As industries continue to evolve, the adoption of such cutting-edge technologies will be crucial in maintaining competitive advantages and ensuring the highest standards of precision and reliability.


