You have choices, make the right choice
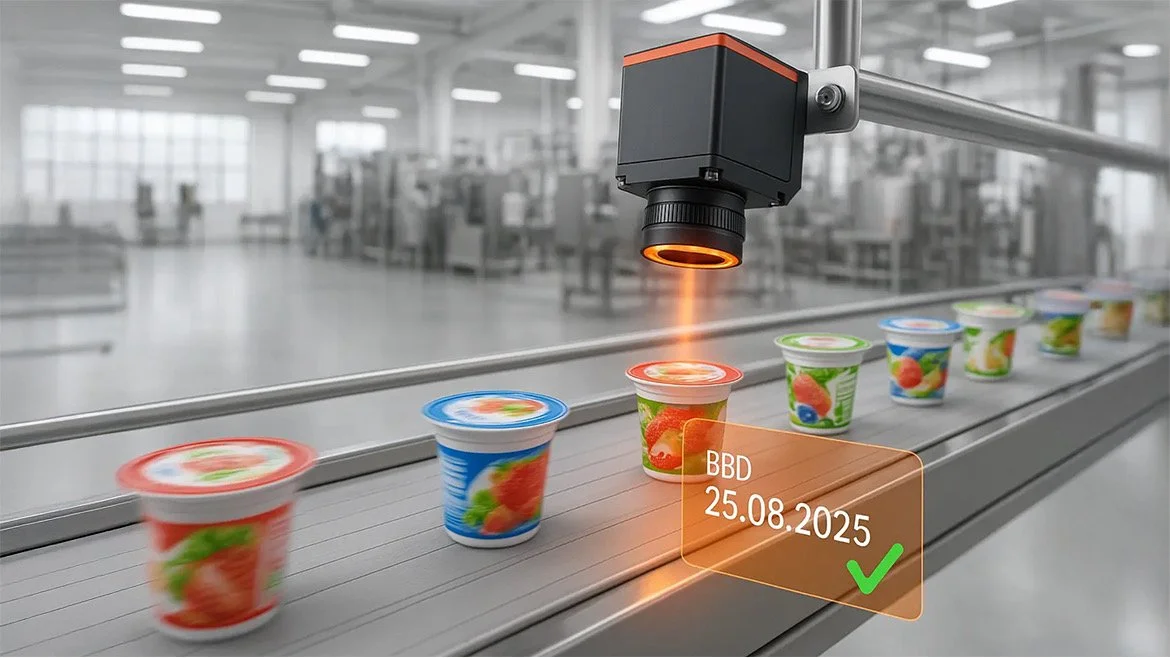
Five Ways Advanced Imaging is Improving Quality
Manufacturers today face growing pressure to deliver safe, high-quality products at faster speeds and higher volumes. Manual inspection just can’t keep up - with its limits in speed, accuracy, and consistency. That’s why advanced imaging technologies are becoming essential on the modern production line.

How Handheld 3D Scanner Helps for Porsche Modifications
For automotive enthusiasts, Porsche isn't just a brand—it's a statement. Known for its precision engineering and distinctive performance, every Porsche model holds a legacy. But even the finest machines can be fine-tuned, and that's where Fabspeed Motorsport steps in, crafting performance-enhancing upgrades for Porsche owners who demand more.
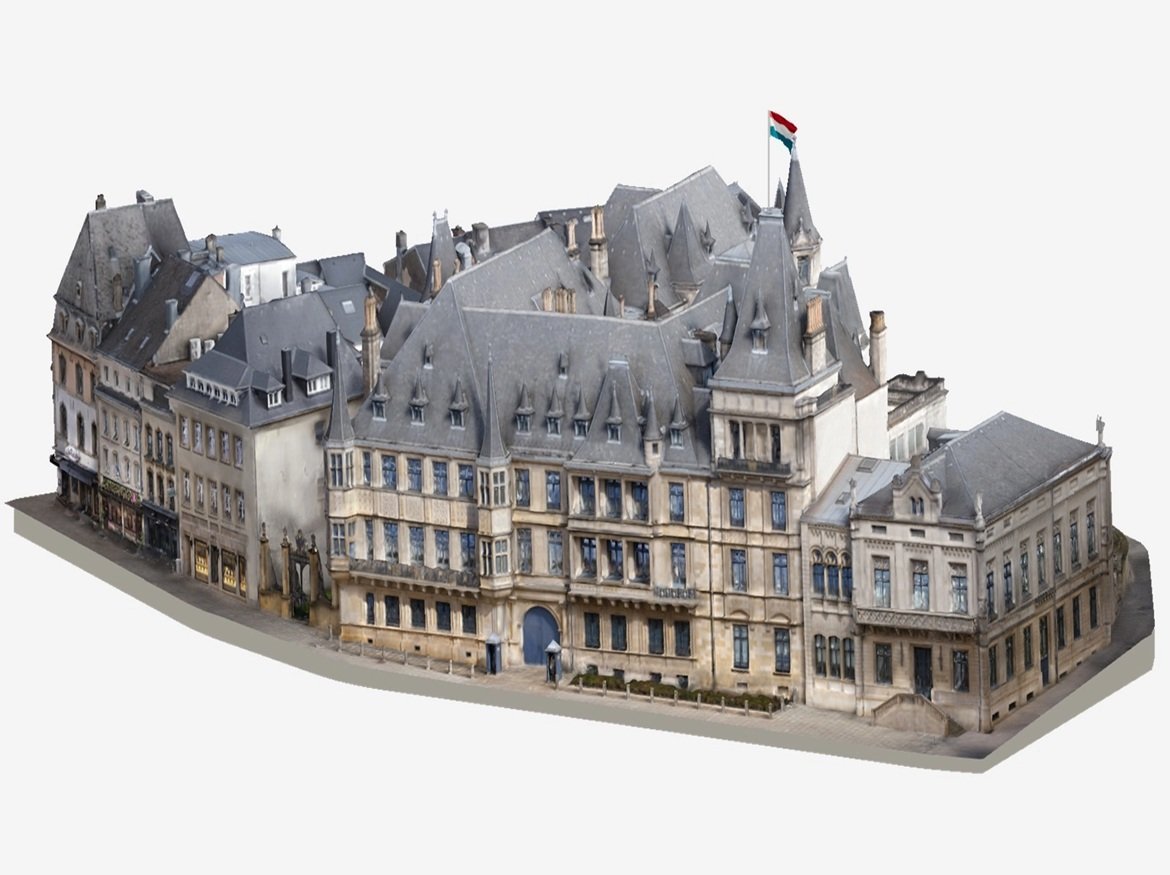
Artec 3D digitizes Luxembourg’s cultural landmarks for the Luxembourg Pavilion at World Expo 2025 in Osaka
Artec 3D, a pioneering developer and manufacturer of professional 3D scanners and software based in Luxembourg, is proudly showcasing the nation’s rich cultural heritage to the world at Expo 2025 Osaka.

What are the effectiveness and gains of 3D point cloud inspection?
Point cloud technology refers to the use of a set of data points in a 3D coordinate system, which is commonly defined by X, Y and Z axes. From a metrological standpoint, the actual points in a point cloud represent those X, Y and Z geometric coordinates for each single point.
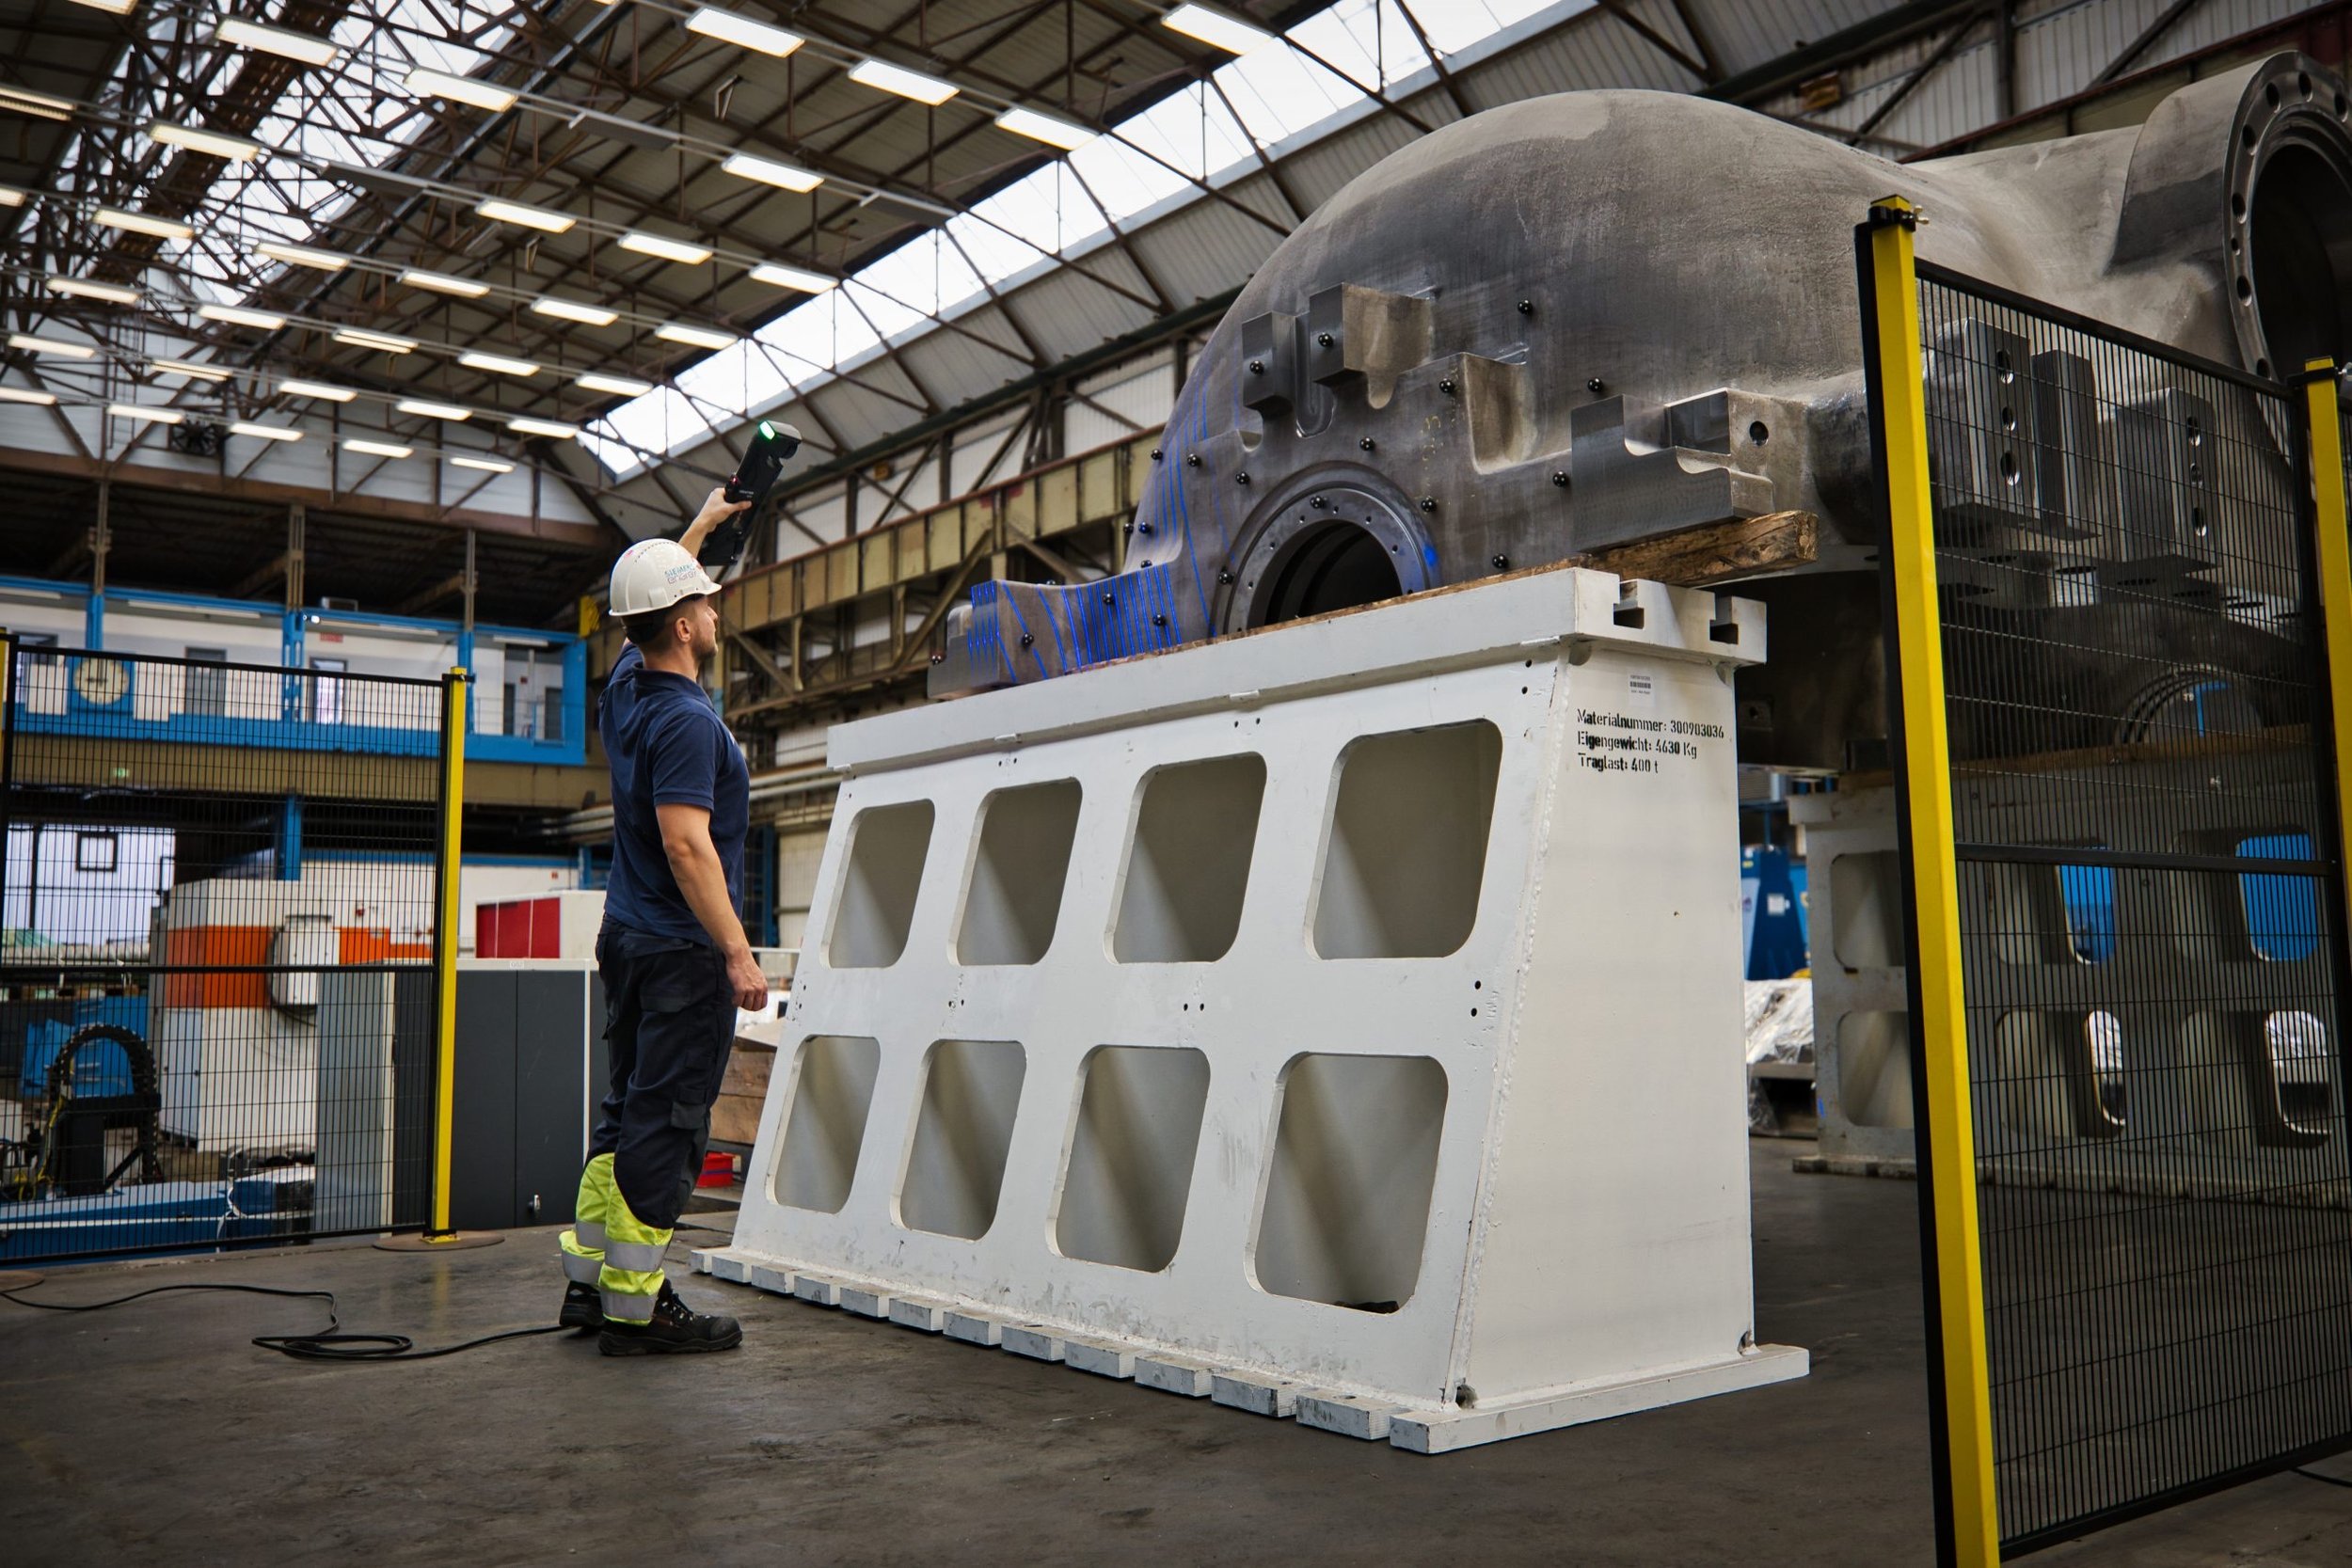
INNOVATIVE 3D SCANNER SERVING THE LARGEST INDUSTRIAL PARTS A CREAFORM’S CLIENT SUCCESS STORY FEATURING SIEMENS ENERGY
With over 90,000 employees worldwide, Siemens Energy is a global company operating in various sectors of the energy industry, including grid technologies, decarbonization of industries, wind energy, and conventional power generation.
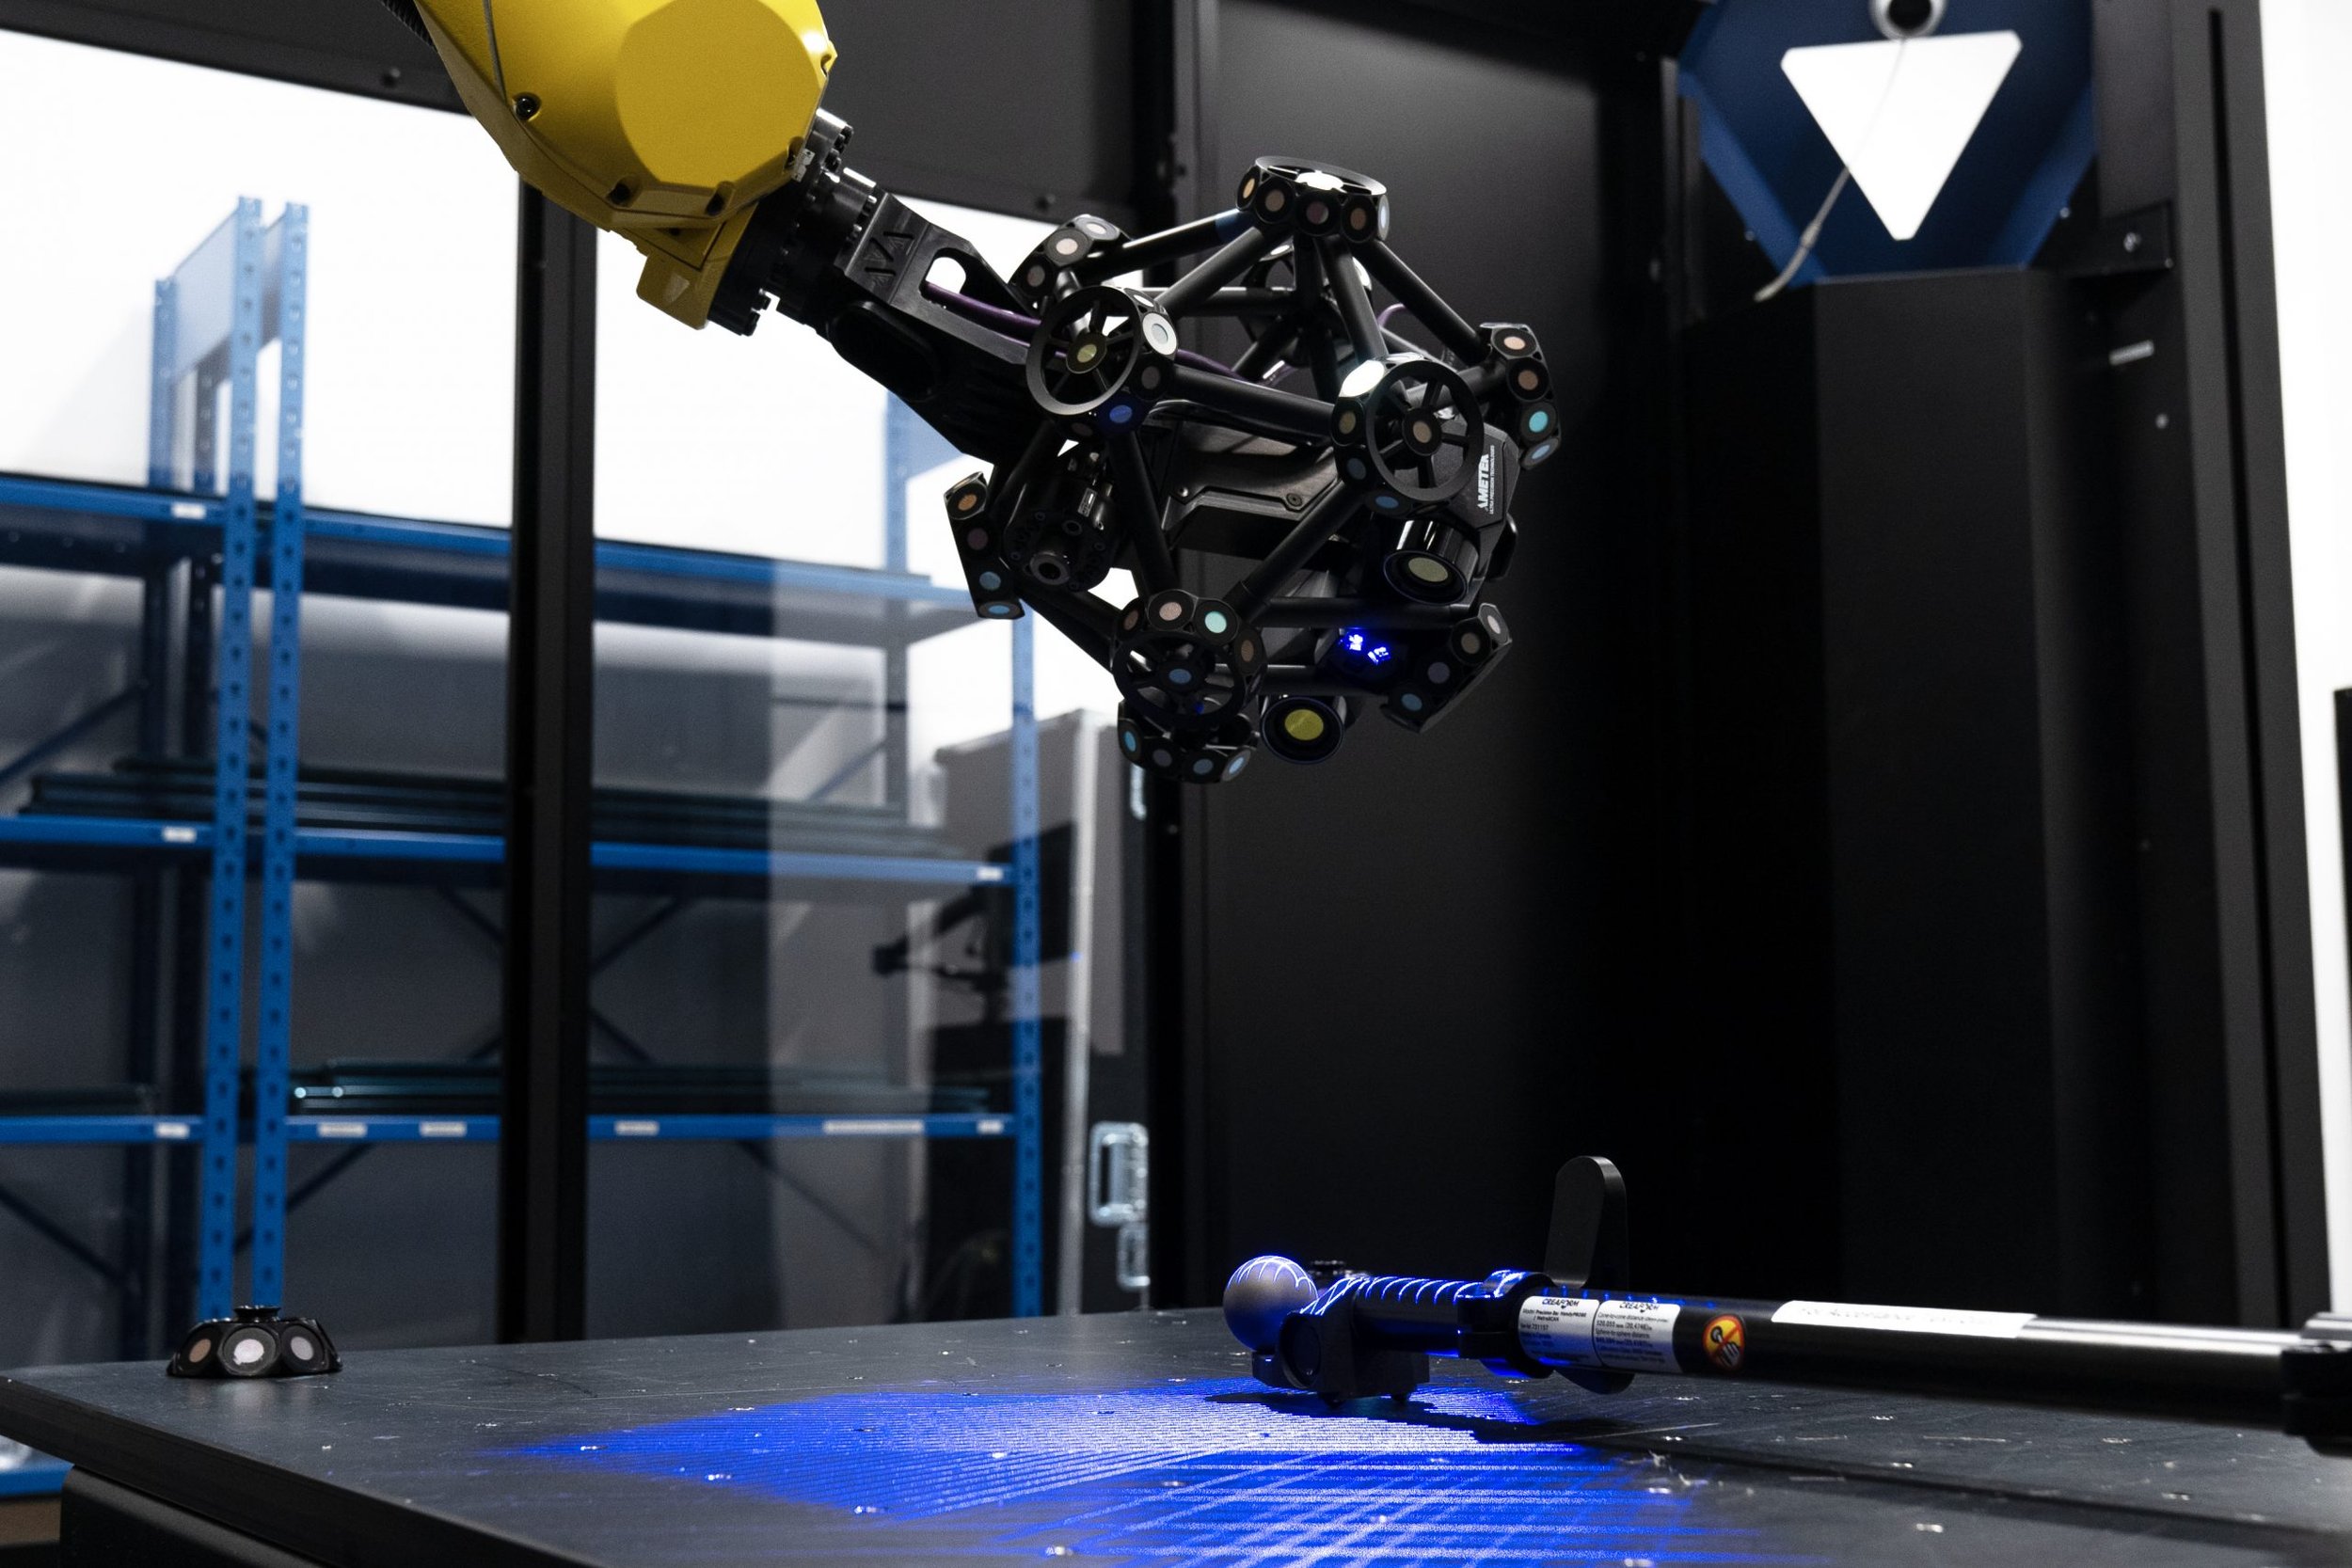
THE DIFFERENCE BETWEEN STATED ACCURACY AND ACCREDITED ACCURACY
How to Interpret the Accuracy of Measuring Instruments?
Stated accuracy refers to the accuracy that a manufacturer claims its measuring devices have, while accredited accuracy is an objective measurement of that product’s true accuracy.
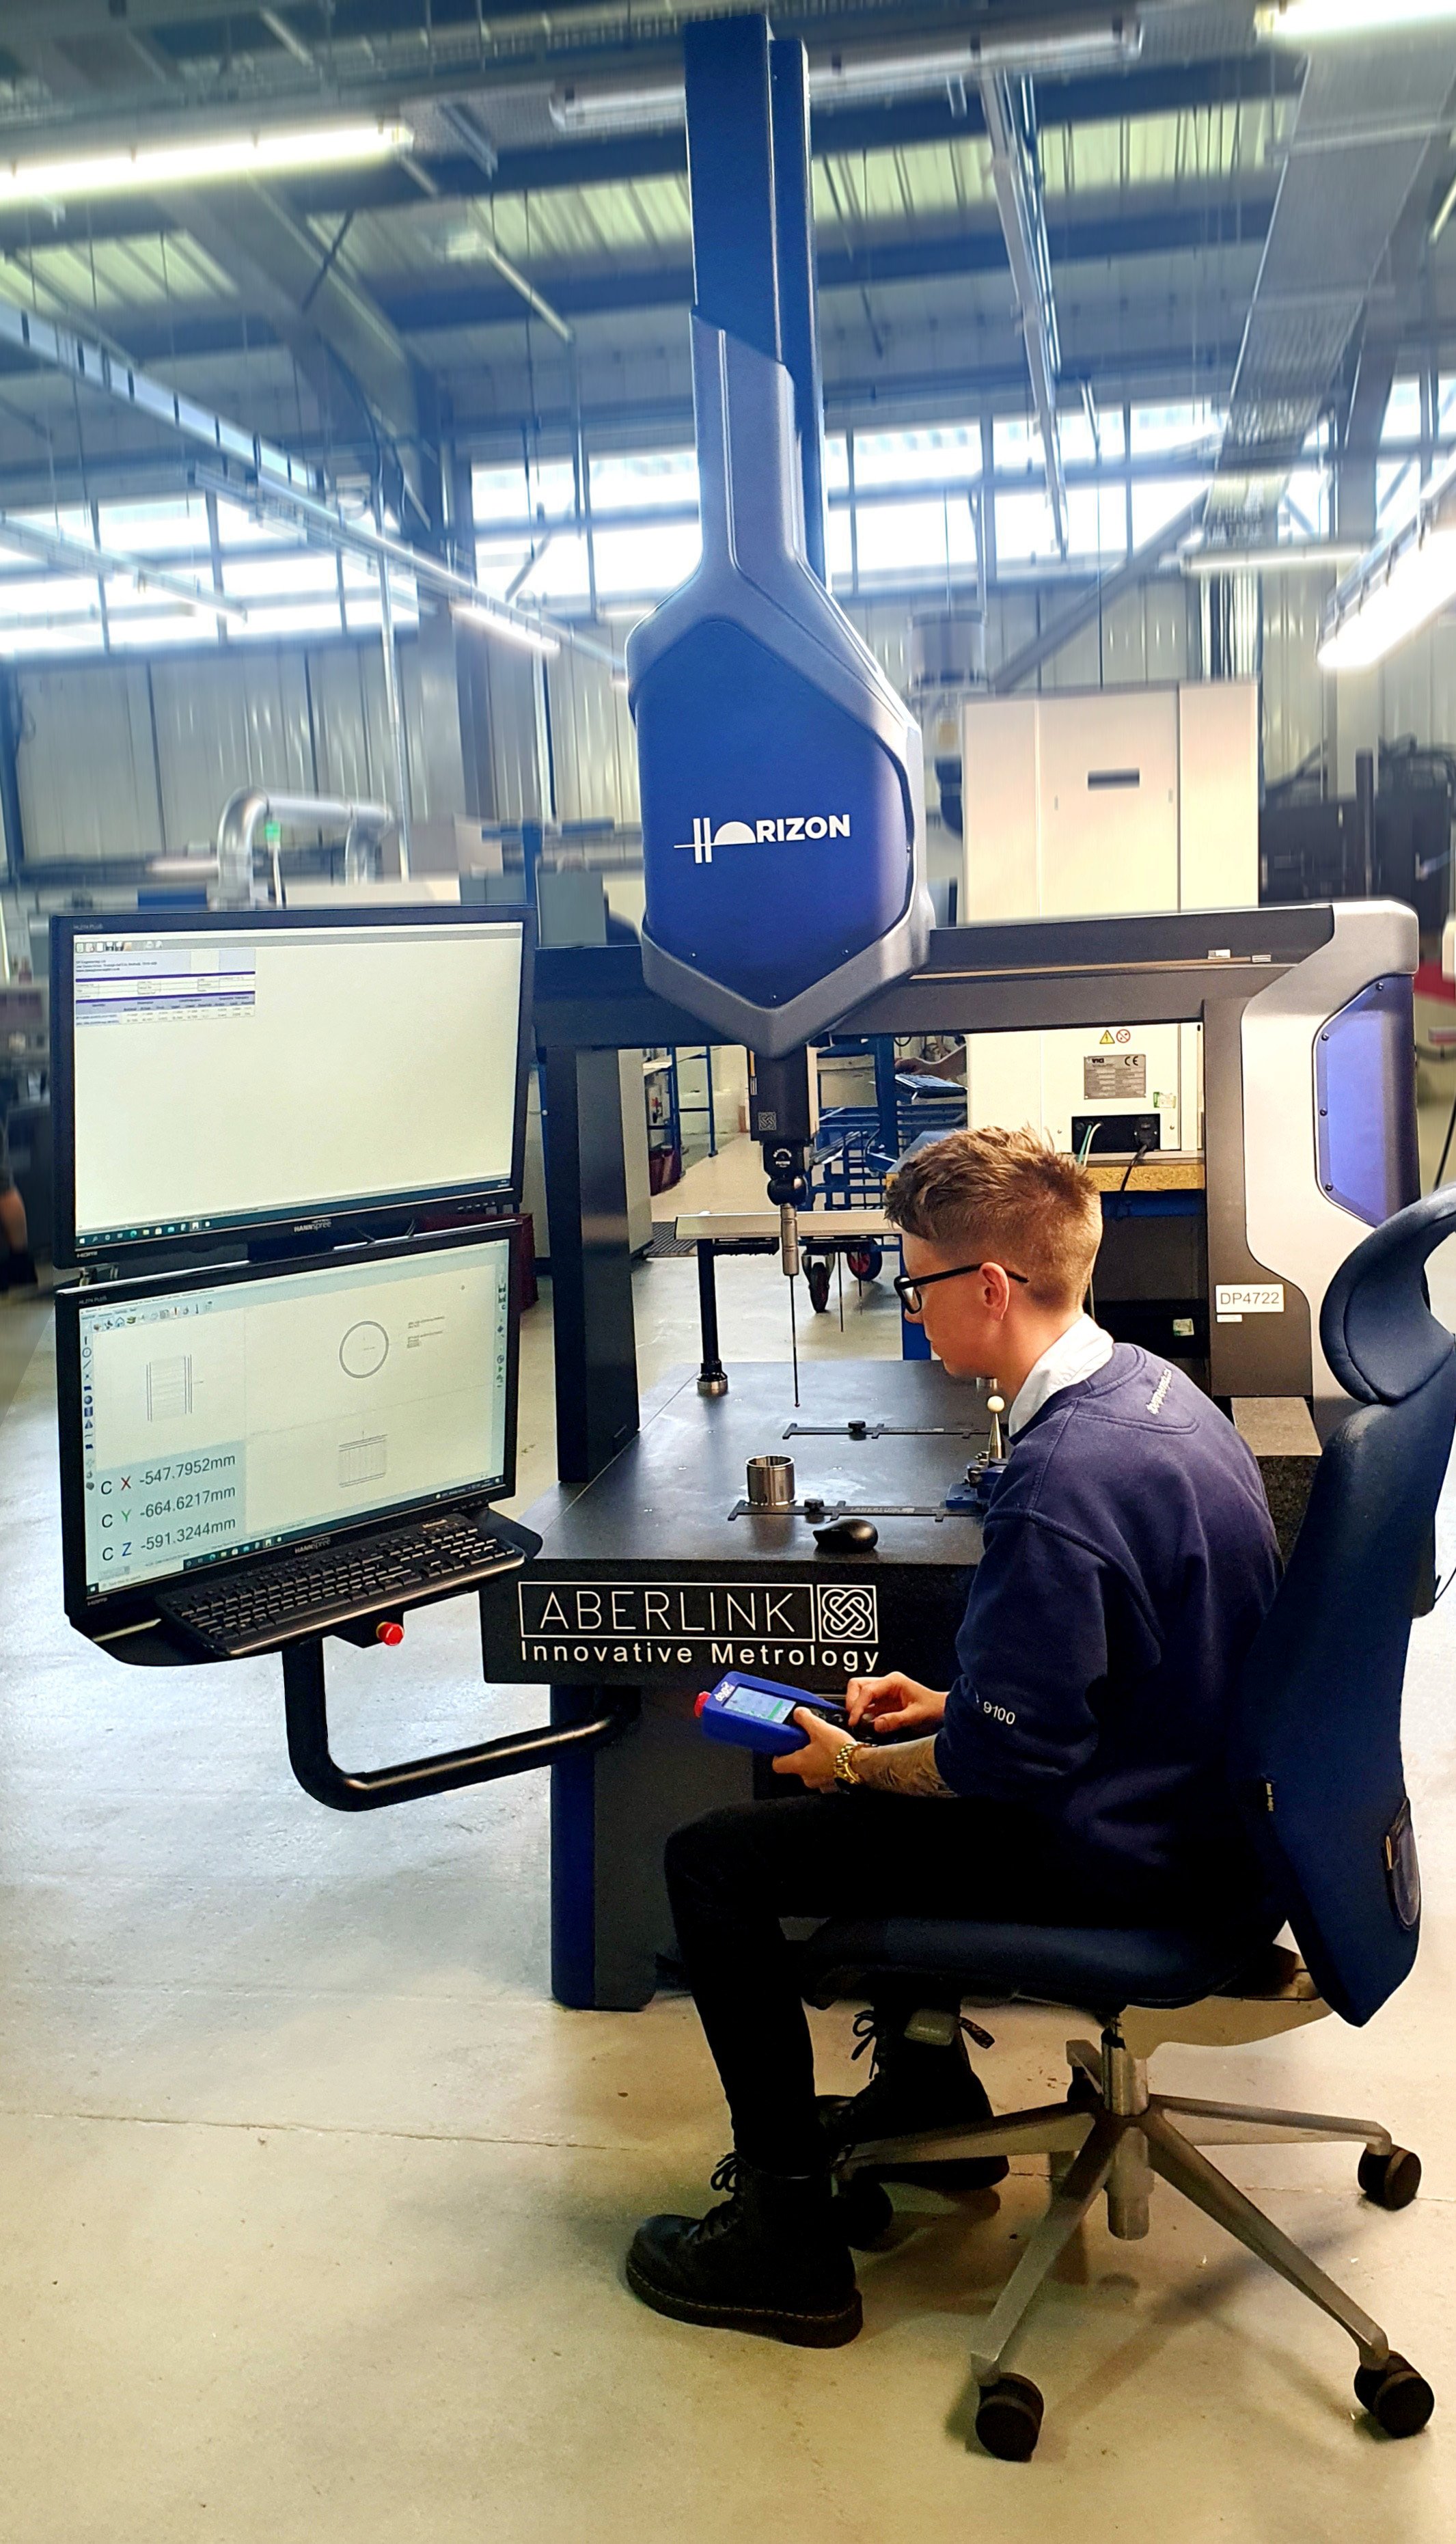
Aberlink Horizon CMM Case Study
Recently launched by Aberlink, the Horizon CMM breaks new ground in design and innovation using frictionless linear drives, which are the key to its fast and exceptionally smooth motion. Ideal for contact scanning.
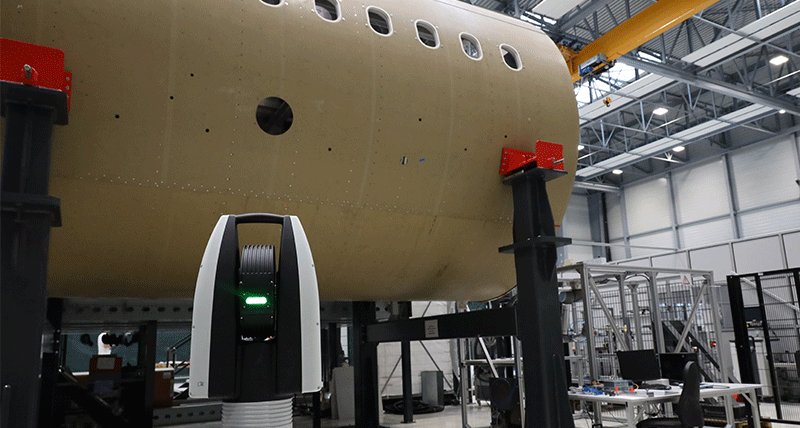
New Hexagon quality inspection innovation combines laser tracking and non-contact measurement, slashing large-scale manufacturing processes from hours to minutes
The new Leica Absolute Tracker ATS800 delivers accurate measurement of key features from a distance, using direct scanning to meet the demands of low-tolerance inspection and alignment in aerospace and other large-scale manufacturing sectors.

How Metrology Technology is Helping Car Companies Manufacture the Latest EVs
Almost everyone is aware of the electric vehicle (EV) revolution in the automotive industry. The switch from diesel and petrol engines to electric power is constantly in the news, and despite some obstacles to widespread adoption, the clock is ticking to a total switch by 2035. Here Gareth Tomkinson, Business Development Manager in Renishaw’s CMM & Gauging Products Division, explores the role of metrology in solving these challenges.

INNOVATION TAKES FORM: CREAFORM ELEVATES PORTABLE 3D SCANNING CAPABILITIES WITH ENHANCED HANDYSCAN 3D
With the most accurate BLACK Series yet, made possible through a new certification and the addition of key features, as well as a complete redesign of the SILVER Series, Creaform fulfills the evolving needs of metrology professionals and designers looking to improve their quality control and product development processes
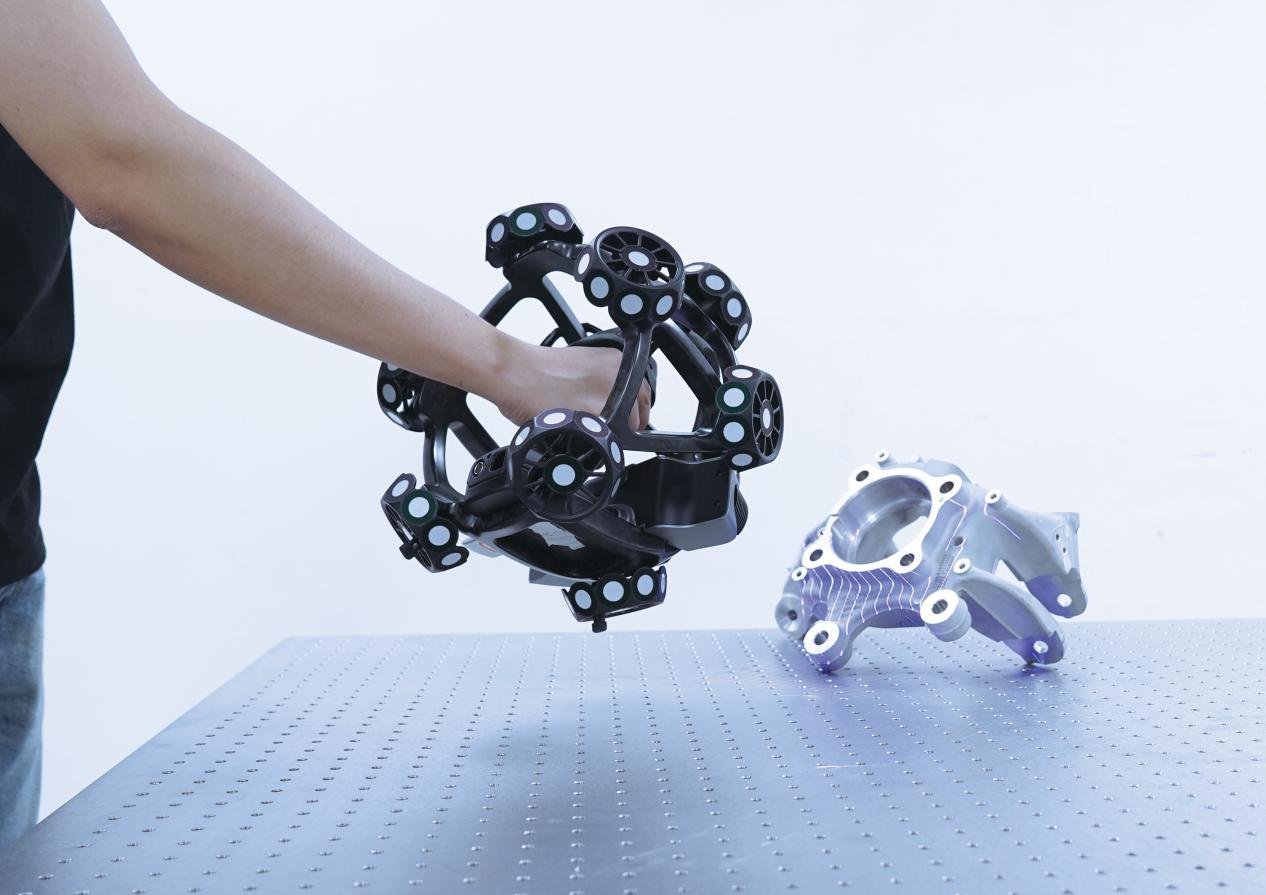
TrackScan Sharp Series Optical 3D Scanning System
The TrackScan Sharp series is a cutting-edge optical 3D scanning system, engineered with 25-megapixel industrial cameras and advanced onboard processors for edge computing. This system is specifically designed to measure large-scale parts over long distances with remarkable speed and precision.
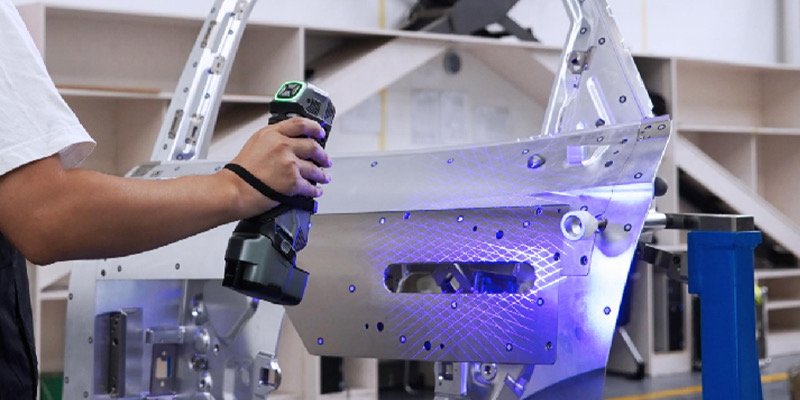
Intelligent, Wireless and Palm-Sized 3D Scanner SIMSCAN-E
The SIMSCAN-E is an intelligent, wireless, palm-sized 3D scanner that blends lightweight design with top-tier performance. With advanced wireless scanning technology, it sets a new standard for portable and wireless 3D scanning.
The SIMSCAN-E offers significant benefits by leveraging advanced edge computing and high-definition industrial cameras to deliver exceptional precision and efficiency in capturing 3D data. With the ability to measure up to 6.3 million points per second,it is deal for industries that demand high-performance scanning solutions.
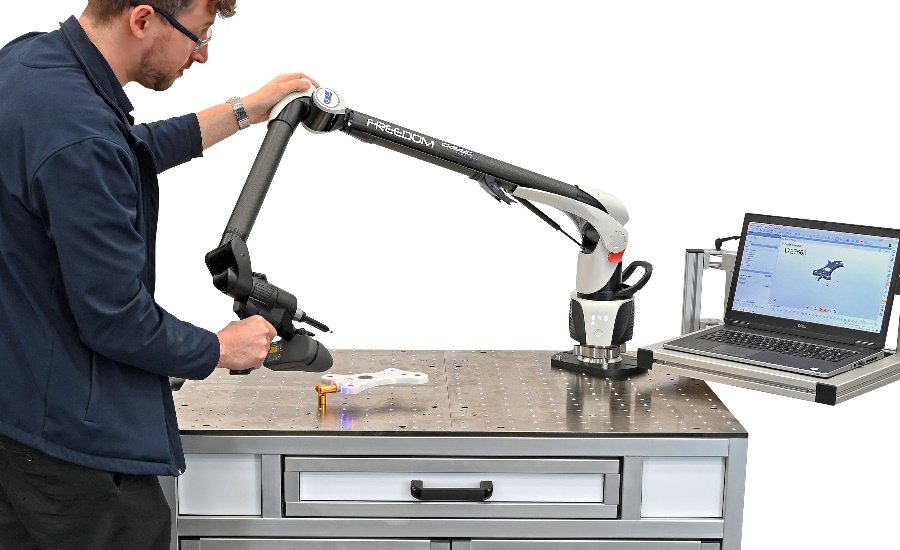
LK Metrology Portable Measuring Arms
All 34 portable measuring arms offered in 6-axis touch-probing and 7-axis multi-sensor variants by LK Metrology, Castle Donington, are now supplied as standard with a 4.5 inch diameter mounting ring to allow the unit to sit on a larger base, rather than that provided by the previous 3.5 inch ring. The result of having this extra stability is that the new Version 3 FREEDOM Arms are capable of measuring to higher precision. A mounting ring adapter can be supplied if an existing user already owns an LK tripod or stand with a 3.5 inch mount. Mechanical, magnetic and vacuum fixing alternatives are available.
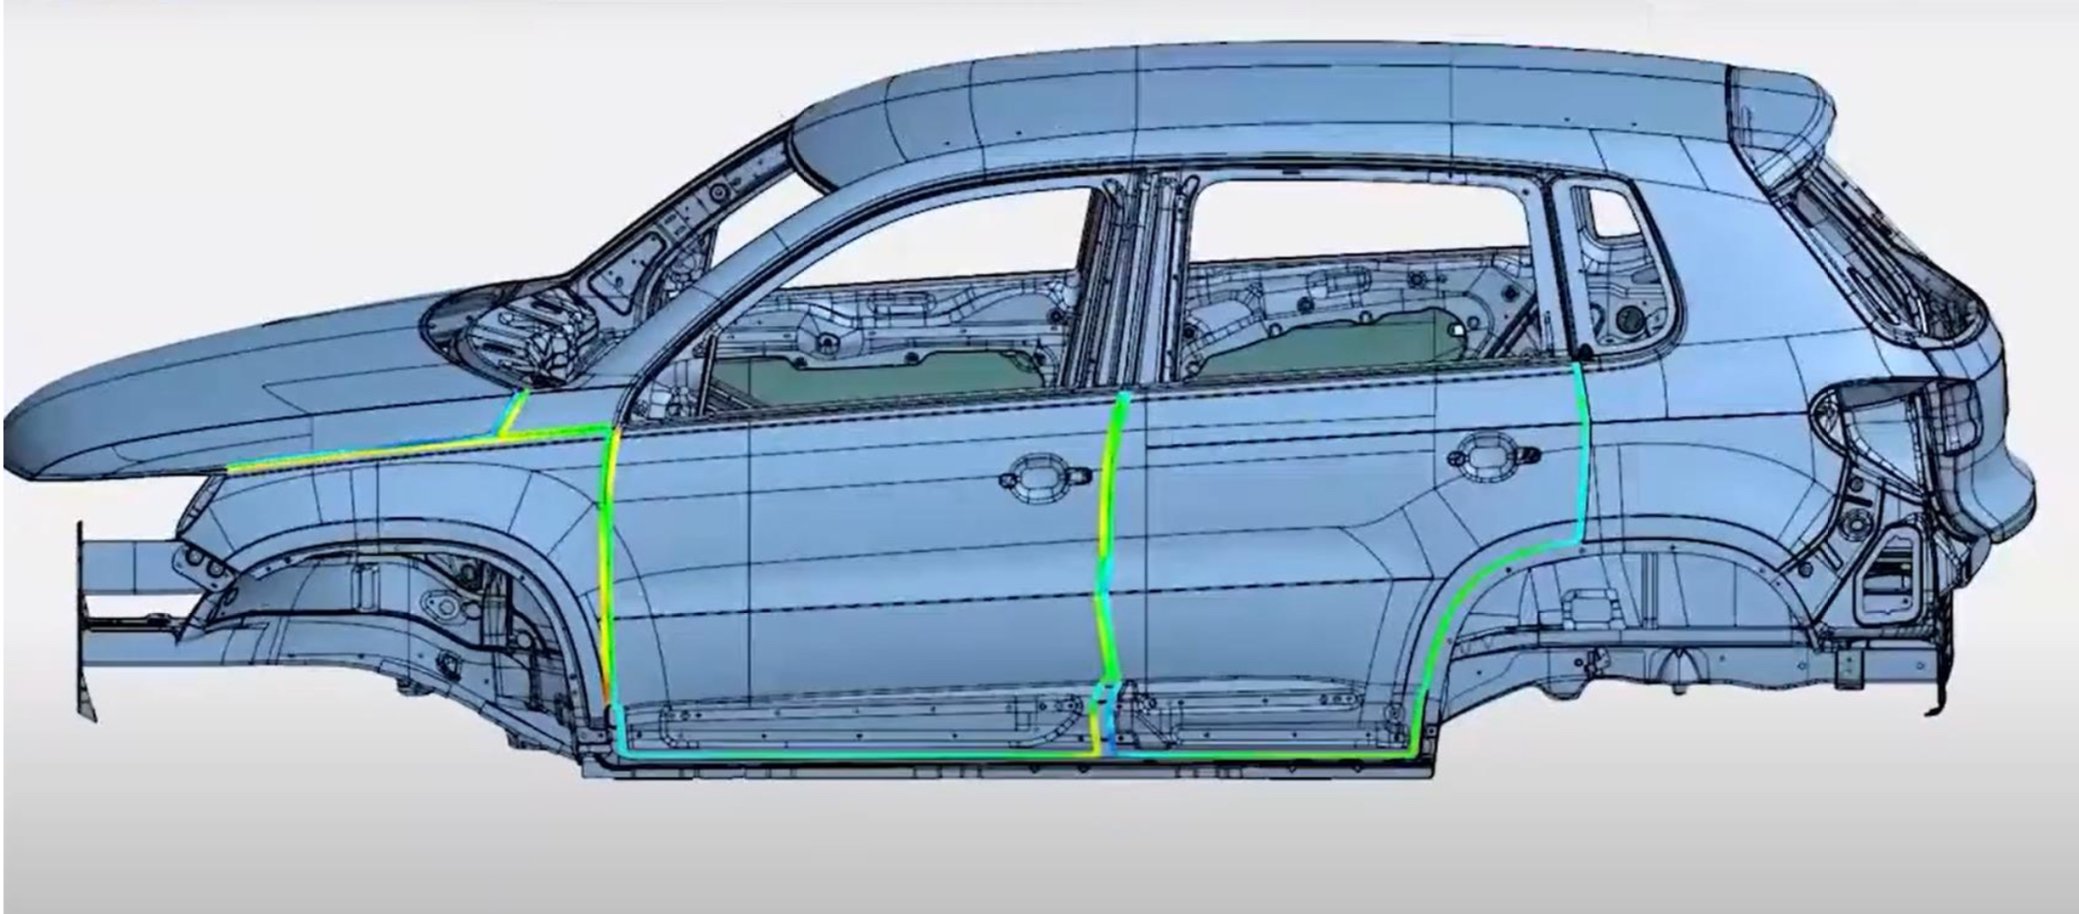
Why 3D scan? - full field data set
One of the major advantages of 3D scanning is it creates “full field data set” or sometime it’s called “digital twin”. The CMM has done a great job when it comes to collecting just enough data accurately and reliably for dimensional inspection purposes. What the CMM is focused on is to verify pre-defined features/dimensions to determine if parts are good or bad. However, when things go wrong and more information is needed to further analyze the root causes it takes a lot of efforts and tedious work to get enough useful information.
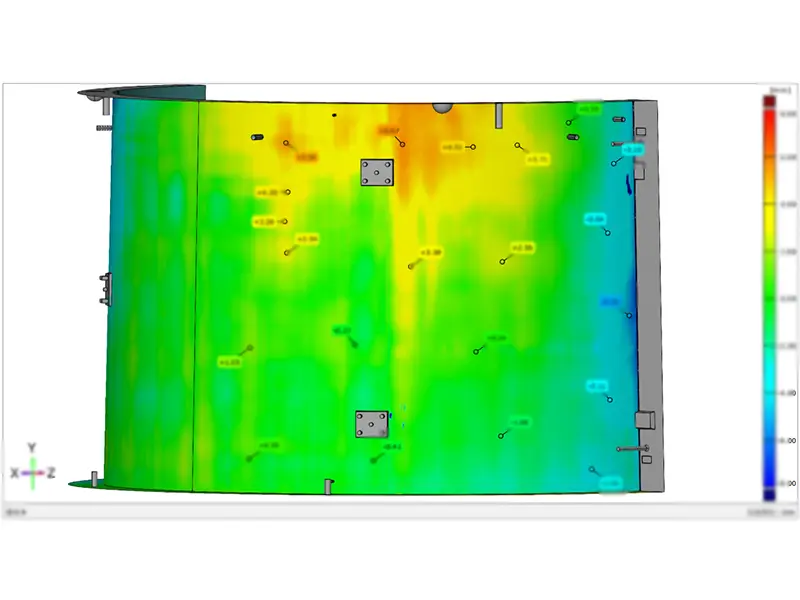
How to Inspect a Wind Turbine Foundation Mold With 3D Scanning
The wind power industry has witnessed tremendous growth over the past few decades, driven by the global push towards renewable energy sources.
Wind turbine foundations are critical components, providing the necessary support for the turbine towers to capture wind energy effectively.
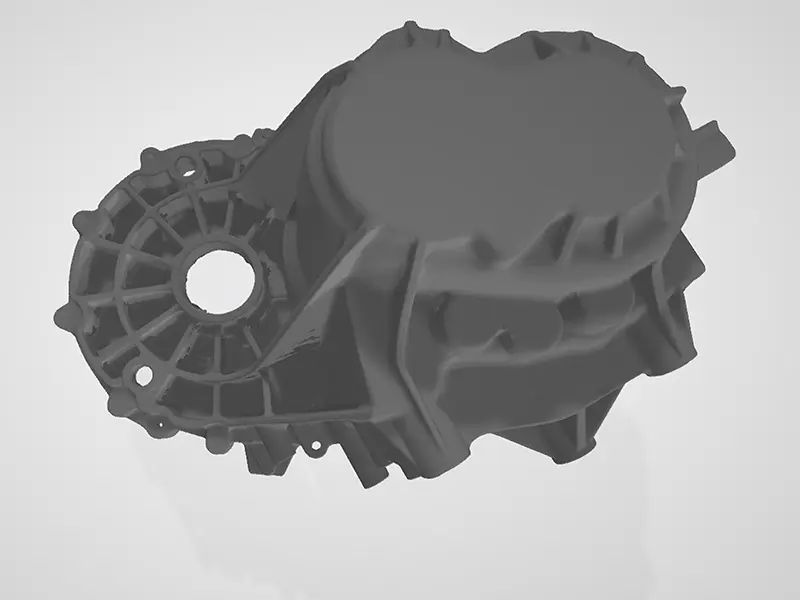
3D Inspect Cast Gearbox Housing For Machining Allowance Analysis
The manufacturing of complex and large-scale alloy die castings is essential in various industries, including automotive, telecommunications, renewable energy, aerospace, and electronics.
As demand for precision in these sectors increases, the necessity for advanced manufacturing techniques and strict quality control intensifies.
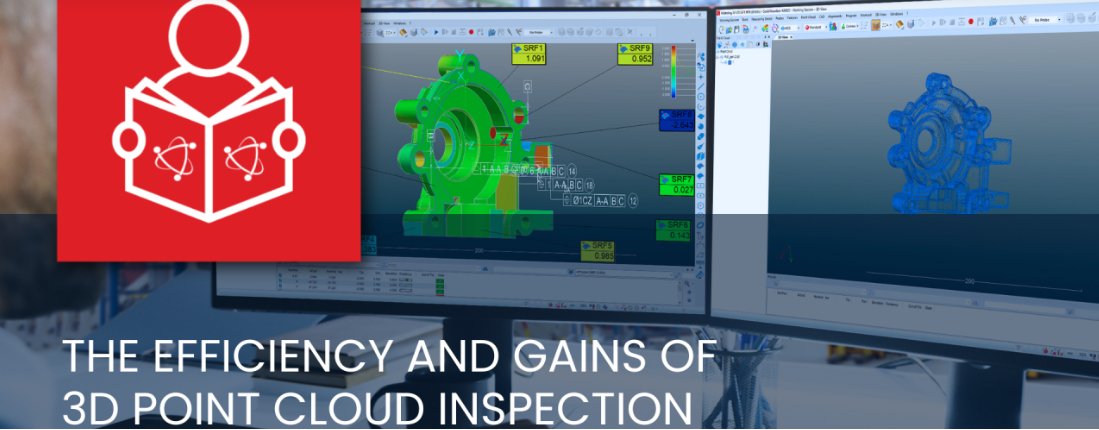
The efficiency and gains of 3D point cloud inspection
Point cloud technology refers to the use of a set of data points in a 3D coordinate system, which is commonly defined by X, Y and Z axes. From a metrological standpoint, the actual points in a point cloud represent those X, Y and Z geometric coordinates for each single point. All together, these point clouds can be used as they are (raw) or filtered to create shapes and surfaces that can be compared with a nominal CAD reference, for example.
