Why 3D scan? - full field data set
Written by Ray Xing
One of the major advantages of 3D scanning is it creates “full field data set” or sometime it’s called “digital twin”. The CMM has done a great job when it comes to collecting just enough data accurately and reliably for dimensional inspection purposes. What the CMM is focused on is to verify pre-defined features/dimensions to determine if parts are good or bad. However, when things go wrong and more information is needed to further analyze the root causes it takes a lot of efforts and tedious work to get enough useful information.
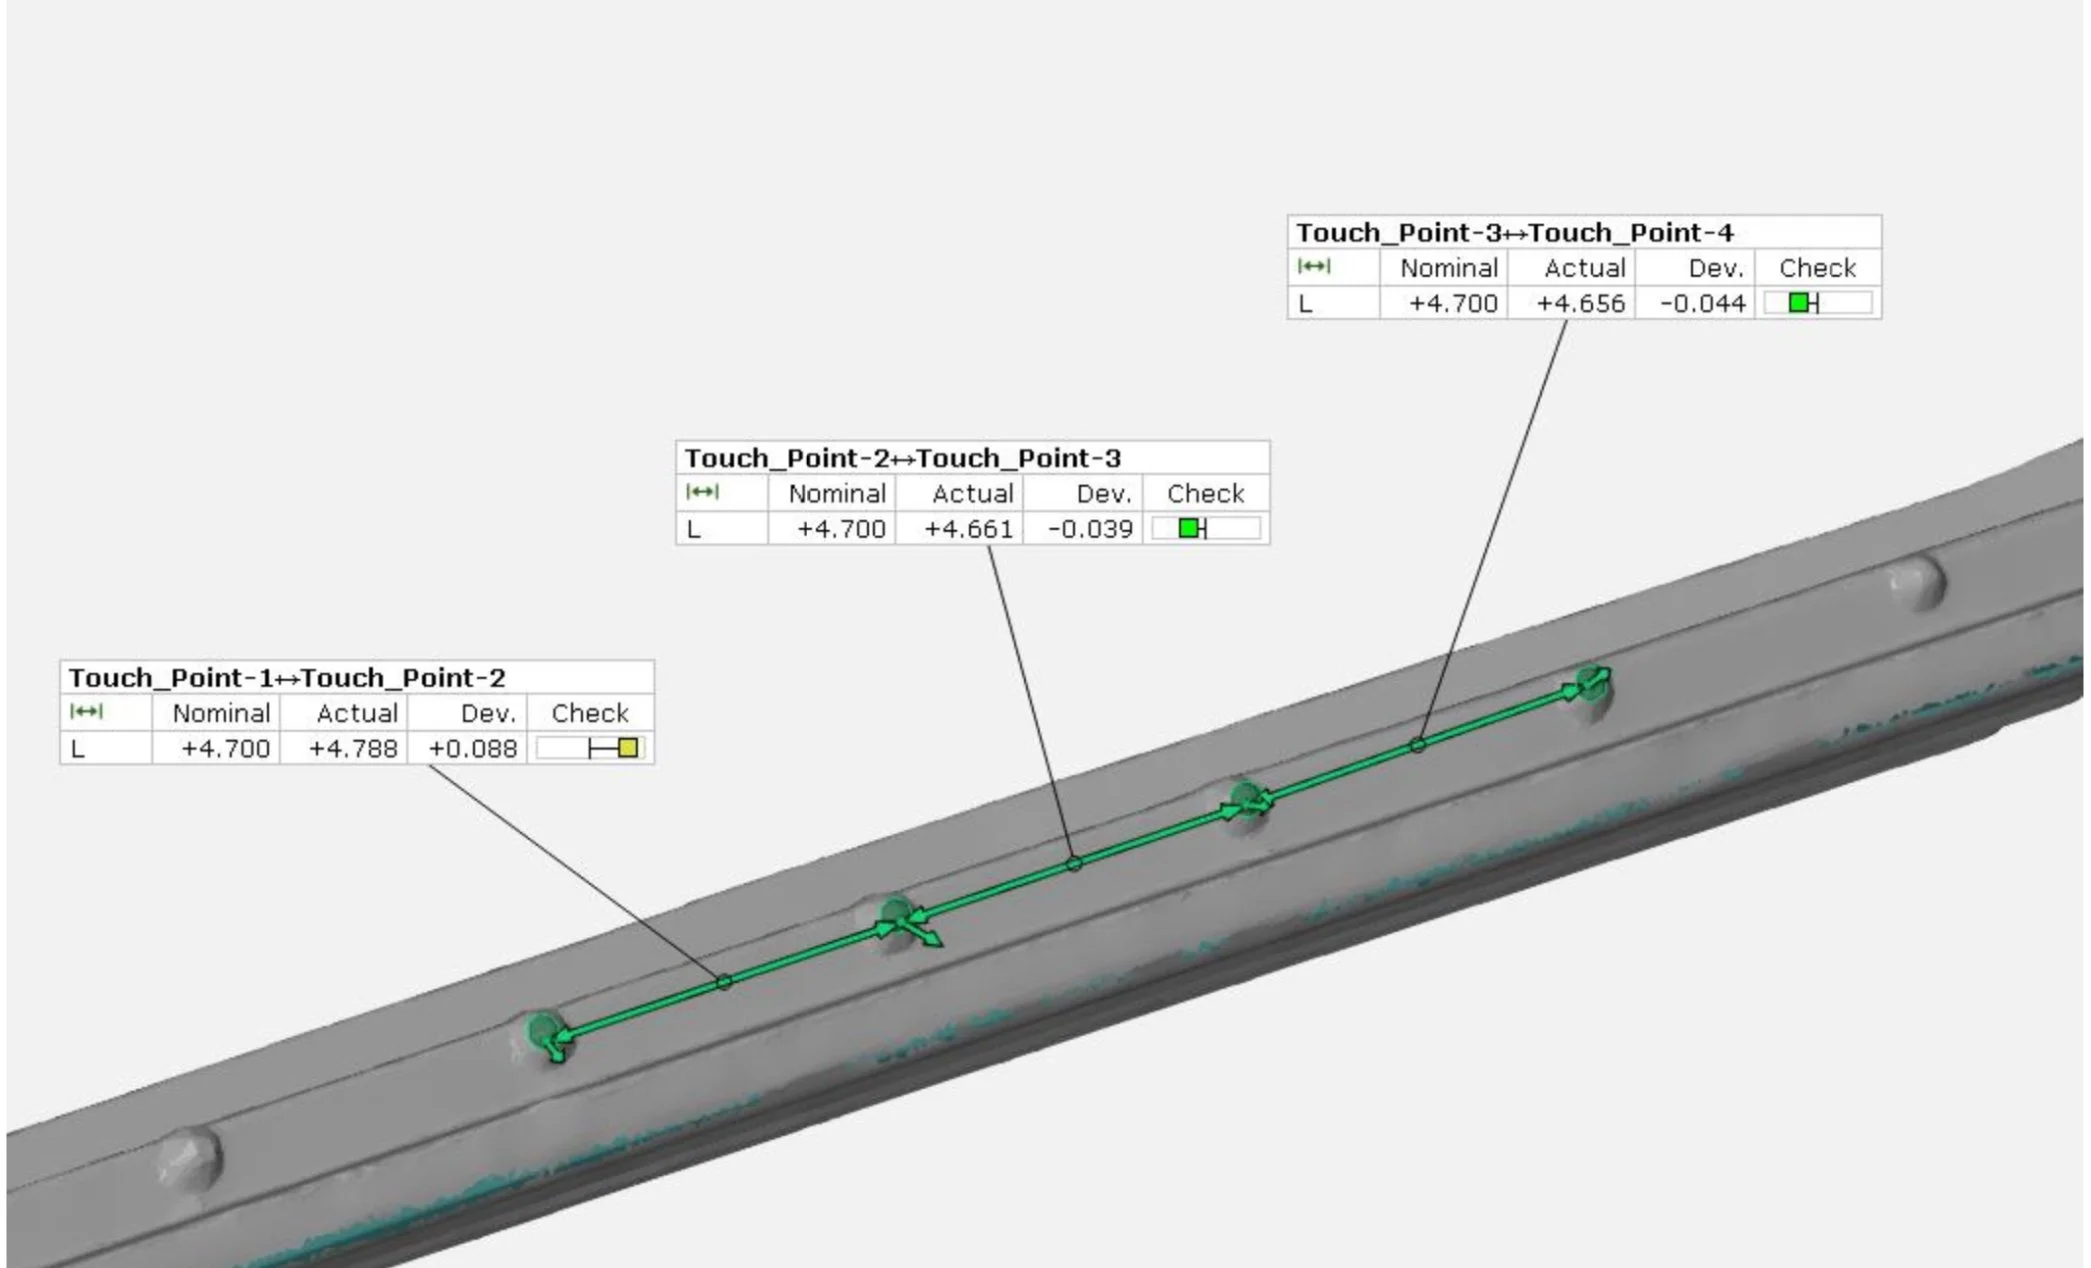
Below image shows some measurements on plastic parts on some small detailed features. This type of measurements are nightmare for the CMM tactile probing, but with 3D scanning you can get results with high level of confidence.
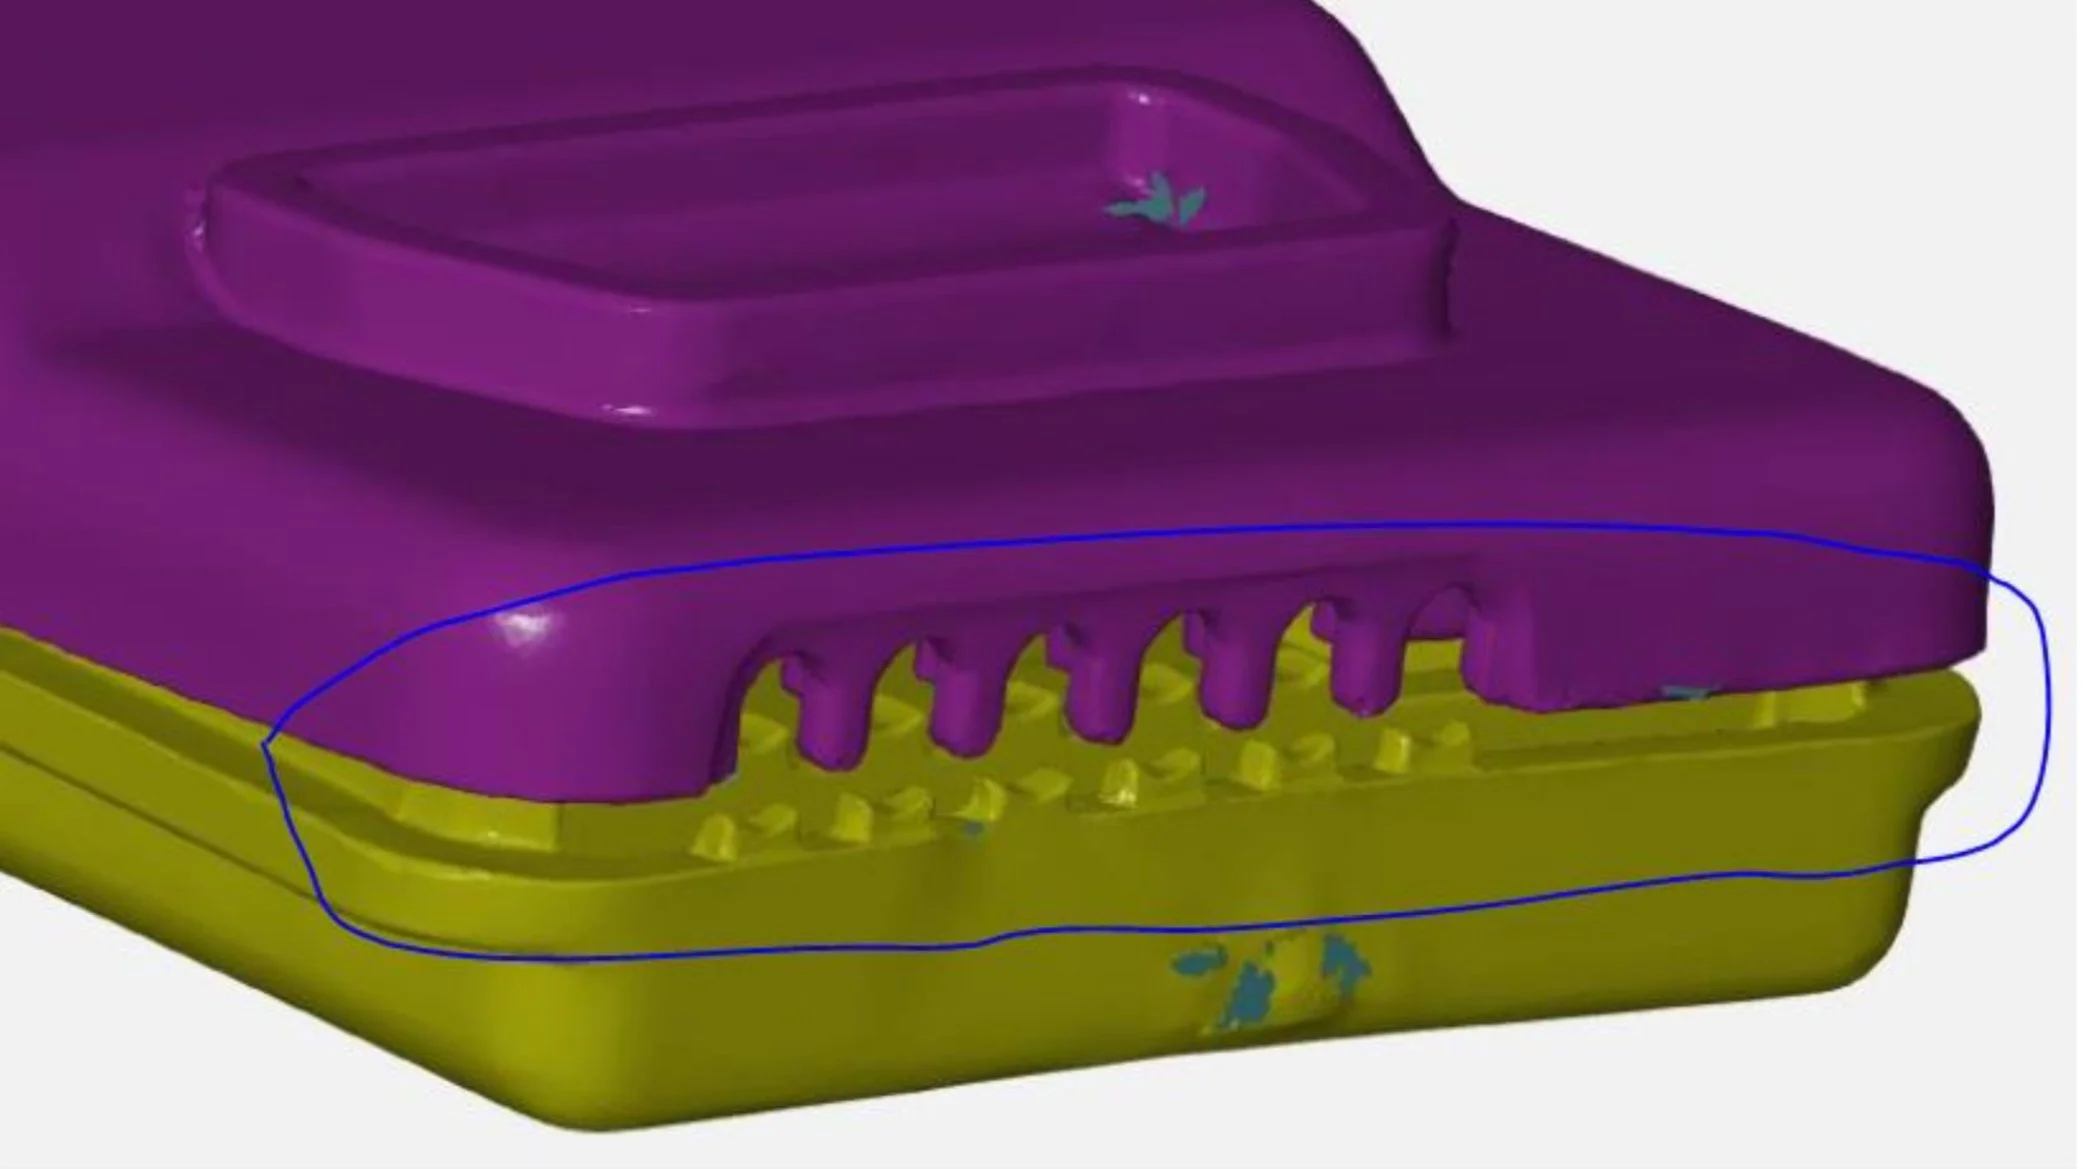
With full field data, “digital assembly” has become easy from very small parts (e.g. consumer electronics):
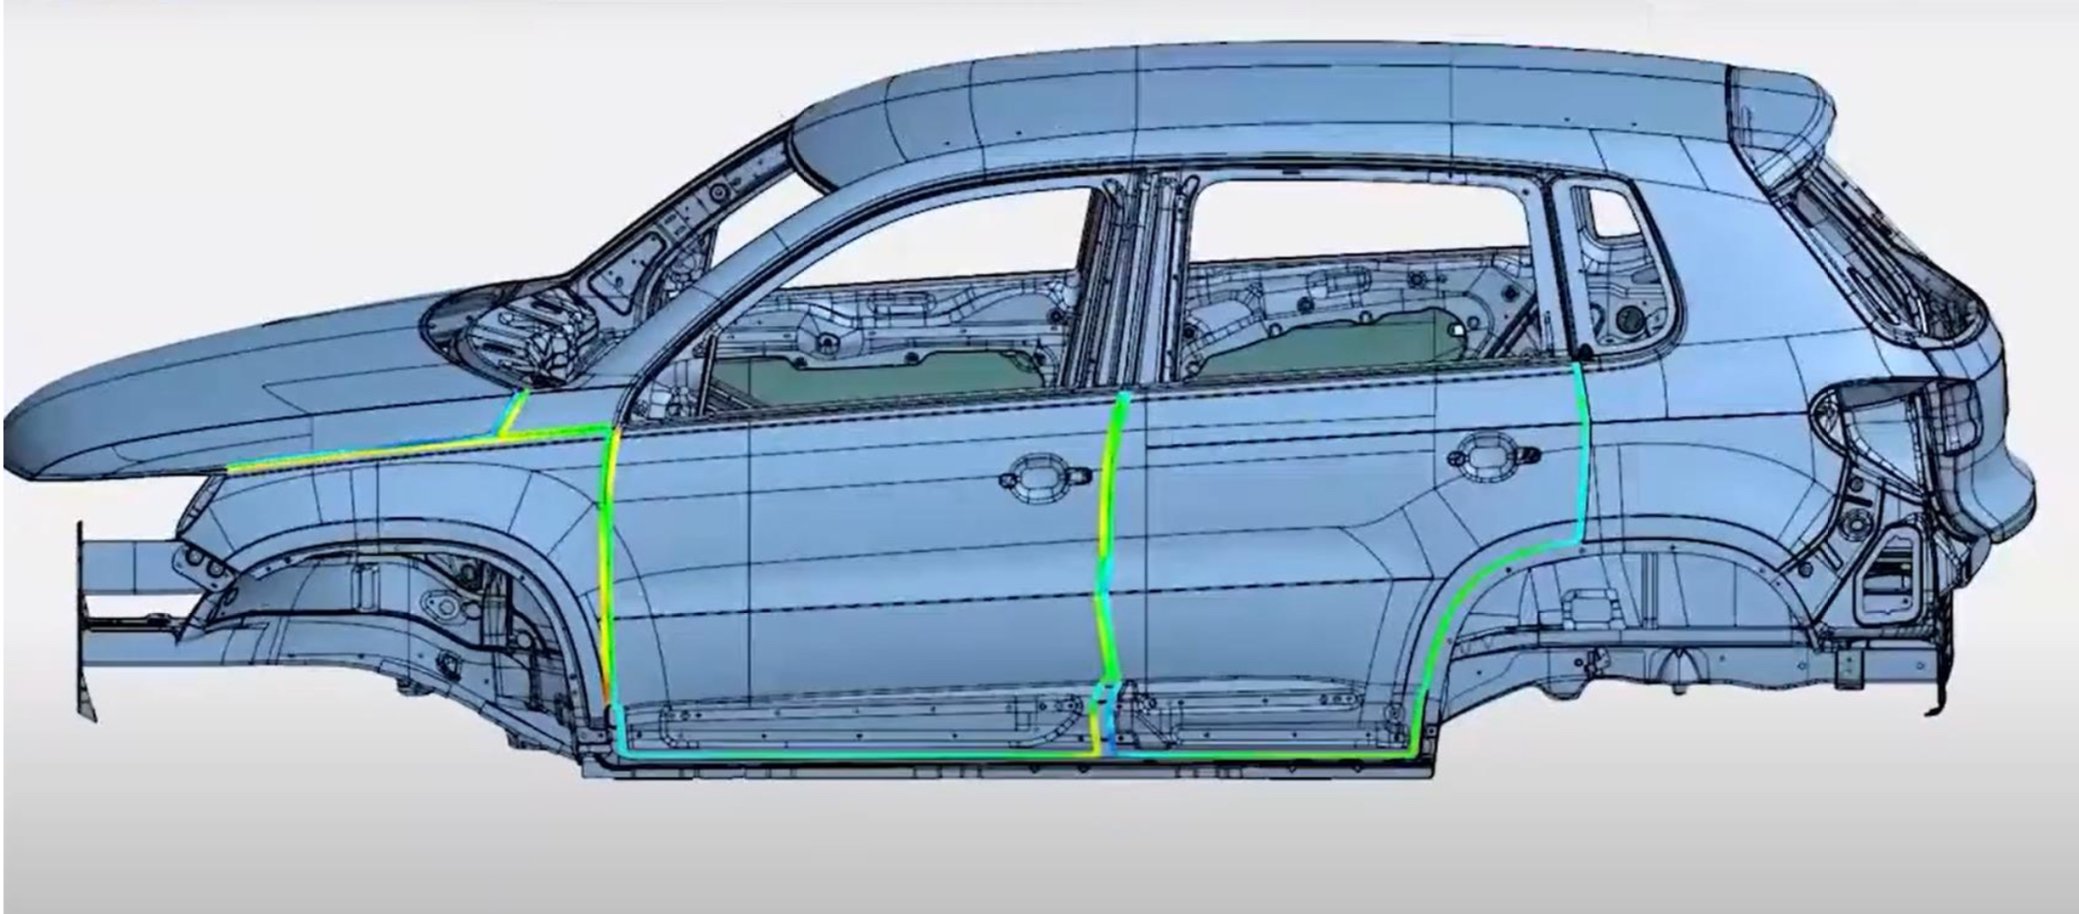
To very large car assembly (e.g. flush and gap checks):
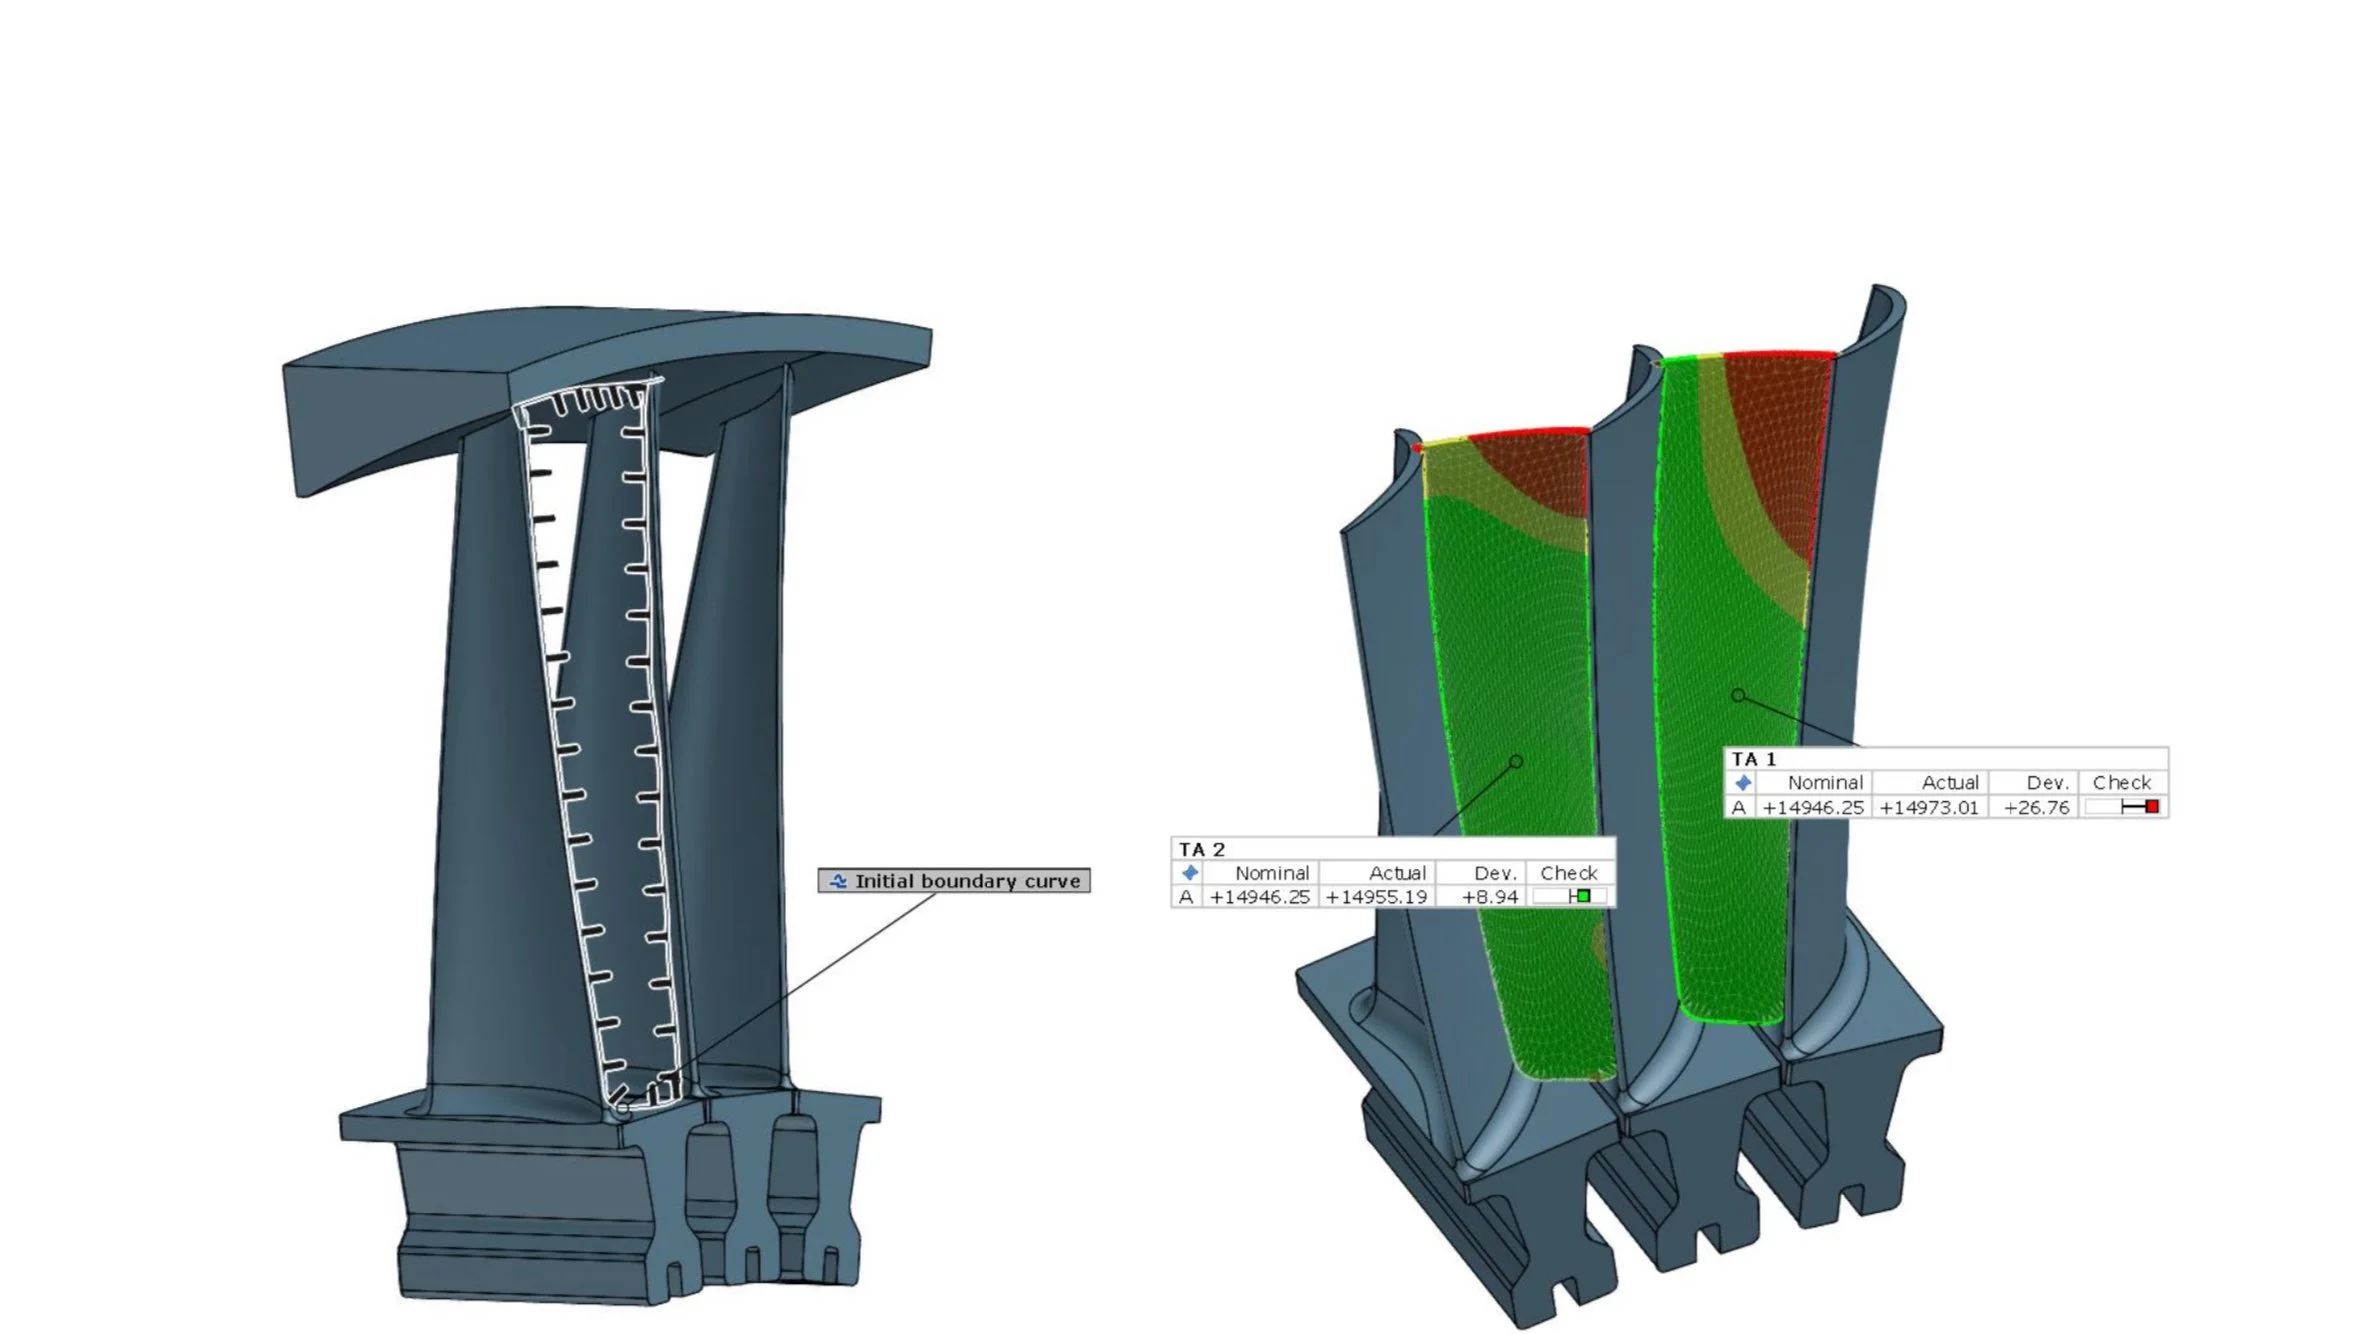
With full field data, the powerful ZEISS Inspect can even conduct precise engineering calculation on “3D throat area”:
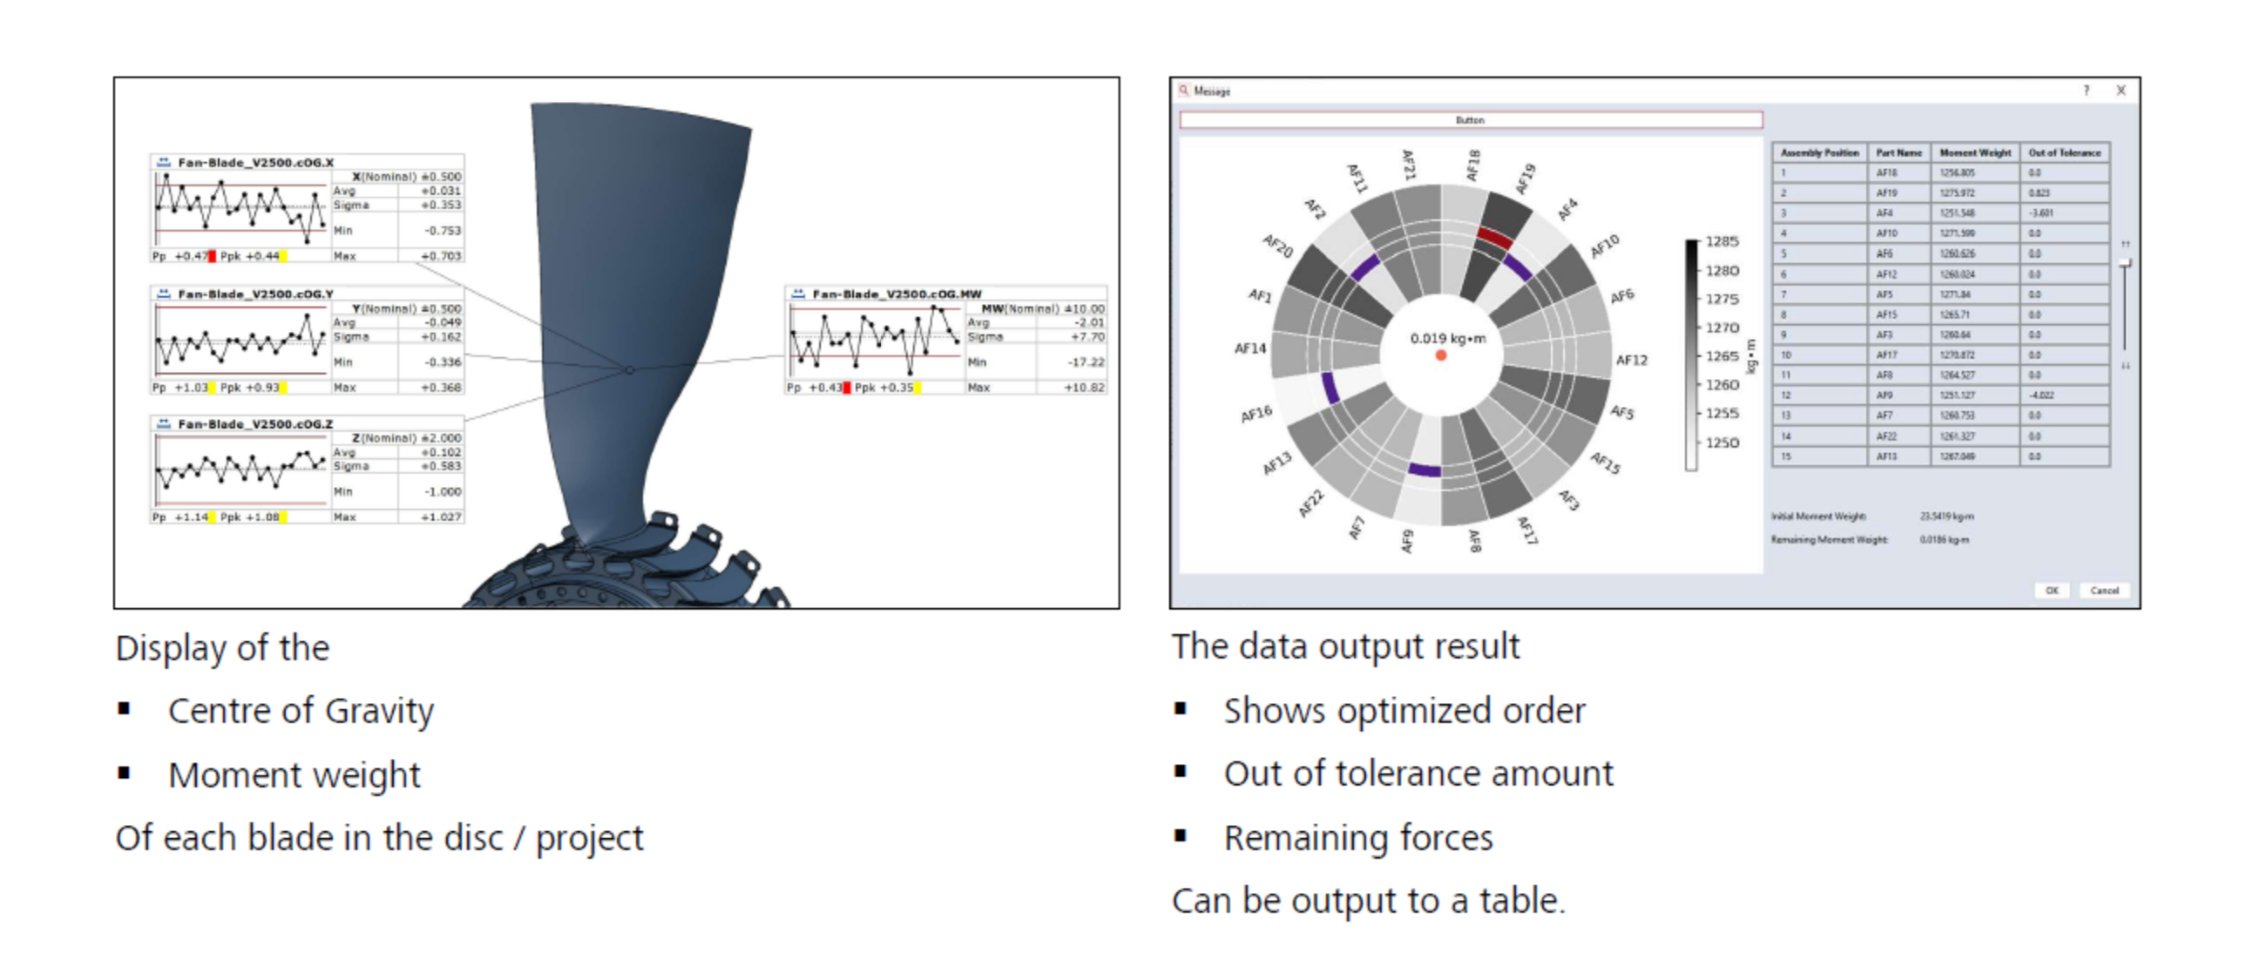
and “virtual balancing”:
Xpert3D Metrology is a ZEISS distributor in Canada for the entire line of ATOS 3D scanning technologies but very often we’re hired to provide dimensional engineering services with our equipment and expertise. If you have such need, please contact us directly at: support@xpert3d or use our contact page: Contact Xpert | Xpert3D Metrology.
