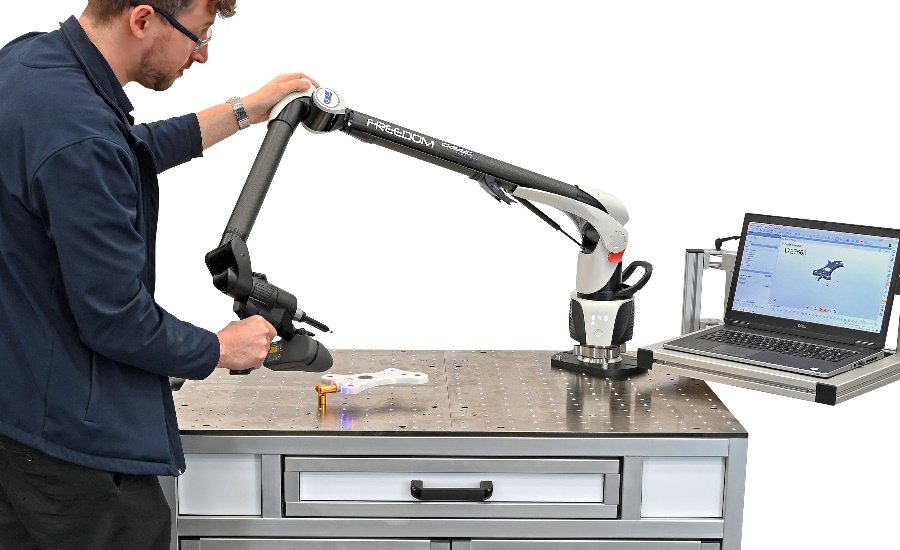
LK Metrology Portable Measuring Arms
All 34 portable measuring arms offered in 6-axis touch-probing and 7-axis multi-sensor variants by LK Metrology, Castle Donington, are now supplied as standard with a 4.5 inch diameter mounting ring to allow the unit to sit on a larger base, rather than that provided by the previous 3.5 inch ring. The result of having this extra stability is that the new Version 3 FREEDOM Arms are capable of measuring to higher precision. A mounting ring adapter can be supplied if an existing user already owns an LK tripod or stand with a 3.5 inch mount. Mechanical, magnetic and vacuum fixing alternatives are available.
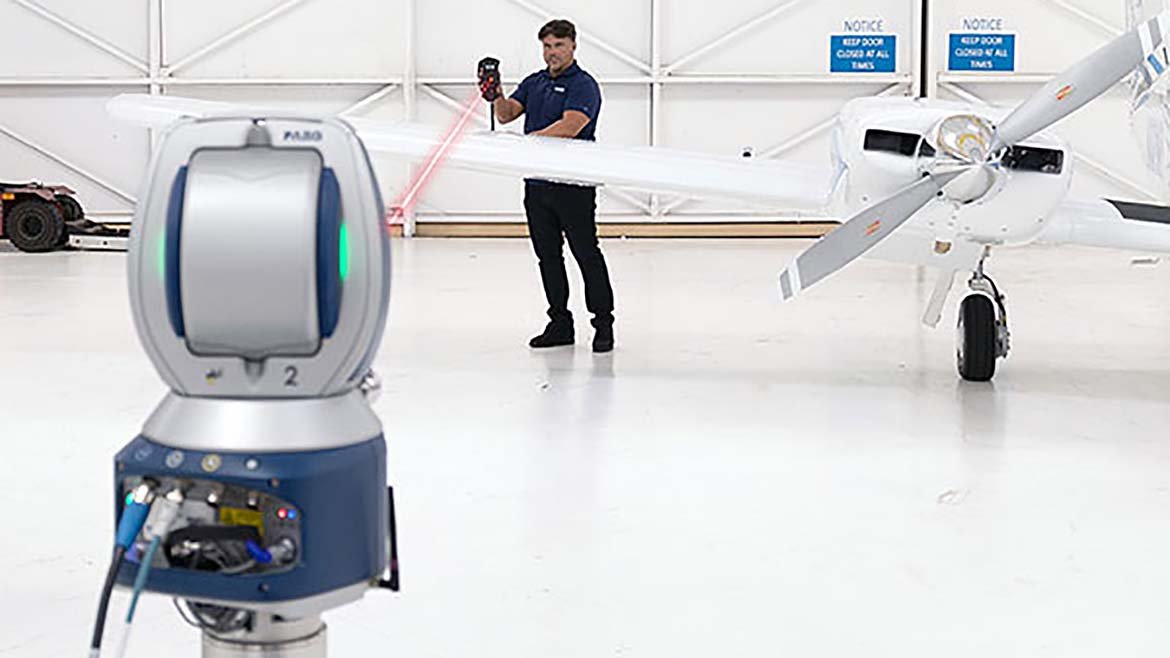
Soaring to Success: How Laser Tracker Tech Enhances Maintenance, Repair and Overhaul Operations in the Aerospace Industry
3D laser scanning tools, like laser trackers in general, are helping radically improve the safety of an assortment of vehicles that take to the sky or space.
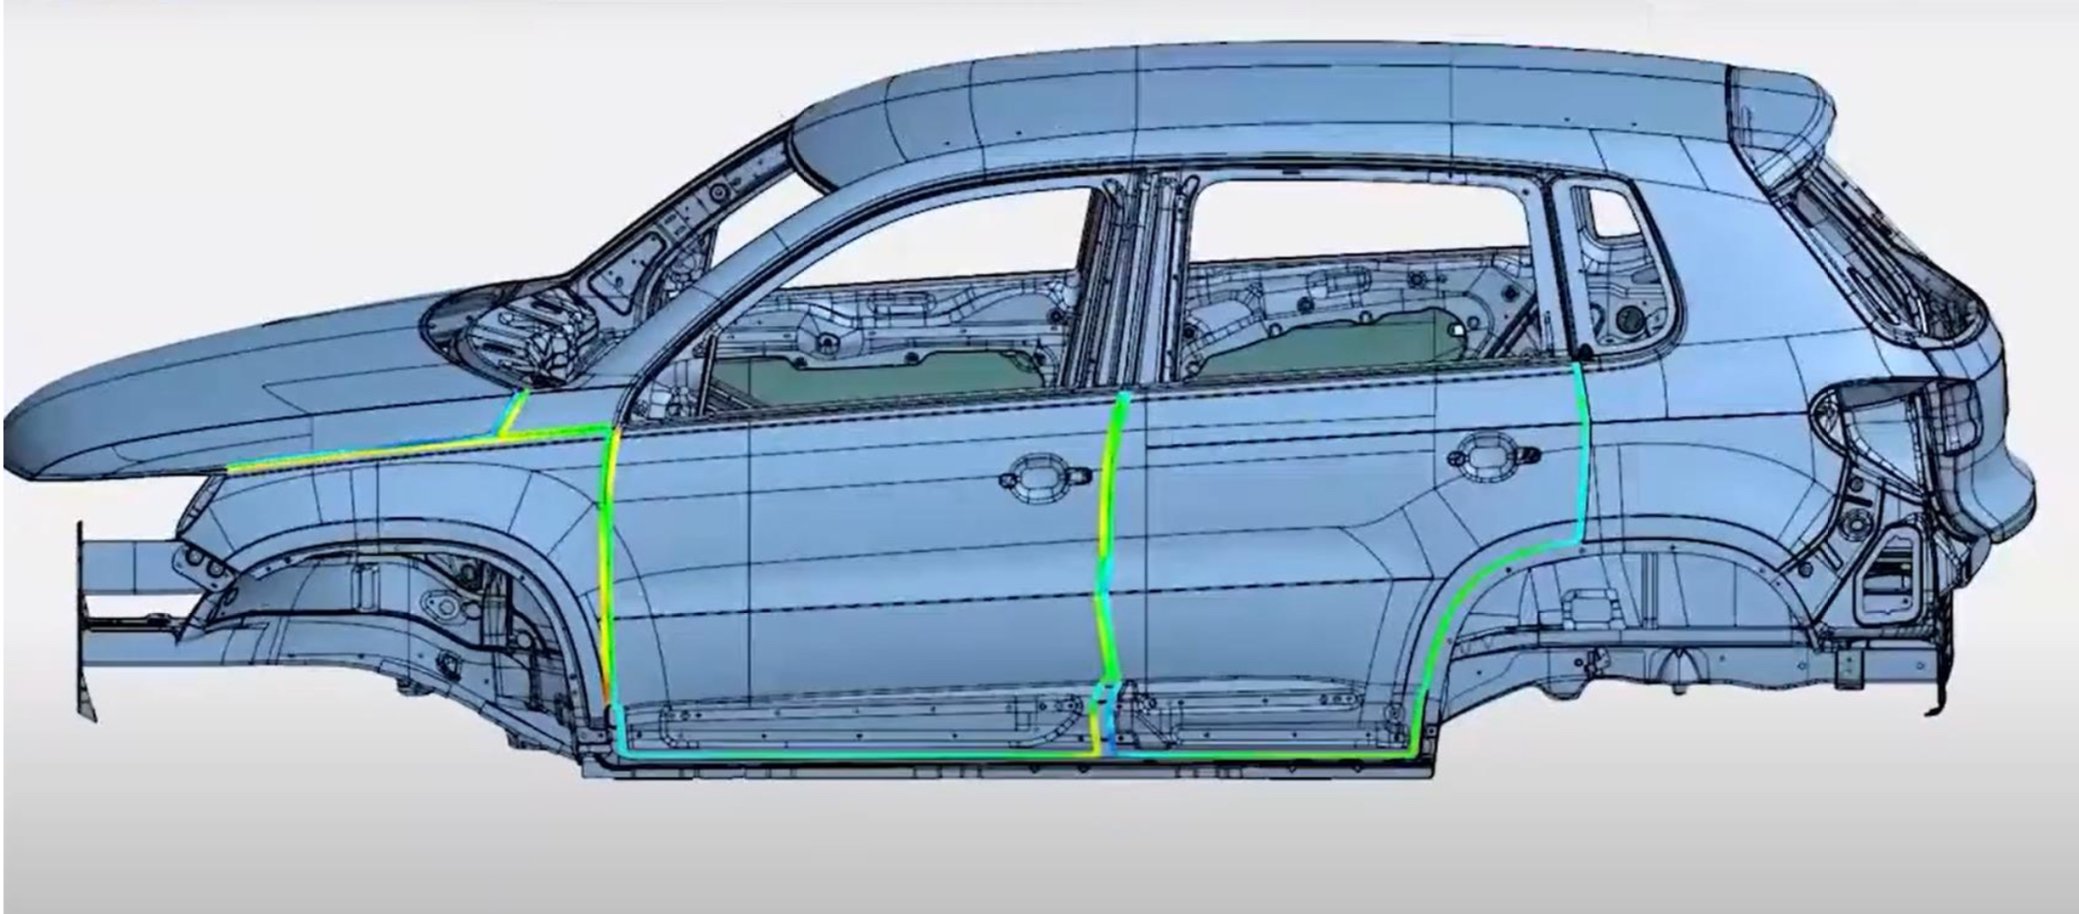
Why 3D scan? - full field data set
One of the major advantages of 3D scanning is it creates “full field data set” or sometime it’s called “digital twin”. The CMM has done a great job when it comes to collecting just enough data accurately and reliably for dimensional inspection purposes. What the CMM is focused on is to verify pre-defined features/dimensions to determine if parts are good or bad. However, when things go wrong and more information is needed to further analyze the root causes it takes a lot of efforts and tedious work to get enough useful information.

Open Letter from Zeiss for the Southeast
We want to update you on changes effective immediately in the following states: Alabama, Mississippi, Georgia, South Carolina, North Carolina, Tennessee, and Virginia. MSI-Viking Gage will no longer provide ZEISS Coordinate Measuring Machine and Vision Measuring Machine solutions. We thank them for their partnership over the years and we wish them good luck in their endeavors.
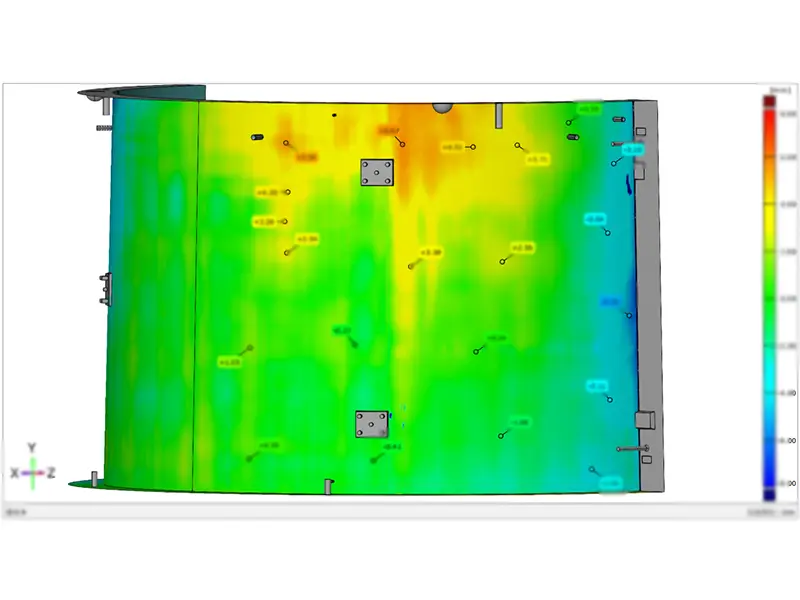
How to Inspect a Wind Turbine Foundation Mold With 3D Scanning
The wind power industry has witnessed tremendous growth over the past few decades, driven by the global push towards renewable energy sources.
Wind turbine foundations are critical components, providing the necessary support for the turbine towers to capture wind energy effectively.
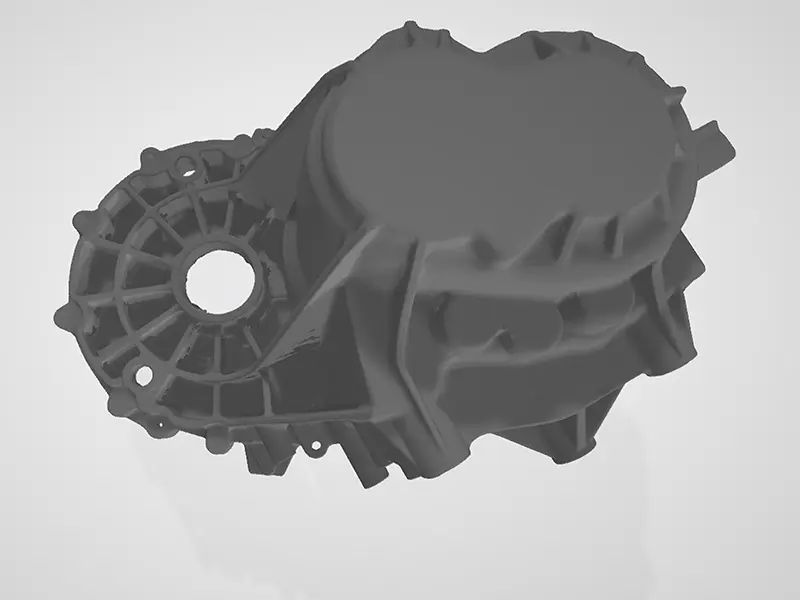
3D Inspect Cast Gearbox Housing For Machining Allowance Analysis
The manufacturing of complex and large-scale alloy die castings is essential in various industries, including automotive, telecommunications, renewable energy, aerospace, and electronics.
As demand for precision in these sectors increases, the necessity for advanced manufacturing techniques and strict quality control intensifies.
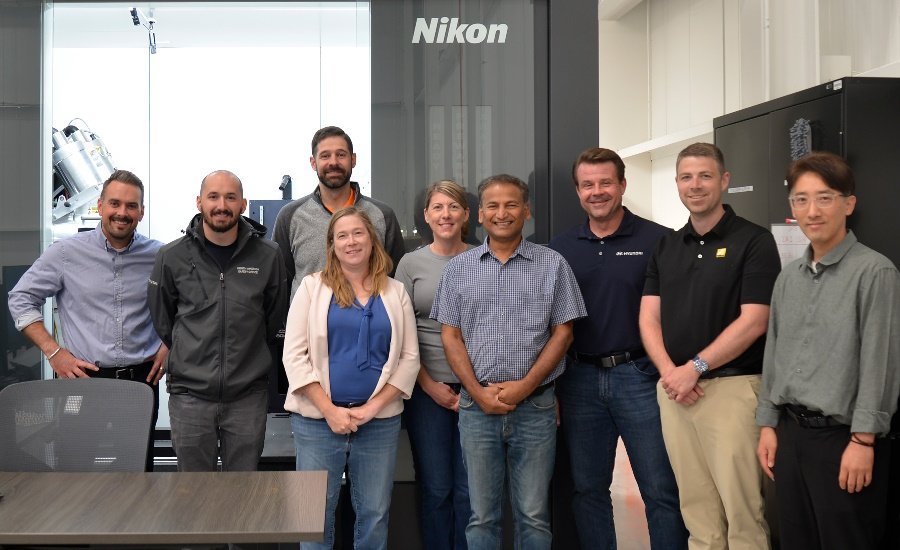
Nikon’s Large-Envelope X-Ray CT System Installed in Hyundai Motor North America’s New Safety, Investigation Laboratory
Nikon Metrology, Inc, and Hyundai Motor North America announced that Hyundai has purchased and installed Nikon’s X-ray computed tomography (CT) system. This represents a significant investment in the success of Hyundai’s newly opened $51.4 million Safety Test and Investigation Laboratory (STIL) in Superior Township, MI.
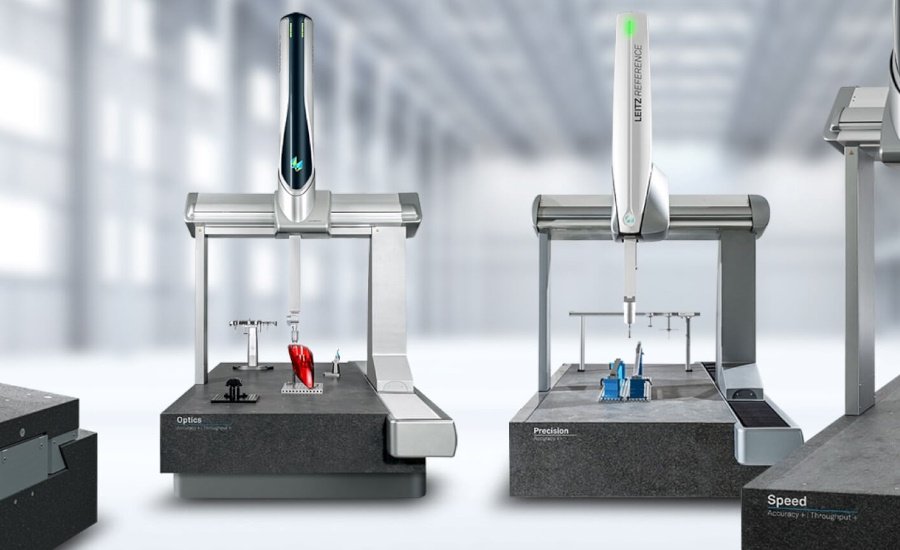
MSI Viking Announces Strategic Partnership with Hexagon Manufacturing Intelligence
MSI Viking announced a major new partnership in the Americas with Hexagon Manufacturing Intelligence, a division of Hexagon. This collaboration is set to enhance MSI Viking’s offerings in coordinate metrology, further solidifying its commitment to delivering excellence in the field.

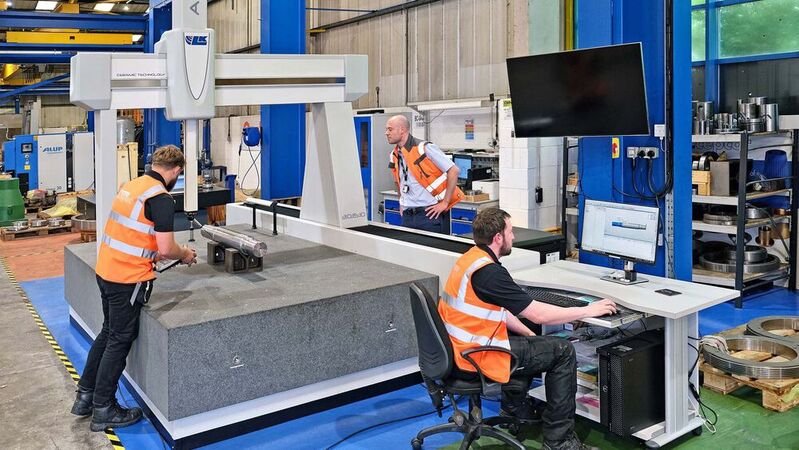
Rapid inspection of large, tight-tolerance components
CMS Cepcor has significantly upgraded its quality control by acquiring an Altera M Coordinate Measuring Machine (CMM) from LK Metrology. This state-of-the-art CMM offers precise and repeatable inspections down to two microns.
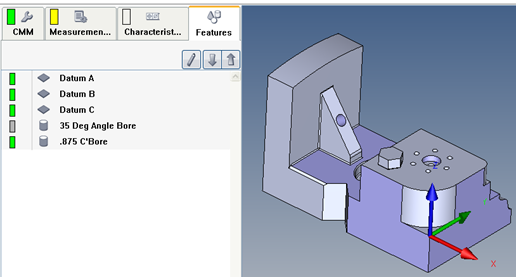
Calypso - Condition Based on Confirm Statement
What to expect. Yes, (it does exist) the CMM will measure the 35 Deg Bore. No, (does not exist) it will skip the 35 Deg Bore and move to the .875 diameter.
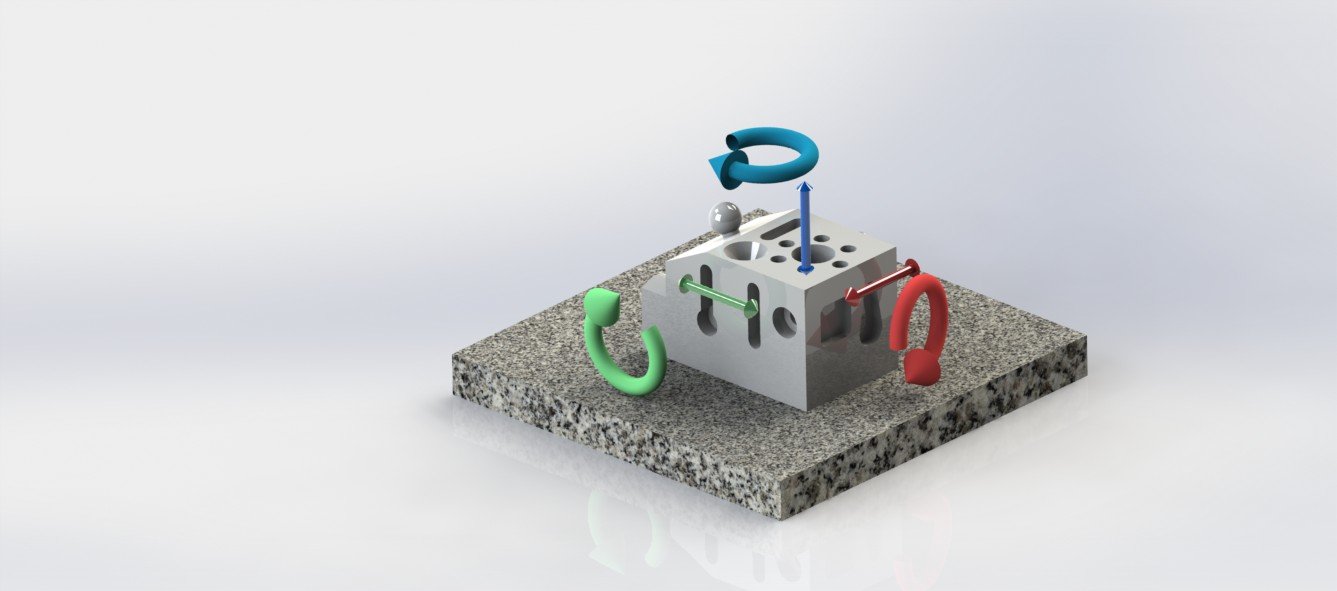
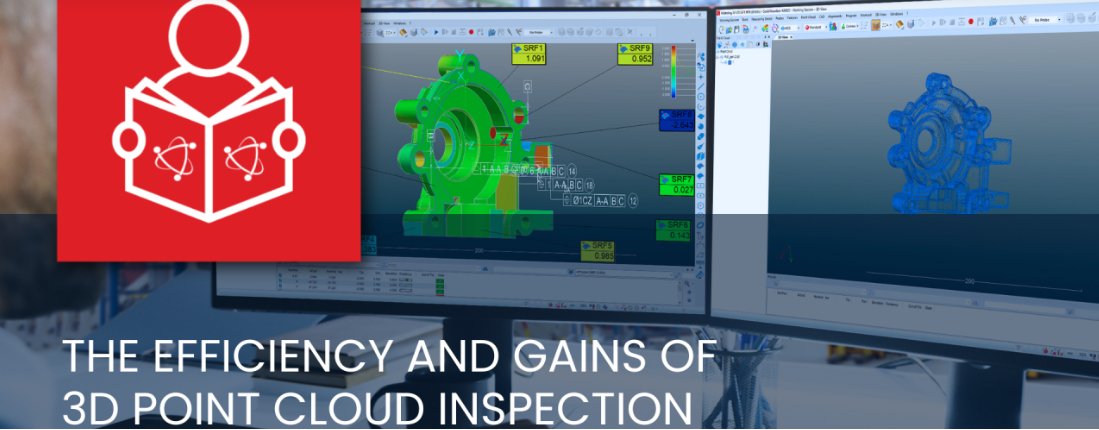
The efficiency and gains of 3D point cloud inspection
Point cloud technology refers to the use of a set of data points in a 3D coordinate system, which is commonly defined by X, Y and Z axes. From a metrological standpoint, the actual points in a point cloud represent those X, Y and Z geometric coordinates for each single point. All together, these point clouds can be used as they are (raw) or filtered to create shapes and surfaces that can be compared with a nominal CAD reference, for example.
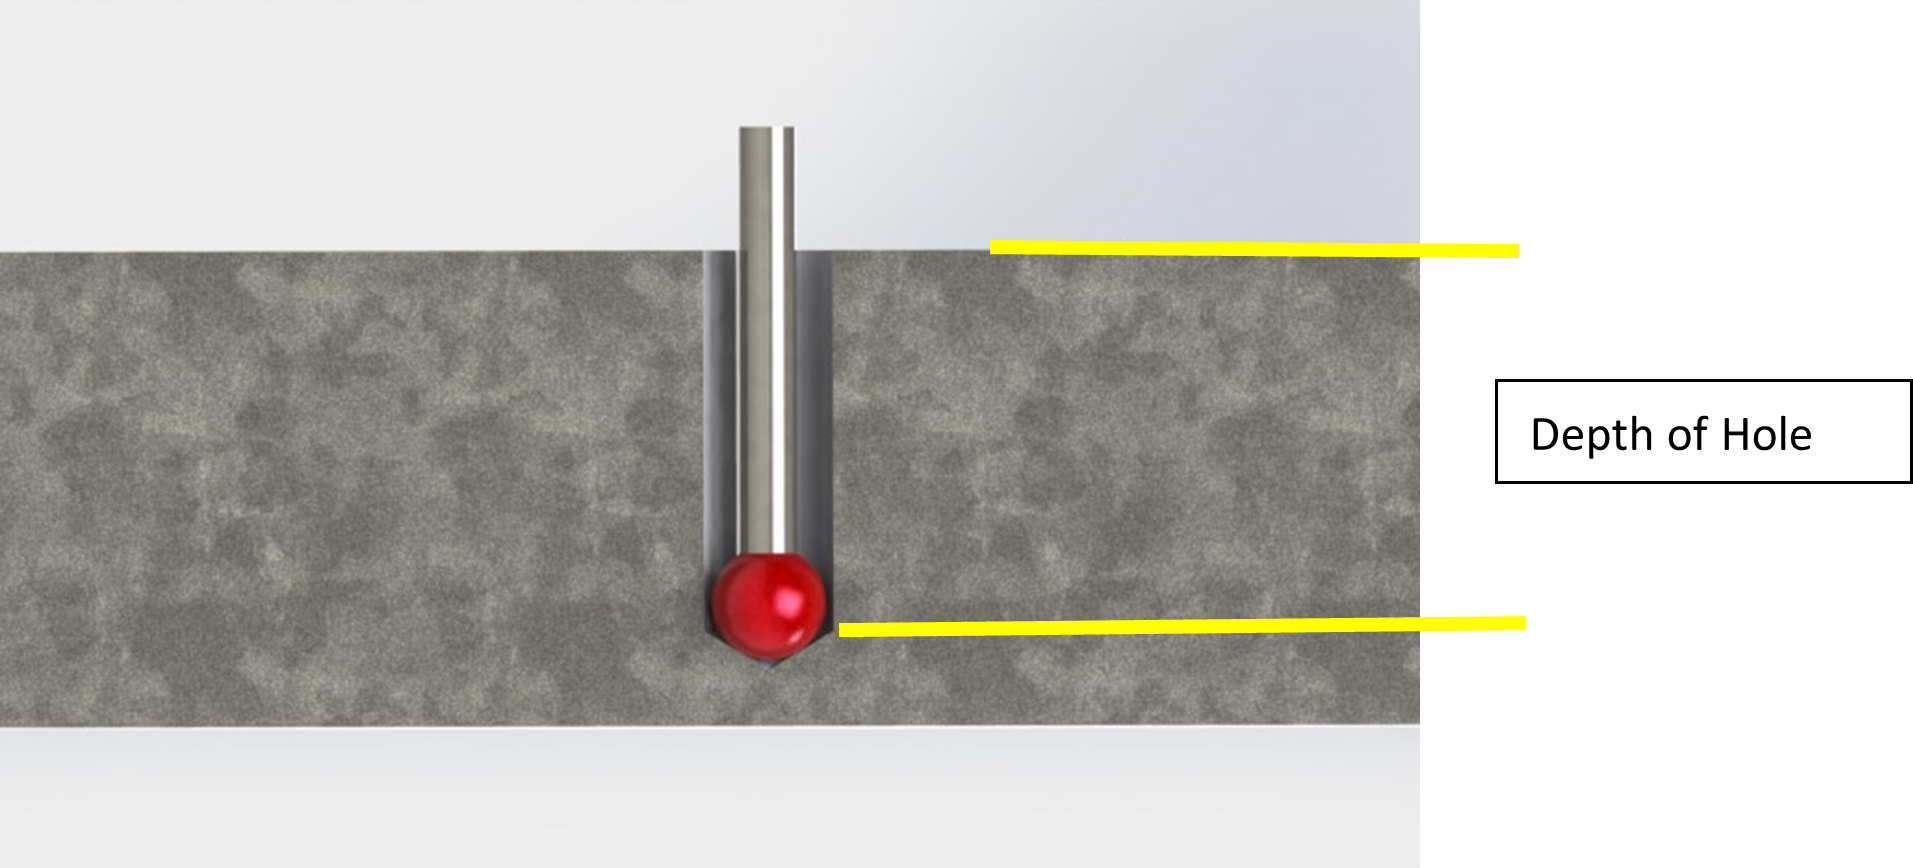
Calypso - Blind Hole Depth
This is an excerpt from the Calypso Handbook
To measure the depth of a blind hole we must calculate the depth by using this process.

Scantech Showcases Advanced 3D Scanning Solutions at Rapid + TCT 2024
Los Angeles, CA — Scantech, a leading provider of 3D solutions, showcased its latest advancements at the Rapid + TCT 2024, the largest and most influential additive manufacturing event in North America held from June 25 to 27 at the Los Angeles Convention Center.
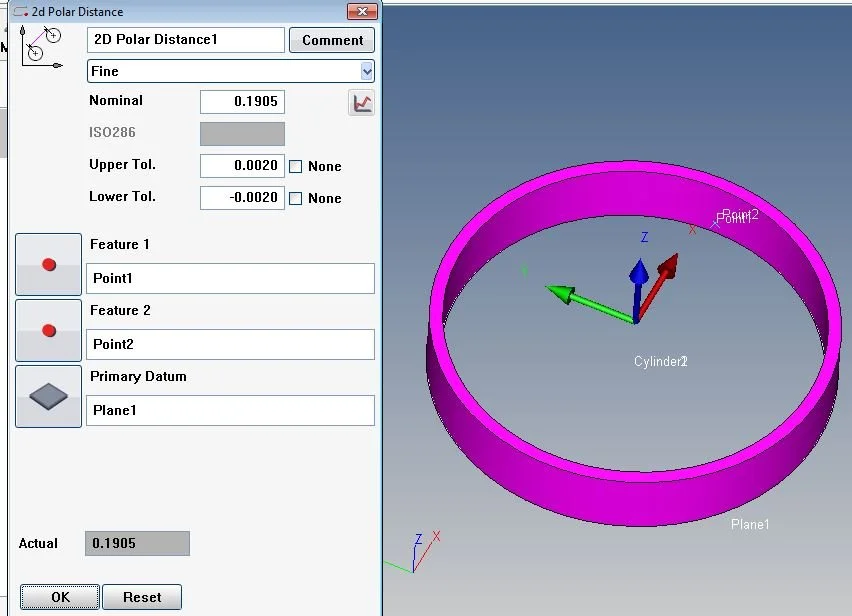
Calypso - Point Recall with Loop
This will create a wall thickness 360° around the part top and bottom 8 points each.
Program

Do you have items in your cart?
Here is a discount code for purchases until the end of July
Maximum precision in machining production
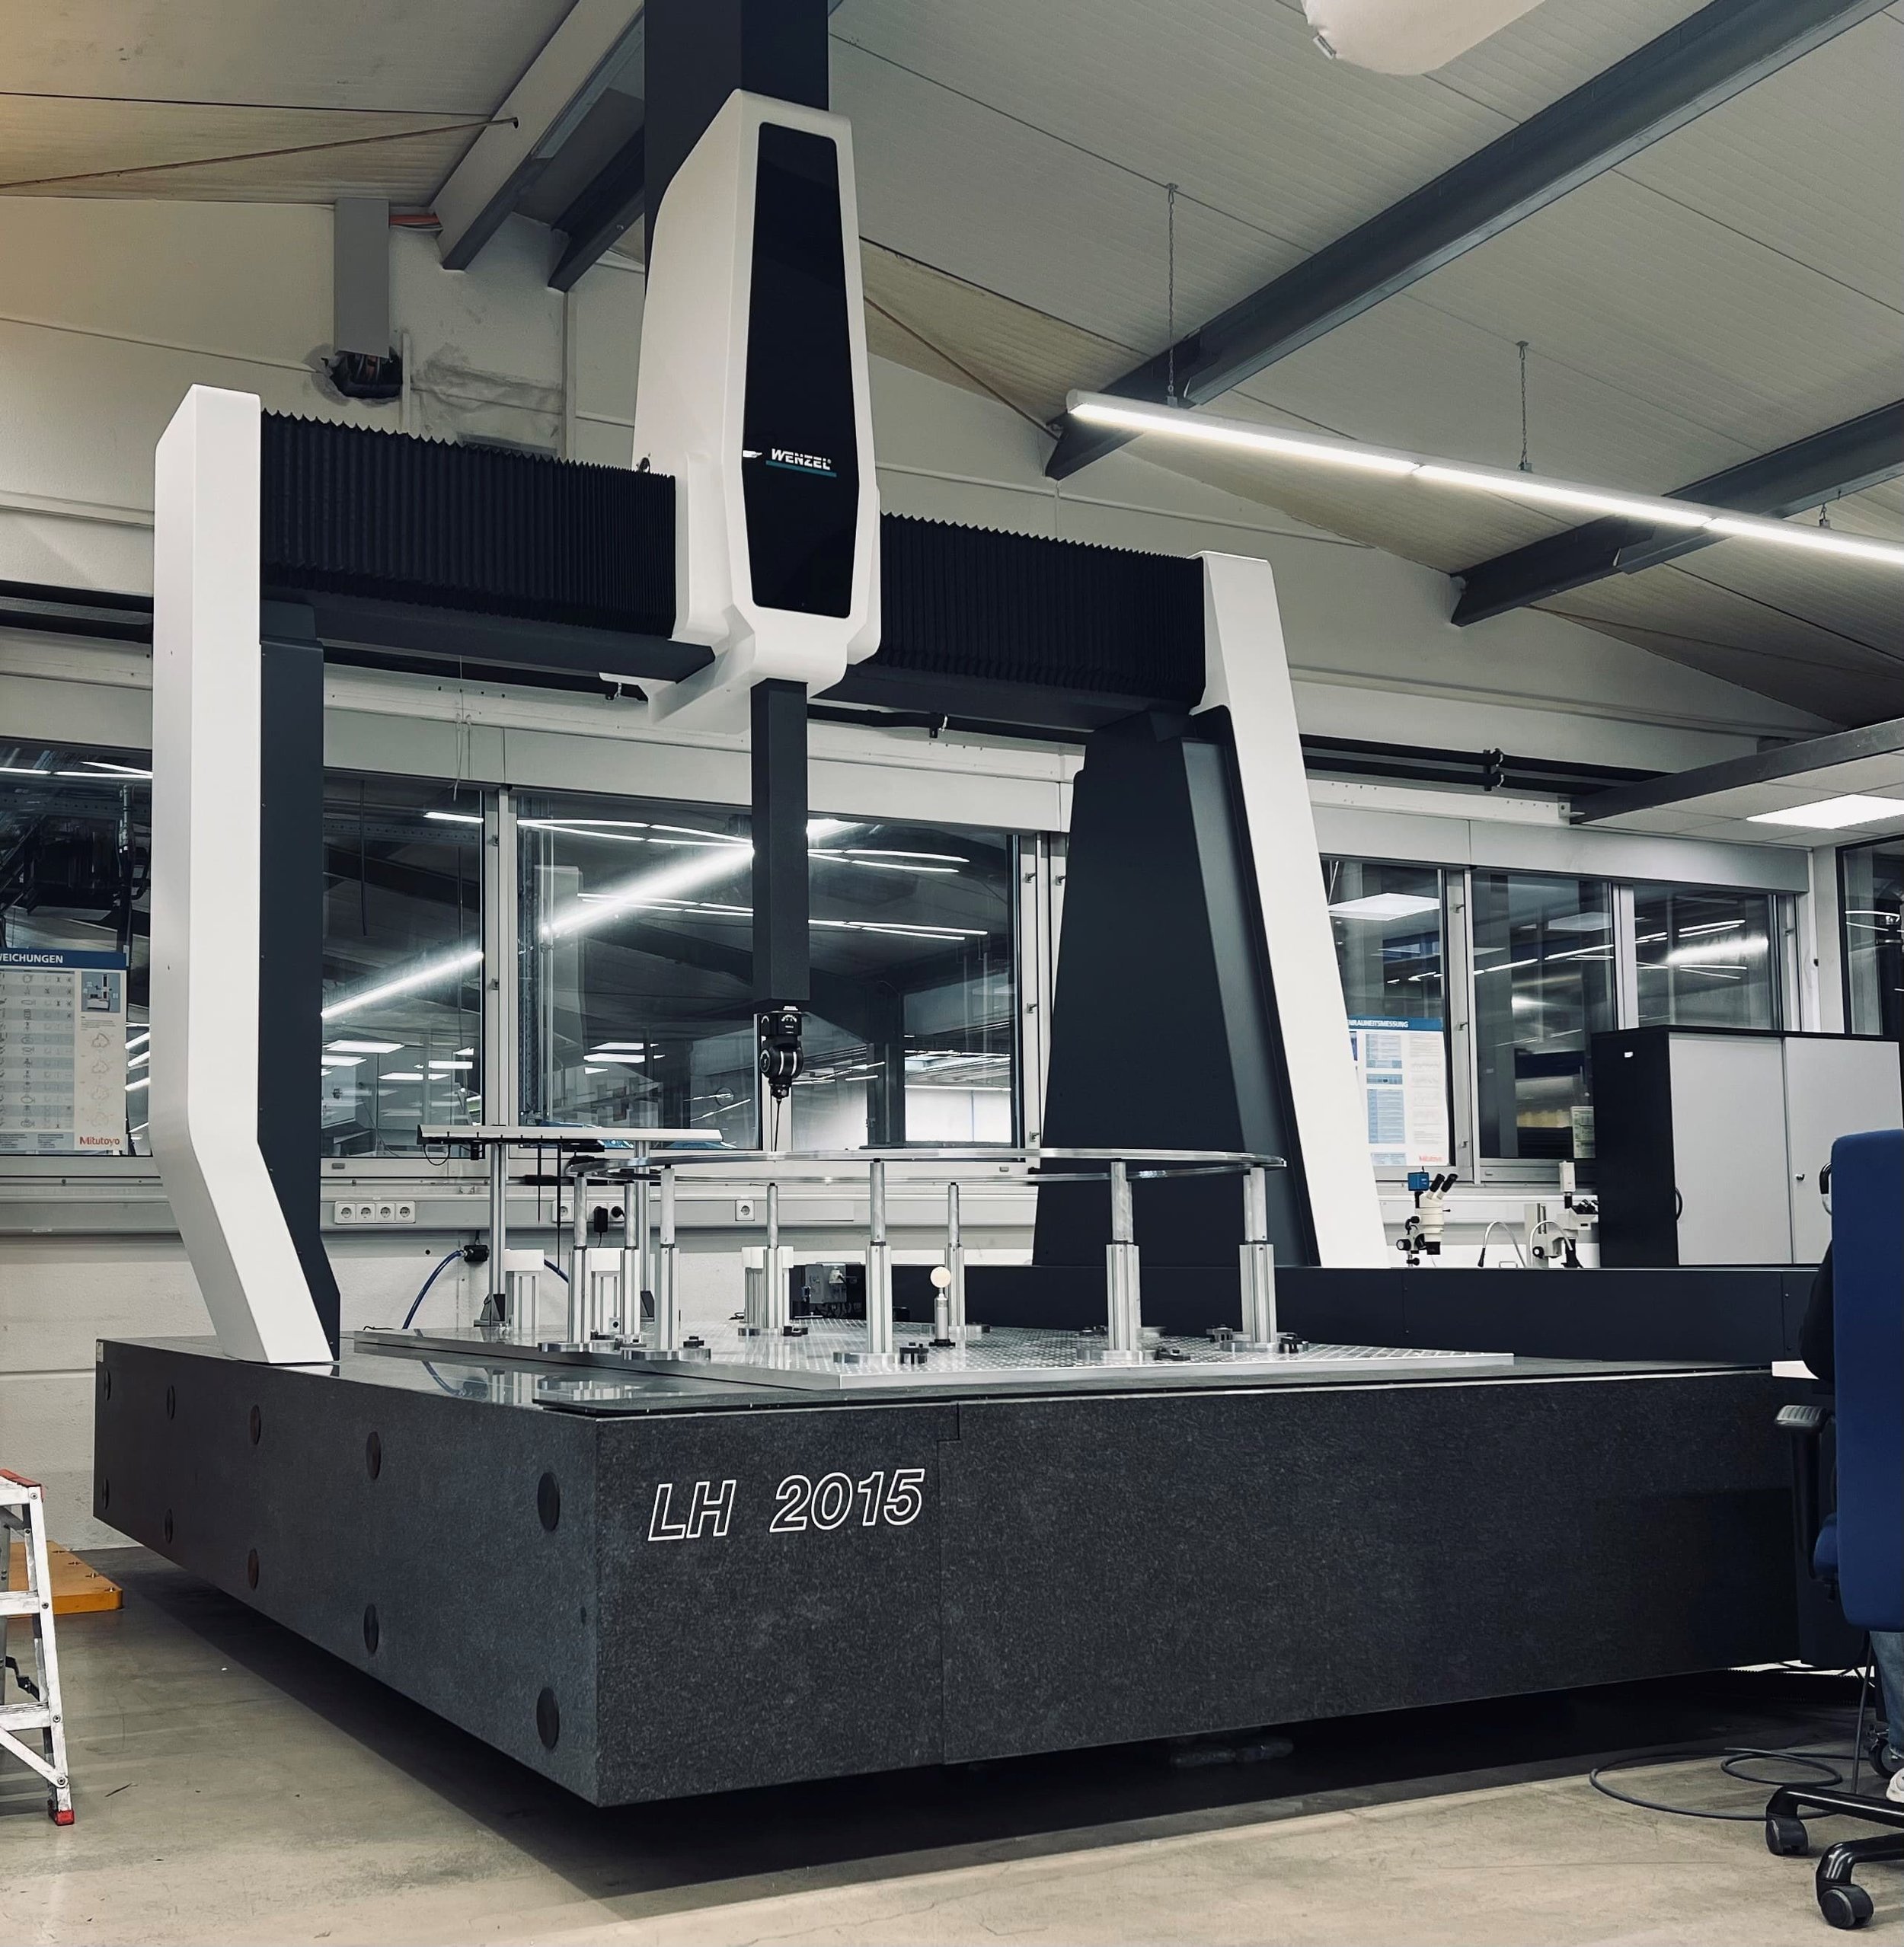
The powerful LH 2015 CMM with WM | Quartis software and the REVO in use at BARTH.
Flatness - GD&T and Calypso Rev 3 Book
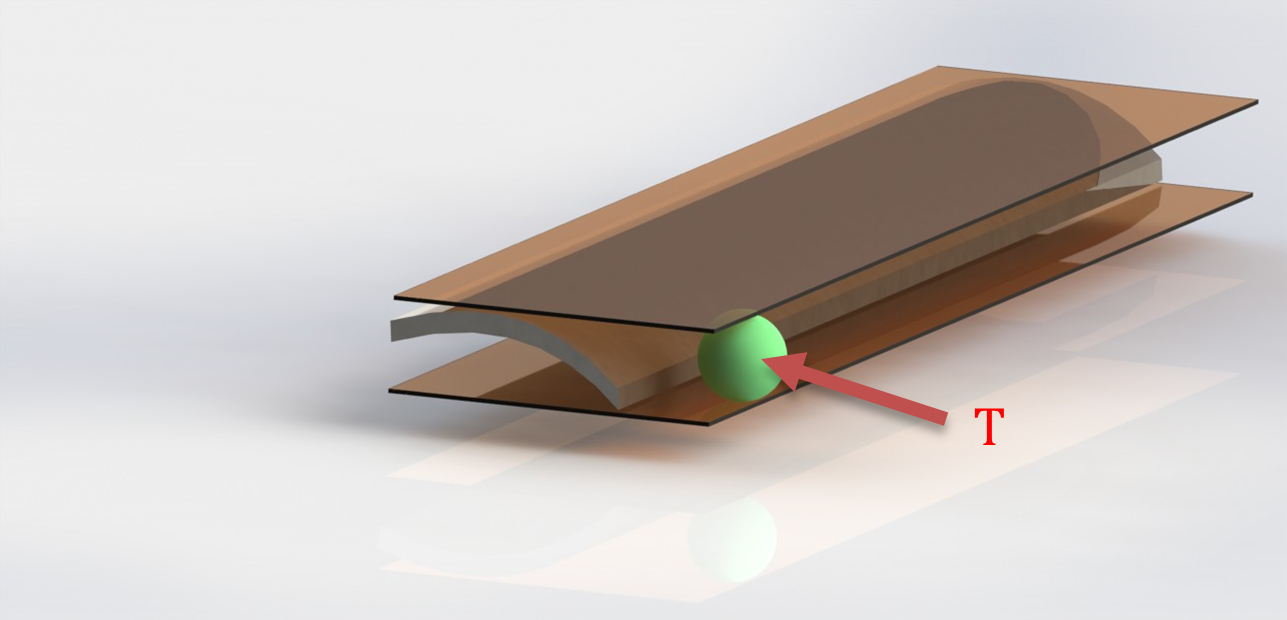
Flatness (form tolerance): the tolerance zone is limited by two parallel planes a distance t apart.
Implies: Straightness of the surface or Straightness of the derived median line
