
CMM Manager VB Scripting
Have you ever struggled with VB scripting in CMM Manager. This book will change that and elevate your cmm programming skills to a new level. This book will help you create practical dialog boxes like the one below.
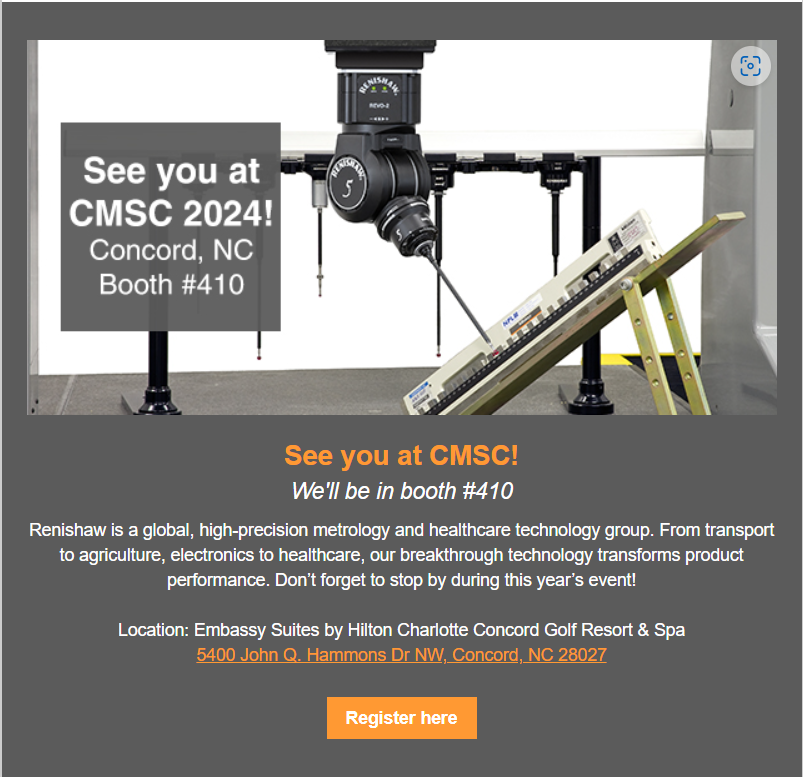
Renishaw - See you at CMSC!
The REVO system uses synchronized motion and 5-axis measurement technology to minimize the dynamic effects of CMM motion at ultra-high measurement speeds. This is achieved by letting the REVO-2 head do the fast-demanding motion while the CMM moves in a linear slow fashion. The use of a flexible tip-sensing probe further adds to the system's accuracy and performance. The removable probe system, used in conjunction with a low-cost changer, provides added system flexibility.
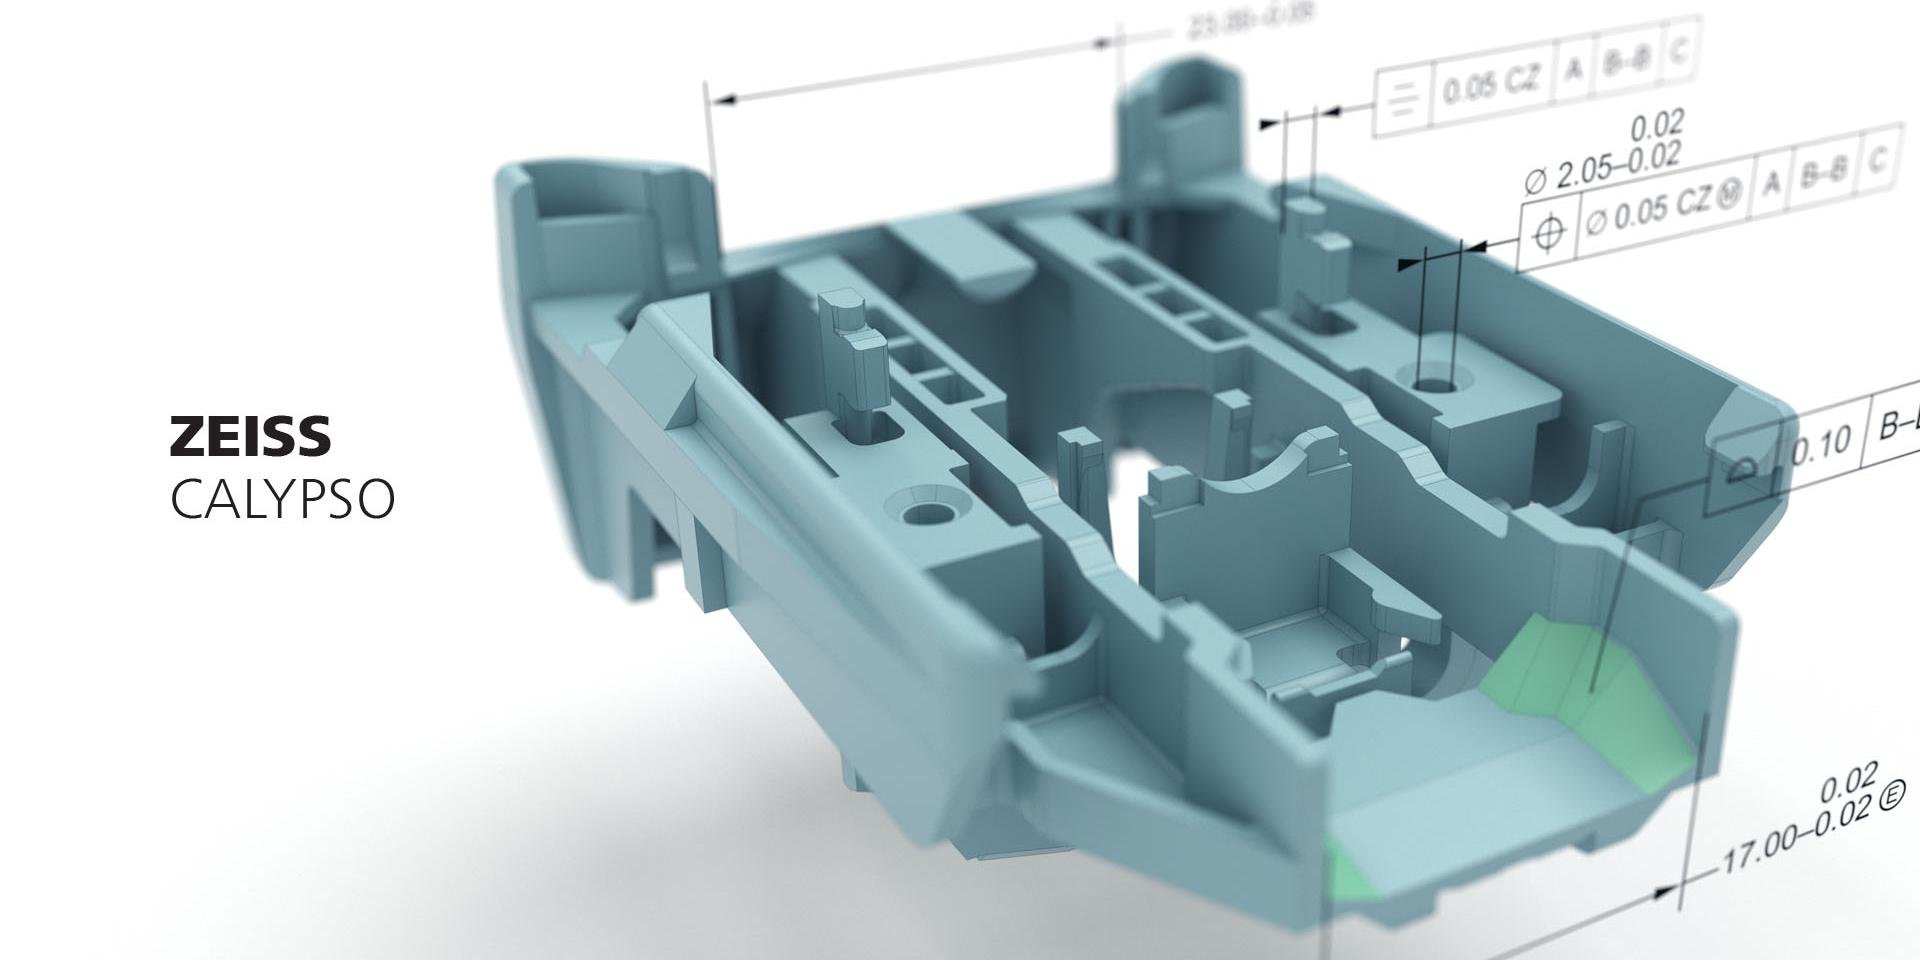
Higher Flexibility with Less Effort
To maintain their position as a market leader, many companies are committed to quality control – for example, by using coordinate measuring machines. However, only an ideal software makes a comprehensive and individual evaluation possible. ZEISS CALYPSO is the general measuring software enabling both tactile and optical measurements with ZEISS coordinate measuring machines as well as the verification and analysis of the resulting 3D data. The new software version has been released.
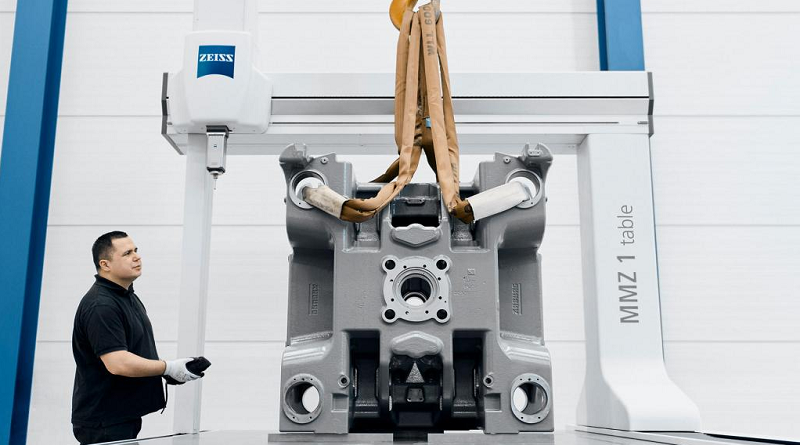
ZEISS Introduces Compact CMM for Precise Measurement of Large Volume Parts
ZEISS has launched the ZEISS MMZ 1 table CMM, designed specifically for large workpieces and applications that require highly accurate contact measurements. This machine excels in evaluating size, form, and location measurements with exceptional precision. Equipped with the ZEISS VAST XT gold probe head mounted on a silicon carbide ram, the ZEISS MMZ 1 offers enhanced temperature stability.
CMM Quarterly - who we are
CMM Quarterly has been around for 17+ years bringing CMM programmers and operators the real inside information they need. We have all read the ‘fluff’ pieces that some e-magazines put out or they own the site that puts out articles but wouldn’t know how to run a CMM to save their life.
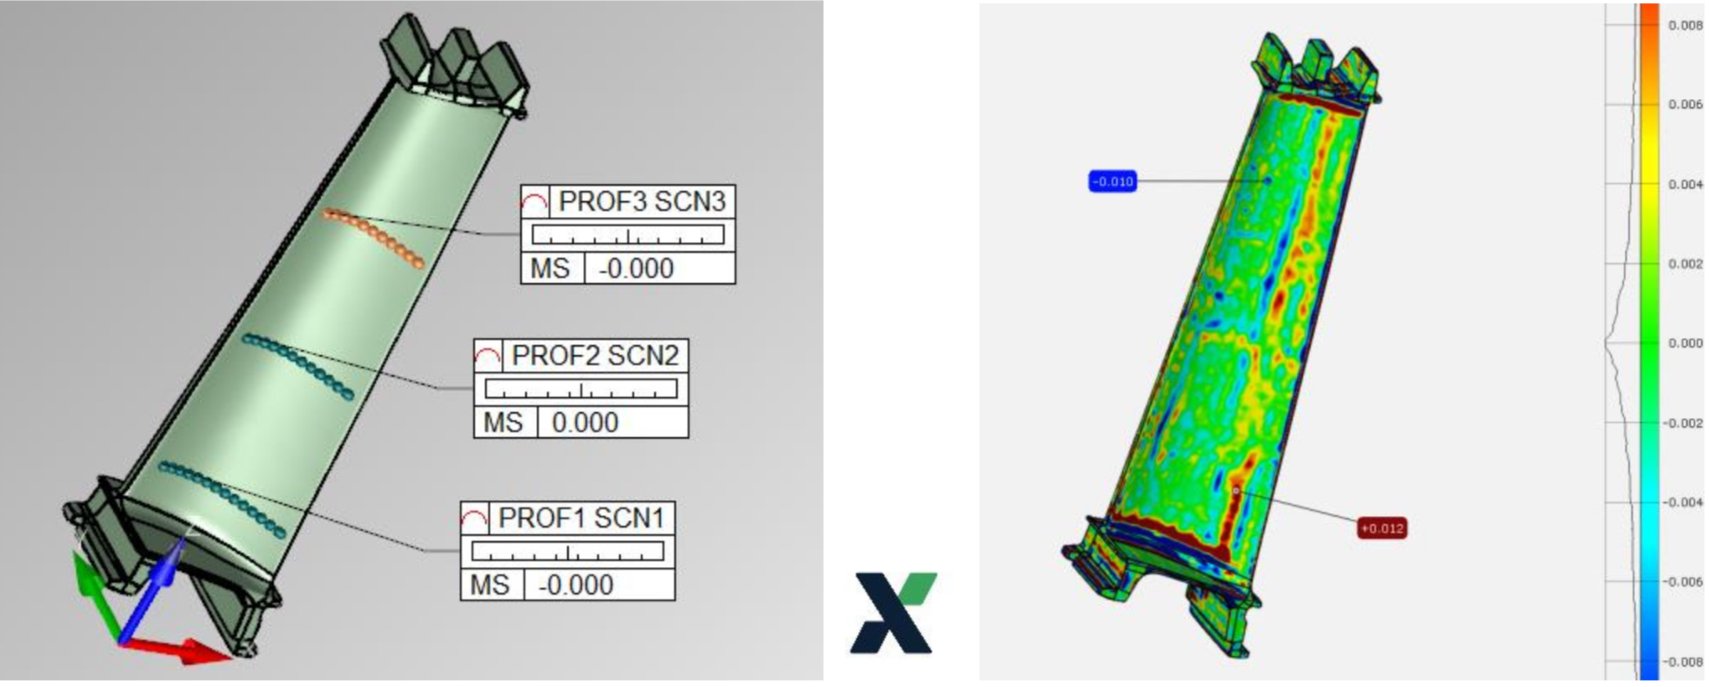
3D Scanning or Tactile Probing?
3D scanning technologies have been rapidly developing in the last 10 years and widely used in manufacturing industries for Metrology purposes. Although people get used to seeing various scanning systems and most time have good understanding on what this technology can bring to you, many common questions still remain such as “should I choose a 3D scanner or a CMM?”, “can I use the 3D scanner to totally replace my CMM?”, etc.

Motorsport: Driven by speed
Formula One is an innovative and high performance arena where speed, precision and accuracy is of the essence at all times. To maintain pole position, Oracle Red Bull Racing has been in a long-term technical partnership with Hexagon’s Manufacturing Intelligence division. Machinery heard more at the F1 team’s Milton Keynes factory
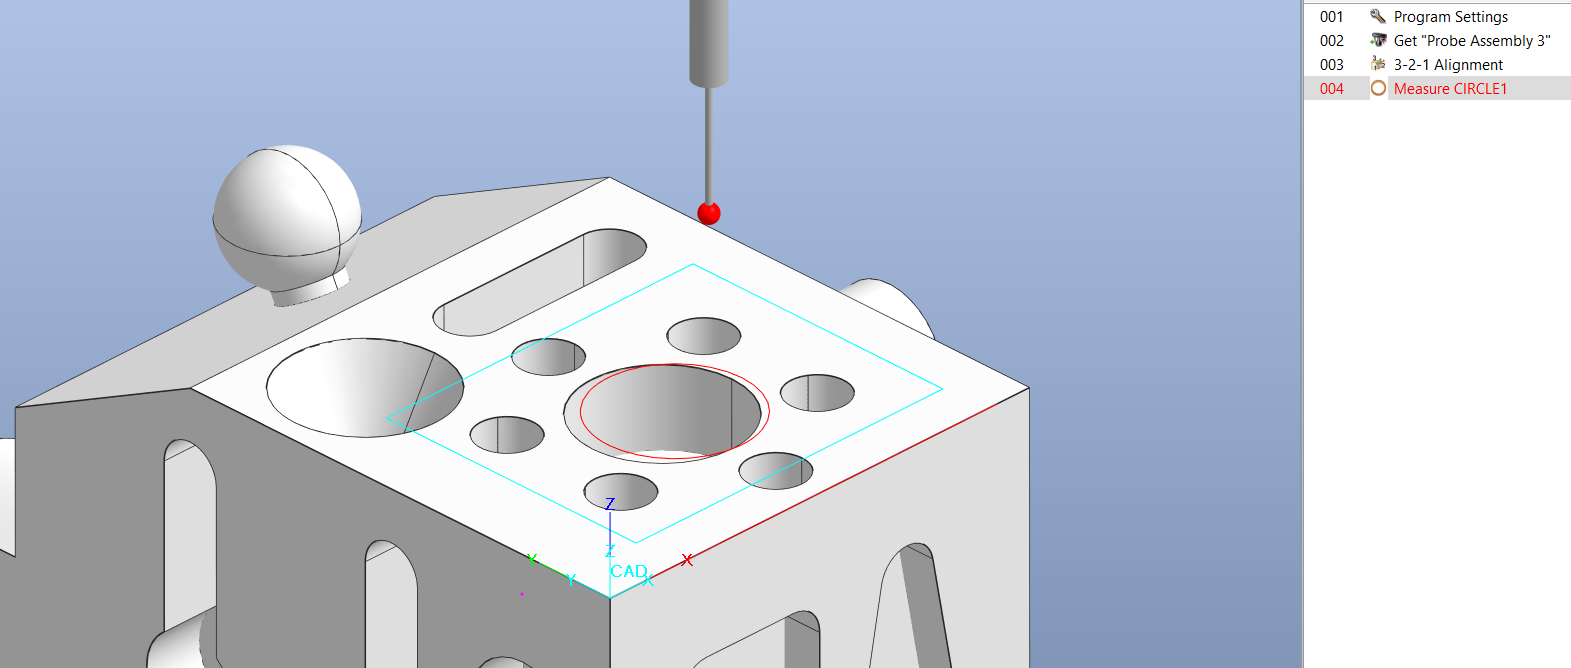
How to Create a VB Script Program to Better Locate Position of a Feature
The issue is, in our program if Circle1 is not in the correct location, due to machine targeting or various other reasons we will want to manually check the diameter of Circle1 and use this new location to check the diameter in CNC mode.
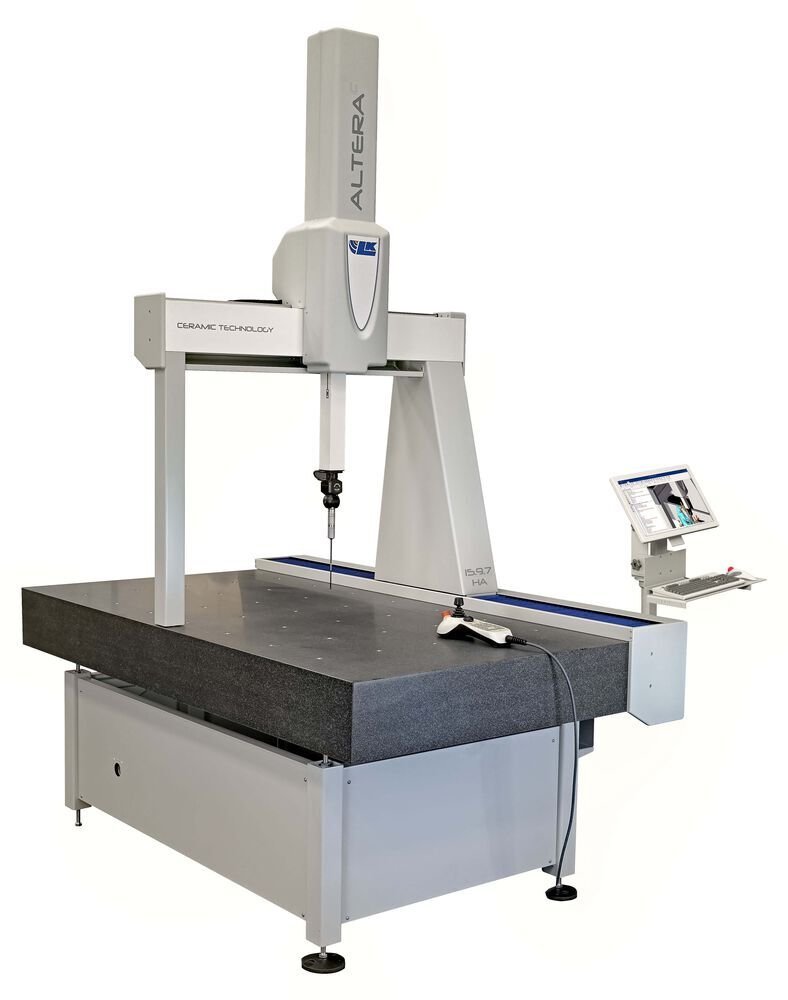
LK Metrology to exhibit new CMMs, advanced metrology software and CMM accessory products
LK Metrology will showcase a range of new products at the IMTS Show in Chicago, featuring five different Coordinate Measuring Machines (CMMs). Additionally, LK will demonstrate the latest version of their Camio software for measurement, programming simulation, analysis, and reporting.

How to Calculate Chord Length
A chord of a circle is a line segment with its endpoints on the circle. The diameter of a circle is a chord that intersects the center of the circle. A line that contains a chord of a circle is known as a secant of that circle. It is possible to calculate a chord's length when the circle's radius and the central angle of the chord are given. We can also calculate a chord's length when we know the circle's radius and distance of the chord to the center of the circle.
Form Datum - Calypso
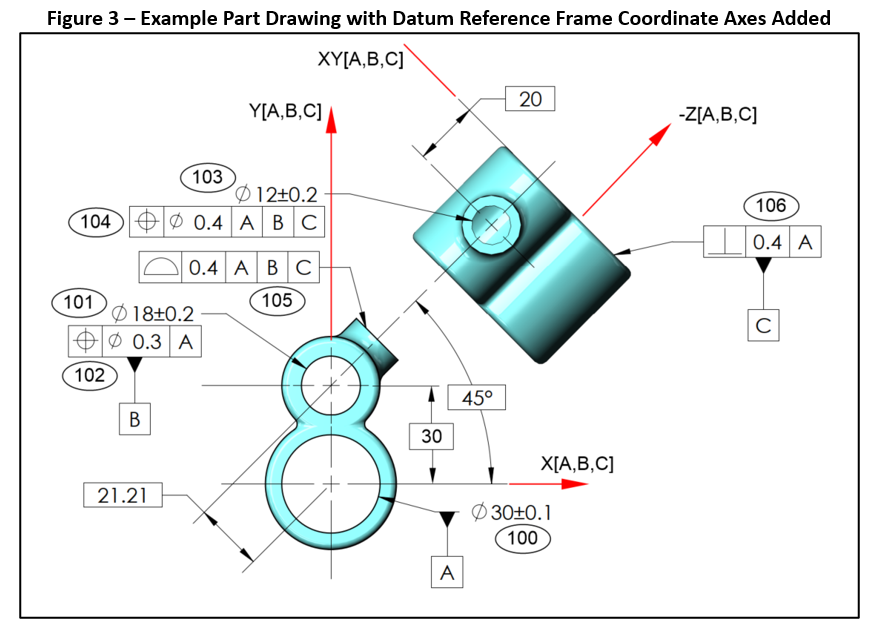
What the Form Datum does is establish a FUNCTIONAL Datum Reference Frame coordinate system, similar to if you were setting up the primary, secondary, and tertiary datums on a functional checking gage. This is ONLY for a datum reference frame and does not modify how the base and secondary alignments evaluate their respective coordinate system. In the screen shot below, you can notice the different origin points are for a base alignment and datum reference frame.
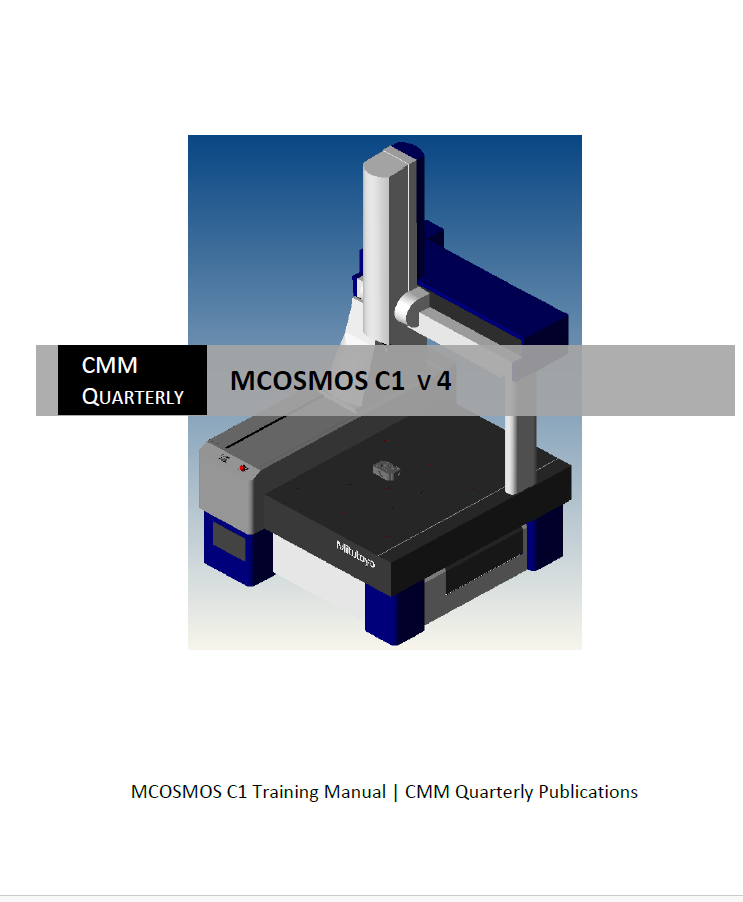
Added MCOSMOS C1 v4 Manual
We have added a MCOSMOS C1 version 4 training manual to our products.
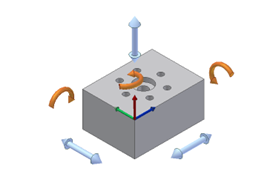
Understanding the 6 Degrees of Freedom
Understanding the principle of the 6 degrees of freedom is essential to aligning your part correctly on the Coordinate Measuring Machine (CMM). When a part is placed on the CMM the location of the part is not known. It must be defined by using several features known as datums.
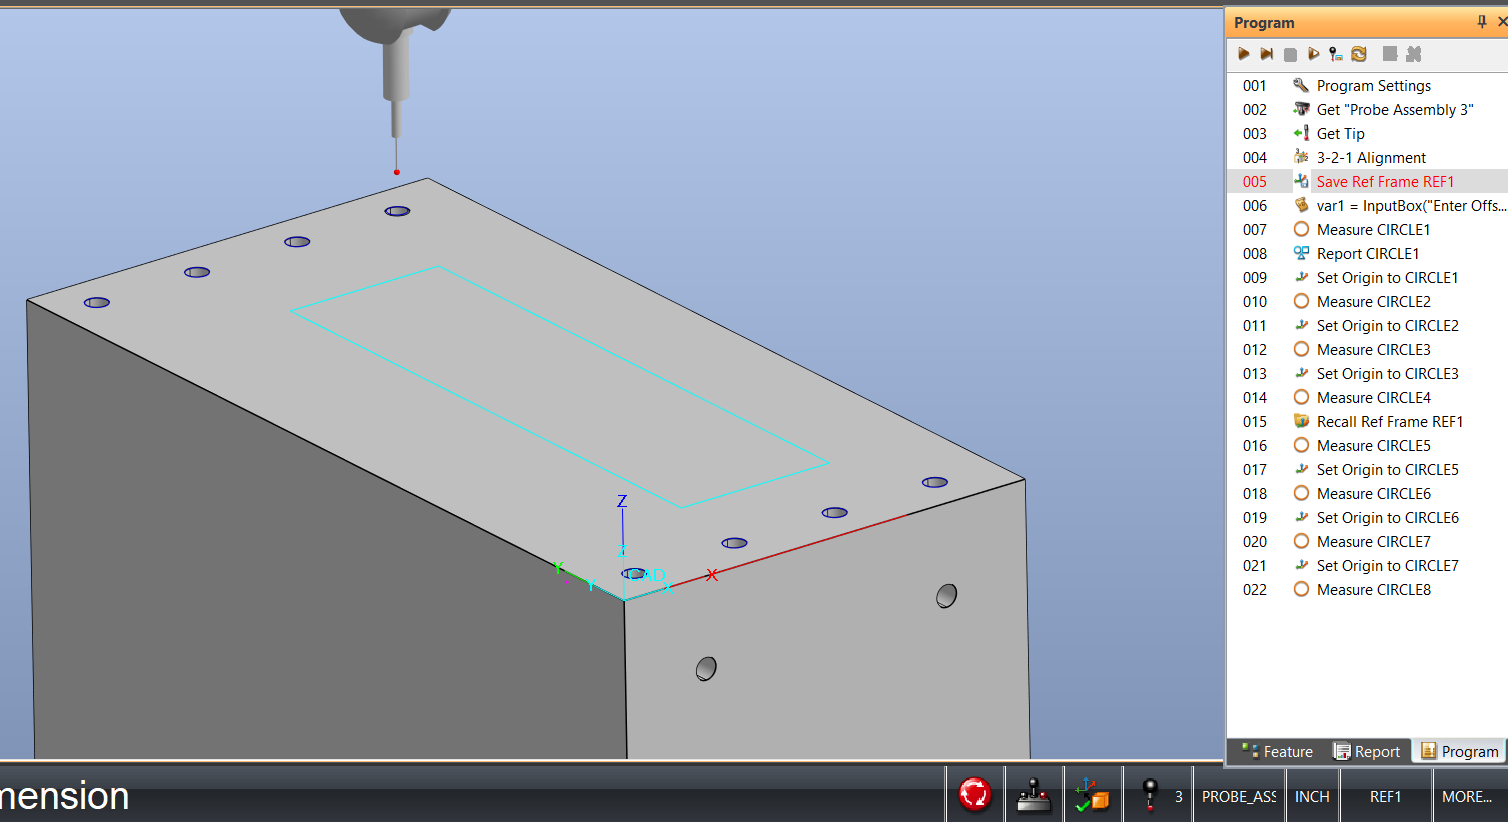
Control Movement of Pattern of Holes Using VB Script
cmm-quarterly.squarespace.com/articles/control-movement-of-pattern-of-holes-using-VB-Script

Flexxbotics Integrates Hexagon Inspection Equipment
Flexxbotics, a supplier of workcell digitalization technologies for robot-driven manufacturing, has released FlexxCore, its advanced robotic machine tending in-line inspection connectivity compatible with Hexagon inspection equipment.

2-Day In-Person Public GD&T Training Event on July 9-10, 2024
This In-Person GD&T Fundamentals Public Training Course allows you to learn GD&T in 2-days - with a live in-person instructor, enabling you to complete training off site, without distractions from the office or home. In this course, we teach a simple framework for understanding how GD&T is used and why it improves the manufacturing process. Our GD&T Fundamentals course focuses on practical knowledge and uses real-world drawing examples throughout the class to practice what is learned.
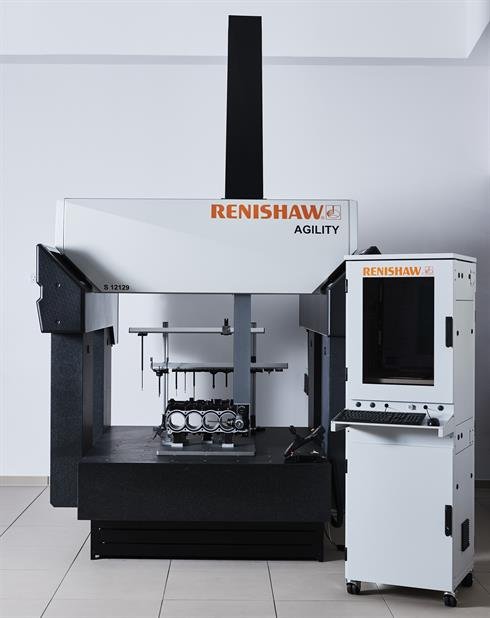
AGILITY S 5-axis multi-sensor CMMs for the shop floor
Designed for shop floor environments
The S range of CMMs provides the ability to accurately measure parts in shop floor environments without temperature control. The rapid data capture speeds provided by 5-axis measurement reduce inspection cycle times, helping production departments keep pace with high volume manufacture. The systems work well in both stand-alone and fully automated production lines.

CMM Manager Handbook - Test If Part Is Loaded Correctly Using VB Script
We will write VB Script into the program that will measure an angled plane to verify if the part is seated in the fixture correctly before we execute the program.
Two ways to approach the programming:
Better Measurement Data Reporting to Improve GD&T Effectiveness
A great article from TEC-Ease
