CONSIDER A CMM FOR GEAR INSPECTION
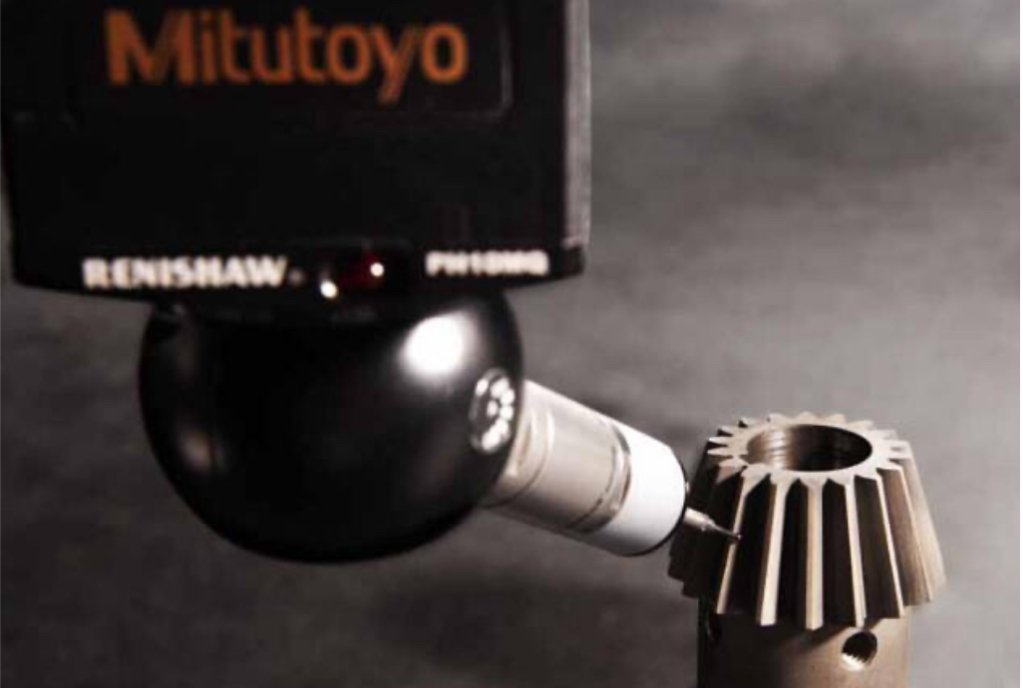
CMMs offer a capable, affordable and flexible gear inspection option.
Gear inspection has long been considered a highly specialized, expensive and difficult part of the gear manufacturing process, requiring a wide variety of complicated gages, testers, dedicated CNC equipment and highly trained experts.
But if you want to make good gears, you need to have all that stuff, right?
Well, maybe not, says John Fox, senior CMM software application engineer for Mitutoyo America Corporation. According to Fox, the time may be right to consider a coordinate measuring machine (CMM) for your gear inspection needs.
“We have many customers who are using a CMM for gear measurement, production and setup,” Fox says. “Customers including Honda, Kawasaki, Hitachi, Molon Motors, etc. use the CMM to measure purchased gears. And there are high-precision gear companies, such as Gear Manufacturers Inc., that incorporate our higher-accuracy CMM for setup and some production.”
A lower price tag is one of the main reasons to consider CMMs over conventional dedicated gear inspection equipment, Fox says. A single piece of today’s sophisticated, fully programmable, fully automated dedicated gear-checking equipment, limited to a single gear size range (gears up to 15 inch diameter, for example) plus software, might cost twice as much as a CMM machine equipped with a rotary table, high-speed scanning probe head and gear-checking software, Fox says. Of course, exact prices for either type of system depend on options and machine size.
The type of CMM used to measure gears depends mostly on the part’s size and weight. When measuring large gears—those with diameters of more than a meter or which are extremely heavy—a high-precision, horizontal-arm CMM with a rotary table would be required. This style of CMM is generally used for inspecting large-scale gears such as those used in ship and heavy equipment powertrains, turbine gearing and gears used in nuclear and thermal power plants and wind turbines. Inspection of large-scale gears is easier to perform with this style of CMM due to its open-access structure.
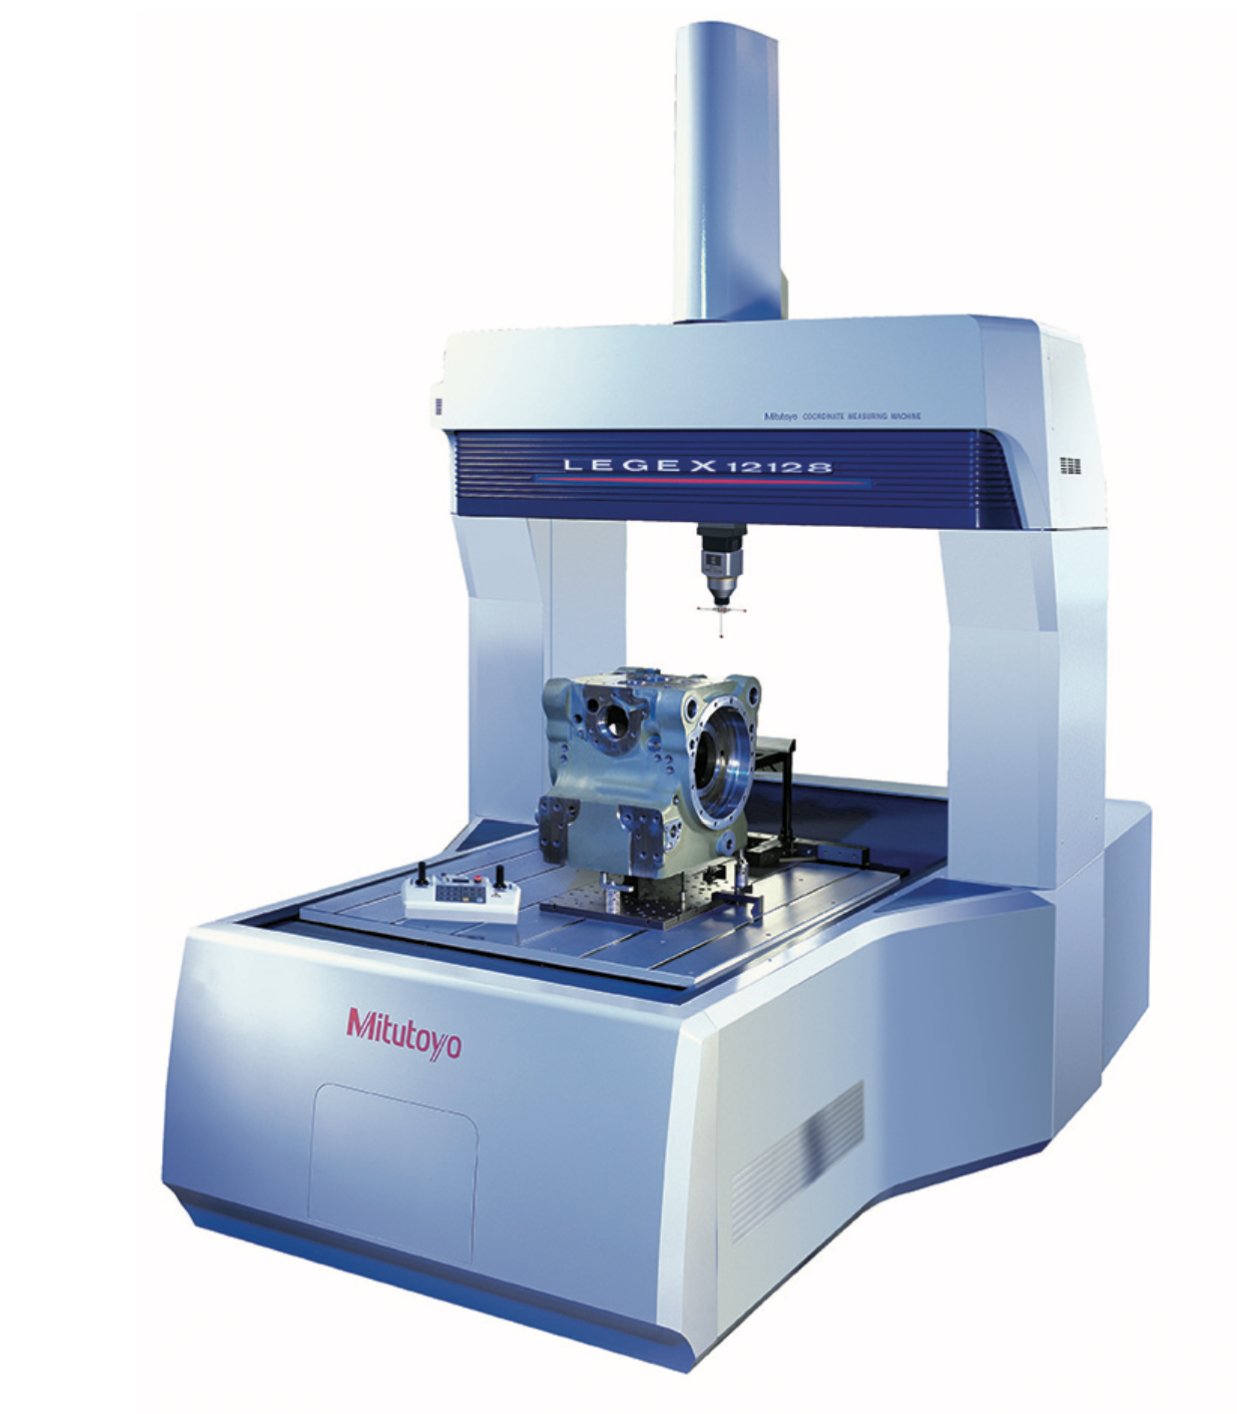
On the other hand, bridge CMMs are usually the right machine for measuring small or medium-size gears. Two styles of bridge-type CMM are available. One has a fixed table with moving bridge, and the other has a moving table with a fixed bridge. This second style of CMM offers greater accuracy. Some models of bridge CMMs have quite large capacities, overcoming the need for a horizontal arm machine.
In addition to replacing dedicated gear inspection equipment, CMMs can also replace many of the smaller, handheld and functional gages often used in gear inspection. “Handheld gages are subject to operator interpretation,” Fox says. “Repeatability between operators using manual inspection methods is lower. Speed of measurement is certainly slower. Written reporting is open to incorrect values being recorded. An automated CMM can be measuring parts, while the operator continues to produce parts. Once the CMM program is proven out, you know you will get good accuracy, repeatability and reporting.”
In some cases, the CMM can even be placed right on the shop floor, alongside production machines.
“The two major enemies for a CMM are rapid and dramatic temperature changes and vibration,” Fox says. “Even when on a shop floor, if the temperature is somewhat stable, there is no major noticeable error. Mitutoyo equipment has temperature sensors on each scale. Therefore, proper compensation is made for temperature fluctuations. Mitutoyo has many customers that place the CMMs on the shop floor and are very pleased with the repeatability and accuracy obtained. Mitutoyo manufactures a specific CMM, the Strato, which is made for use on a shop floor. The Strato scales incorporate non-expanding glass scales; the ways are completely protected with covers and bellows and active vibration dampening using auto leveling air spring units.”
Take another look
Those who might have considered CMMs in the past should definitely take another look, Fox says.
“In the past 5-10 years, Mitutoyo CMMs have become much more precise with the incorporation of high-performance controllers, greater scanning technology, minimizing internal heat generation, faster servo drive mechanisms with accelerations of up to 2.598 mm/sec2,” Fox says.
With regard to precision, Mitutoyo makes both high-accuracy CMMs as well as commodity-level equipment. The commodity-level machines allow a maximum permissible error (MPEE) of 1.7+3L/1,000 microns, while Mitutoyo’s mid-range and high-accuracy machines allow 0.9+2.5L/1,000 microns and 0.6+1.5L/1,000 microns, respectively.
“It is because of the accuracy at the mid-range and high end that Mitutoyo CMMs are very well suited for the extremely tight tolerances required for gear measurement,” Fox says.
“One thing to be aware of is Mitutoyo manufactures every component that is used in all Mitutoyo equipment, including all of our CMMs,” Fox says. “We have excellent control over the quality of the components that go into our CMMs. This enables Mitutoyo CMMs to have the longest meantime between failures, which is from 25,000 to 30,000 hours.”
Some of the key ingredients to Mitutoyo machines’ accuracy include machine construction and precision components. “The Y axis is cut and ground from the same piece of granite as the plate,” Fox says. “The Y axis will never change because of this, unlike CMM manufacturers that use a separate piece of granite that is glued and attached by lag bolts. In addition, Mitutoyo has always produced the best scales, which have minimal to no expansion. Mitutoyo incorporates temperature compensation on each scale.”
Beyond the precision and accuracy of the machines, one of the keys to accurate gear measurement—whether on a CMM or a dedicated machine—is the software, Fox says. For example, calculation of whether an involute curve is correct based on data points extracted during measurement requires the use of high-level mathematical formulas and sophisticated algorithms. GEARPAK is very exact in these calculations, Fox says, and Mitutoyo has received certification of the algorithms from Physikalisch-Technische Bundesanstalt (PTB), Germany’s highest national technical certification authority.
In order to achieve certification of the software, Mitutoyo had to provide PTB with GEARPAK calculations based on data points supplied by PTB. The range of calculations included complex gear flank evaluation for gear tooth profile and flank line; tooth profile deviations, such as slope and form; profile crowning; tip and root relief data; helix slope and form deviations; crowning of the flank line; a variety of end relief data, including modifications of curvatures and reliefs; gear pitch; tooth thickness; tooth spacing; dimension over wires, or balls; displacement dimensions; and tip and root diameters including concentricity, or runout. The results were sent back to PTB where they were compared with the correct results. In order to receive PTB Certification the results of test data must be less than 0.1 µm (0.0001 mm or 0.000004 inch) from the PTB’s reference values.
Mitutoyo’s GEARPAK software for bevel gears supports Gleason geometry straight bevel, spiral bevel and hypoid gears. The GEARPAK for worm gears module supports ZA, ZN, ZI and ZK tooth forms, as well as single- or multi-start worms.
The GEARPAK software is incorporated with Mitutoyo’s MCOSMOS software package (Mitutoyo Controlled Open System for Modular Operation Support). By combining intuitive icon-based programming with the ability to import native CAD models, MCOSMOS enables even novice users to easily import part and fixture models and “virtually” place them in the volume of their specific CMM. MCOSMOS graphically defines the CMM, racks, probes, and even styli. Selected graphically, all measurement points are clearly displayed on a 3-D graphic view which can be rotated, zoomed or panned to any convenient viewpoint. Animation enables offline running of a workpiece before ever placing it on the CMM, thus providing machine volume verification and collision avoidance. Then, MCOSMOS enables users to choose various software modules to analyze measurement results, to document and present results, and to archive the data in practical structures. Furthermore, MCOSMOS integrates with networked systems for in-line process control applications as well as to enable true enterprise-wide functionality.
The other attractive feature of CMMs for gear inspection is that they can easily be used to inspect other features, Fox says. By incorporating high-level software, CMMs can measure virtually any type of geometry. For example, airfoils, compressor scrolls or turbine blade geometry can be inspected with the appropriate software. In addition, “the ability to incorporate components such as vision probes using edge detection technology and laser line scanning probes have made CMMs much more flexible and powerful,” Fox says.

