3D Scanner Inspects Mining Milling Drum in Under 5 Minutes
Written by 3dscantech
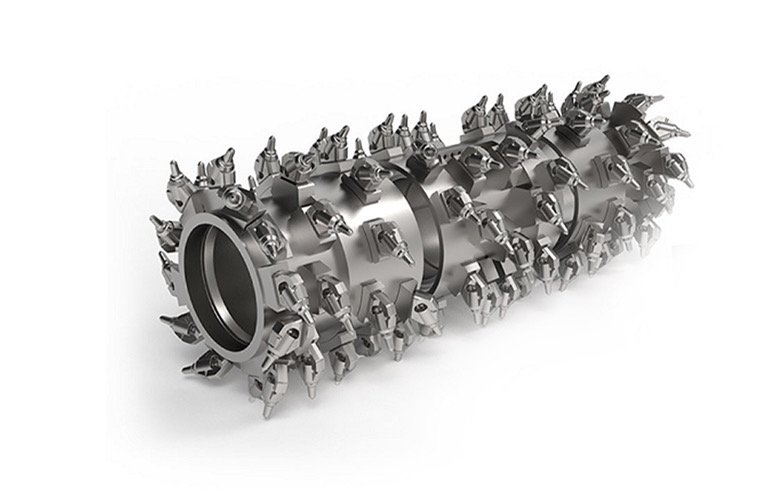
Mining machinery are essential for efficient and effective extraction of minerals and materials. Among the critical components of this machinery is the milling drum.
These specialized tools are designed to handle some of the most challenging tasks in mining, including the fragmentation of hard rock and the preparation of materials for further processing.
The Mining Machinery Manufacturer
The client is a leading provider specializing of cutting tools and wear-resistant solutions for the mining and construction industries.
The manufacturer faced challenges in inspecting complex mining milling drums using traditional measurement tools, and this case study explores how 3D scanning technology helped streamline their quality control process, improving accuracy and efficiency.
Client Requirements
The primary objective for manufacturer was to improve the accuracy and speed of measuring key features of their mining milling drums. Specifically, they needed to measure the following:
• Spiral angle.
• Positional accuracy.
• Dimensional measurements.
Accurate measurements ensure manufacturers to offer high-quality milling drums which can provide reliable results in terms of cutting, material conveying, or road pattern profiling.
Challenges with Traditional Measurement Methods
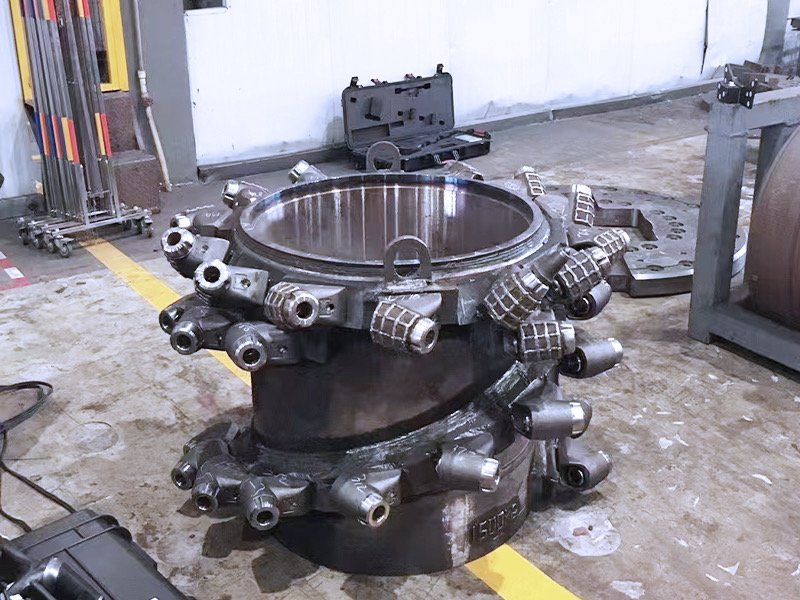
The manufacturer previously relied on traditional contact-based measurement equipment such as articulated arms and CMM (Coordinate Measuring Machines) to inspect their products. However, these methods had significant drawbacks:
Low Efficiency: Contact-based methods are inherently slower, especially for complex or large parts.
Limited Coverage: Some parts of the milling drum, particularly areas like the hard-to-reach areas, could not be accurately measured.
For example, it is hard for traditional methods to measure the spiral shapes and complex curved surfaces of milling drums, leaving gaps in the measurement data.
Overall Alignment Issues: The inability to measure the overall alignment of the sleeves relative to the body of the milling drum led to issues where subtle deviations in the installation position went unnoticed.
The measurement of sleeves and cutters also ensure the proper function of the milling drum.
3D Scanning Solution
To address these challenges, the manufacturer turned to a non-contact 3D scanning solution for comprehensive and accurate measurements of their mining milling drums.
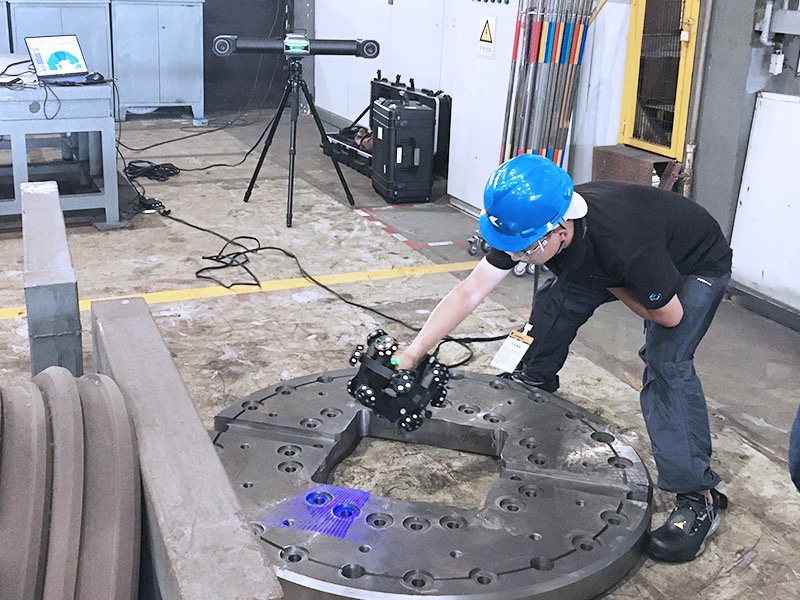
The proposed solution was Scantech’s optical 3D scanning system TrackScan-Sharp, a device known for its large measurement volume, high precision and efficiency.
Scanning Process
Scanning Setup: The scanning process involved positioning the mining milling drum in a stationary setup and allowing the scanner to capture the 3D geometry of the entire component.
No markers were necessary, and the scanner could cover all angles of the part, including the dead spots that were challenging for contact-based methods.
Scanning Time: The entire scan took only about 5 minutes, making the process highly efficient compared to traditional measurement techniques, which typically require longer times for large or complex parts.
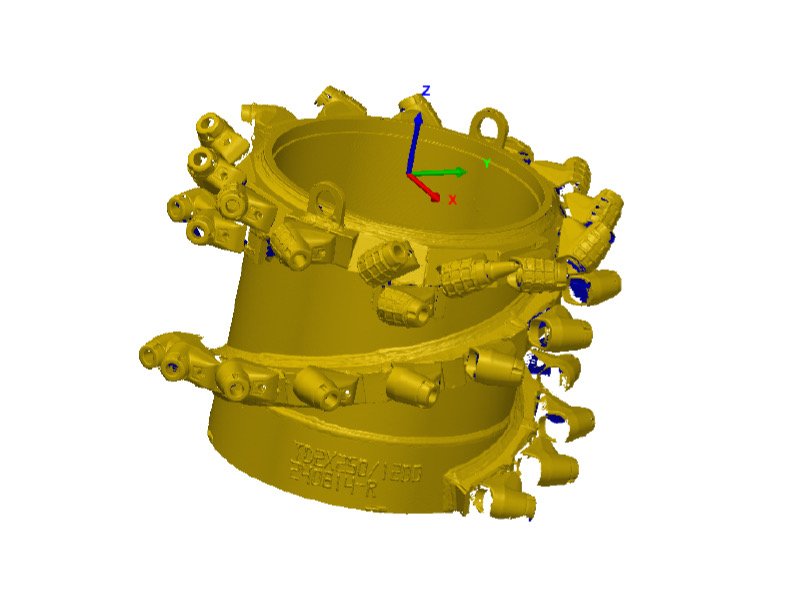
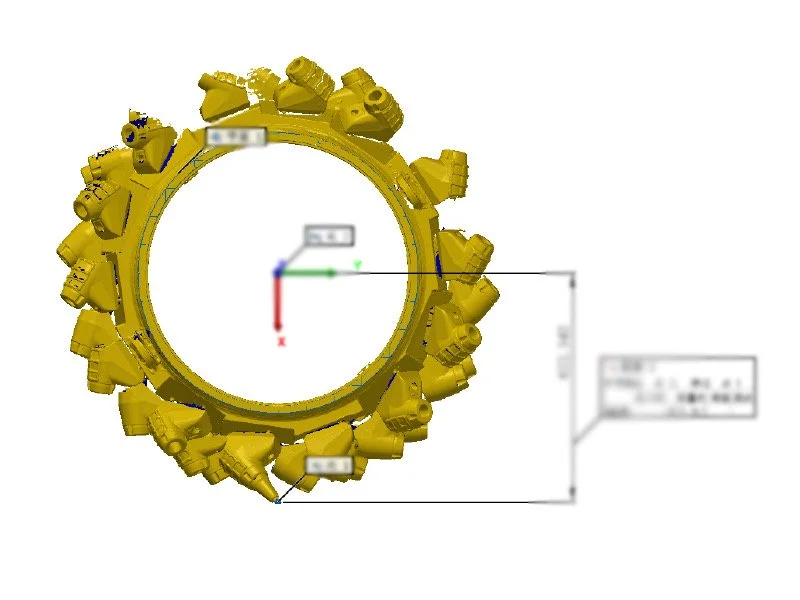
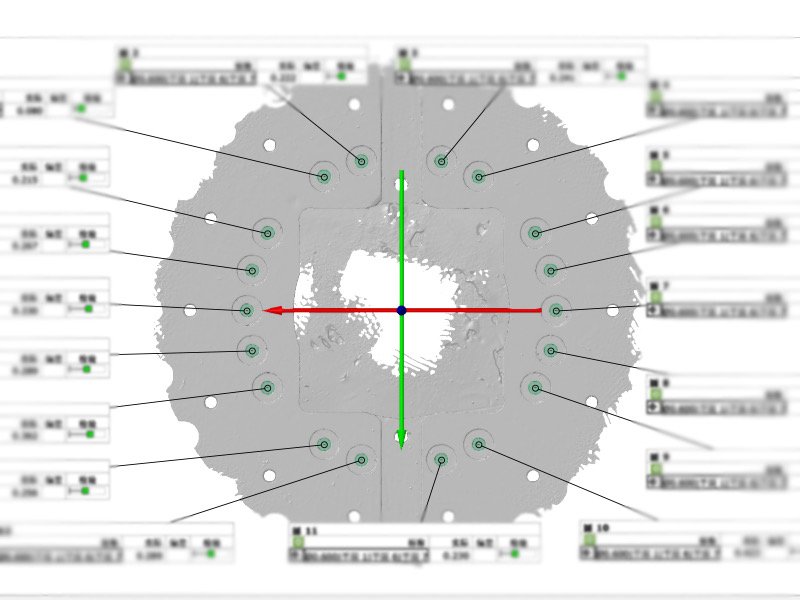
Data Analysis: Once the scan was complete, the data was processed and analyzed. The system generated a detailed 3D model of the milling drum, which was then compared to the design specifications to check for any dimensional deviations, spiral angle discrepancies, and positional misalignments.
Results and Benefits
The implementation of the 3D scanning solution provided several key benefits:
Improved Accuracy: Thank to its robust algorithm, the TrackScan-Sharp 3D scanner was able to precisely measure features with an accuracy of up to 0.025 mm and a volumetric accuracy of up to 0.049 mm.
This precision ensured that any potential issues with the milling drum could be detected precisely.
Increased Efficiency: The previous time-consuming manual measurements were replaced with a faster, more efficient process, thanks to its high measurement rate of 2.6 million measurements per second and large measurement volume.
Unlike traditional scanning devices that require physical markers on the part, optical 3D scanning can capture data without the need to attach markers.
Each milling drum was measured in just 5 minutes, significantly reducing inspection time and enabling the manufacturer to boost throughput and enhance production efficiency.
Comprehensive Inspection: With the ability to measure hard-to-reach areas and intricate details, the 3D scanning solution allowed manufacturer to inspect areas that were previously overlooked or difficult to measure.
This improved their ability to detect installation of the cutters, ensuring that there is no misalignment.
Conclusion
The successful implementation of 3D scanning at manufacturer significantly enhanced the quality control process for their mining milling drums.
The TrackScan-Sharp 3D scanner allowed for faster, more accurate, and more comprehensive inspections, ensuring that the company’s products met high standards of precision and quality.
This case study highlights the growing importance of advanced scanning technology in manufacturing, particularly in industries where product integrity is critical.
By leveraging 3D scanning, manufacturer was able to improve both the efficiency and quality of their production process, positioning themselves for continued success in the competitive mining tools market.
