MORE PRECISE INNOVATION WITH COMPUTED TOMOGRAPHY
WENZEL’s Computed Tomography range, the exaCT series, is exactly accurate. It assists in completing projects faster by providing critical information more quickly.
PROTOTYPES FOR CUSTOMERS ALL AROUND THE WORLD AND EVERY CONCEIVABLE INDUSTRY
1zu1Prototypen GmbH & Co KG, based in Dornbirn, Austria, was founded in 1996 by managing partners Hannes Hämmerle and Wolfgang Humml. Today, the company has 160 employees, has been part of the international Prototal Group since mid-November and produces prototypes, small series and series parts for customers all over the world and every industry. In production, 1zu1 uses the most important 3D printing processes such as laser sintering and stereolithography. When developing new components for its customers, 1zu1 likes to push the boundaries of what is feasible in terms of complexity and precision. In doing so, metrology plays an extremely important role in measuring and testing the finest details and tightest shape and position tolerances.
1zu1 has already been using optical measurement solutions for eleven years and produces several hundred measurement reports per year. “We know the limits of optical metrology very well,” explains Managing Director Wolfgang Humml. “Against the background that the components we produce are becoming increasingly complex and smaller, it was clear to us that we wanted to take the next, innovative step in metrology and that the comparisons of the 3D measurement results to the 3D data sets had to become better and more accurate.” Several criteria were important in the search for a new measurement solution.
INDUSTRIAL COMPUTED TOMOGRAPHY VERSUS OPTICAL METROLOGY
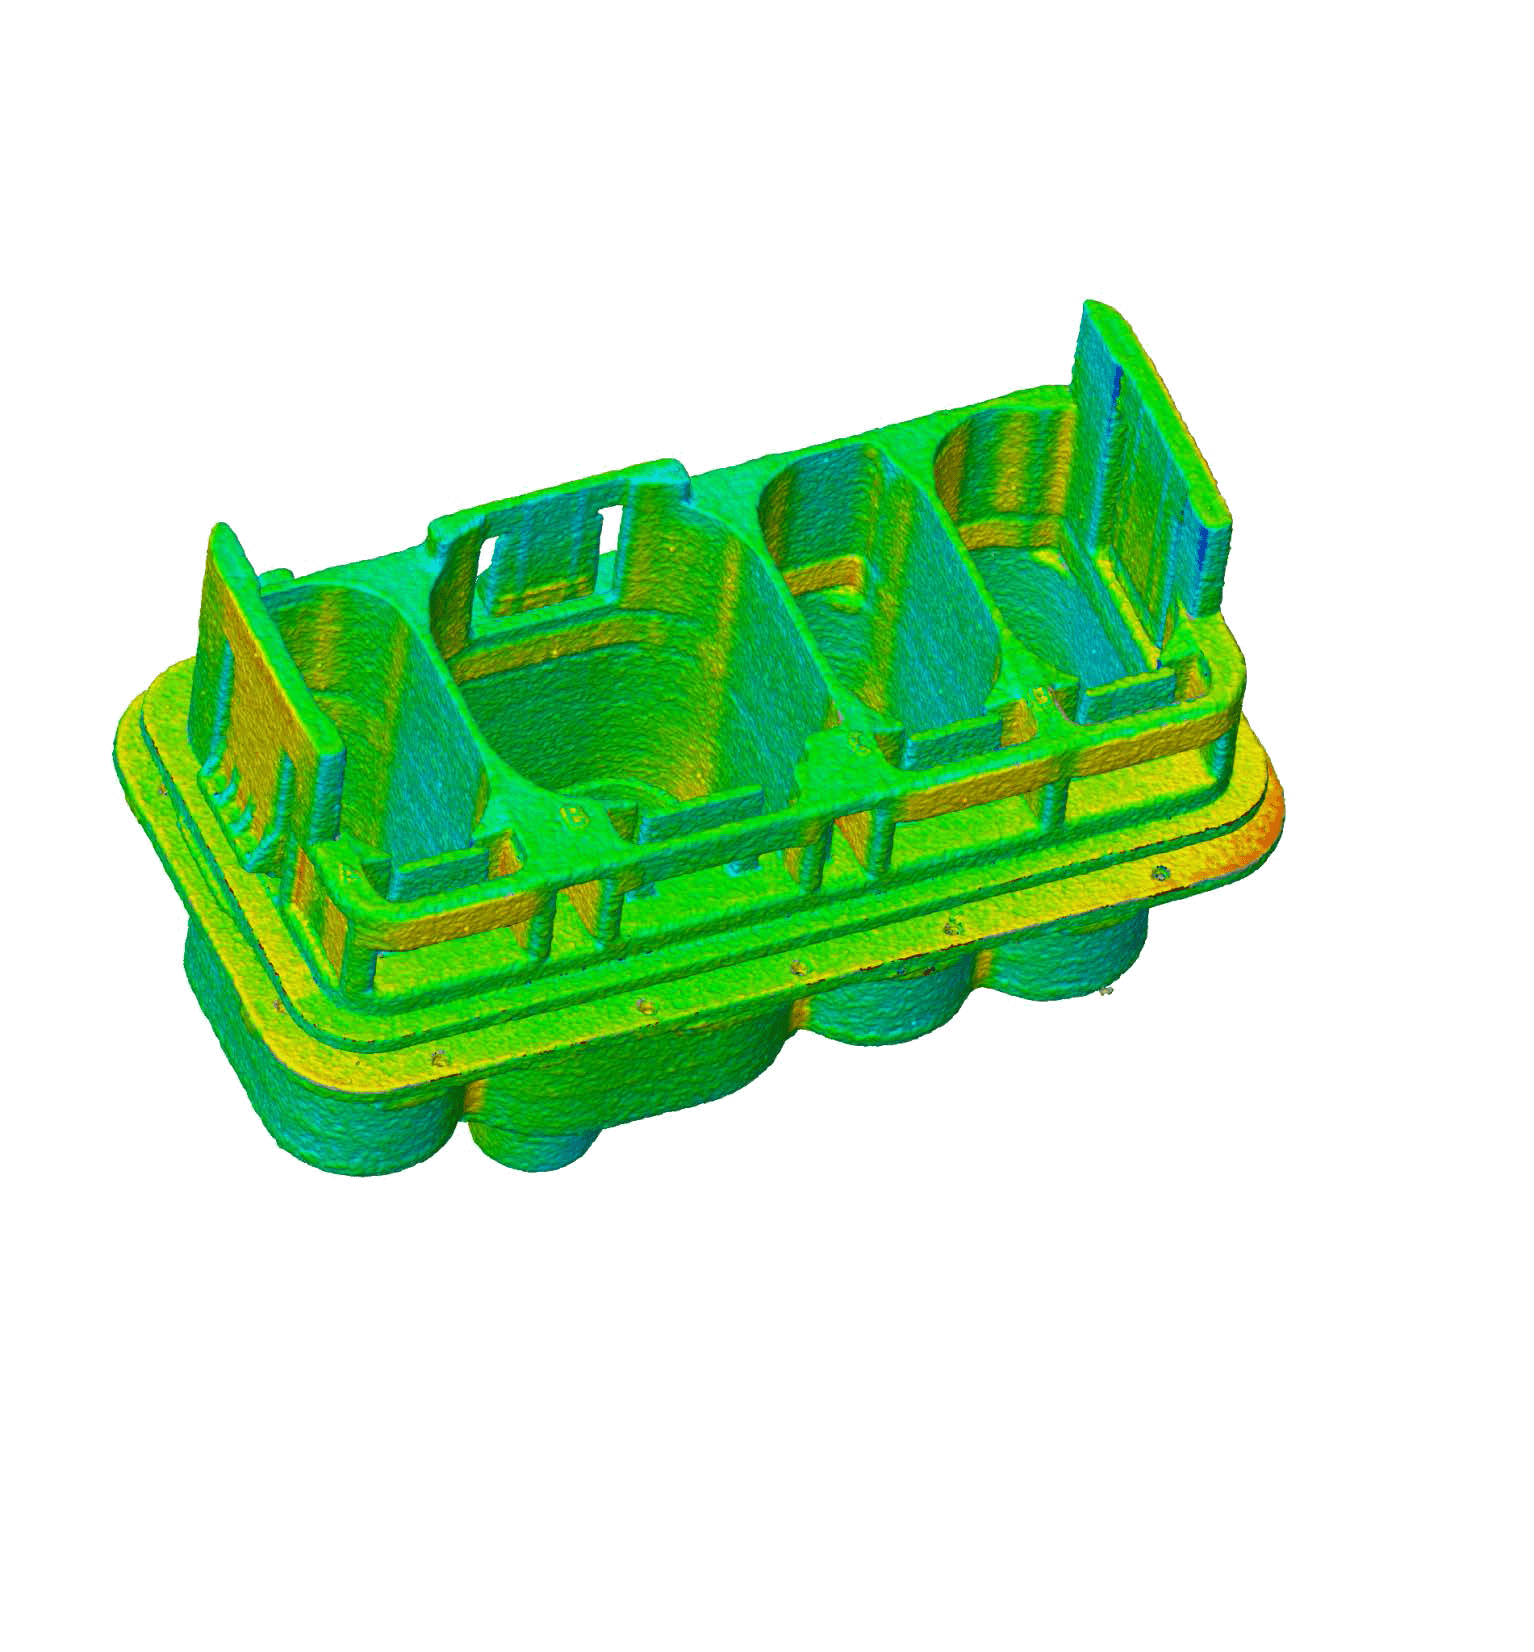
The focus was on the accuracy of the measurement result over the entire 3D part and not just for the area that can be captured with the optical metrology . Here, industrial computed tomography has clear advantages. Compared to tactile or optical measuring machines, the computer tomograph (CT) can also measure internal features with high precision in a non-destructive manner. Especially for measuring transparent components as well as parts with high-gloss mirror surfaces, optical metrology clearly has its limitations. Measurement without prior treatment with a laser scanning antireflection spray is not possible for such parts. In addition, the required measurement accuracy cannot be achieved with a spray application. Another major advantage of industrial computed tomography is the speed of the scans and evaluation. Thousands of measuring points can be measured within seconds. In addition, the performance of so-called pallet scans (several components in one scan) offers a shortening of process cycles and an increase in economic efficiency.
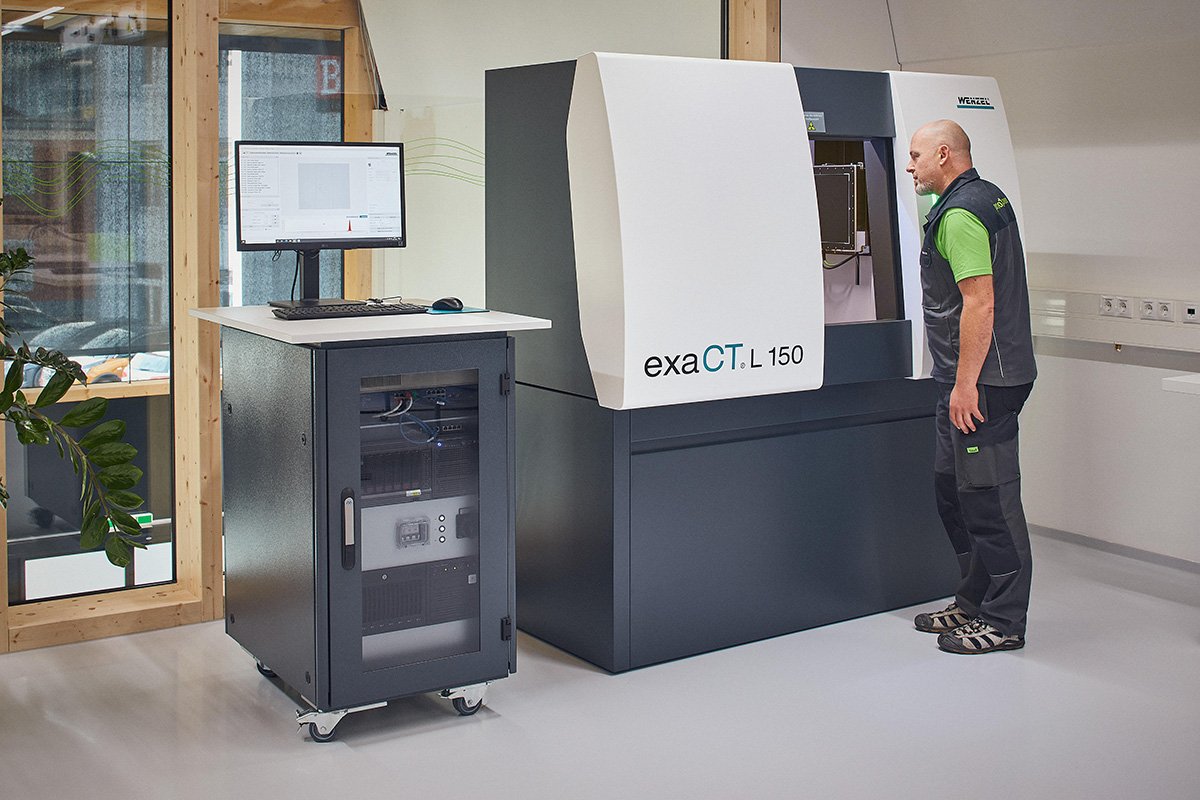
After an extensive selection process, 1zu1 chose the exaCT L CT system with150kV from WENZEL Metrology GmbH in Wiesthal. “The guaranteed measurement uncertainty of +/- 5 µm, the convincing CT measurement of our five benchmark problem parts and the impressive surface imaging accuracy without software smoothing were ultimately decisive for the purchase,” explains Humml.
The high efficiency of the CT solution enables faster development times and thus also saves time and costs for the end customer.
“The measurement results were so impressive to us that we were happy to order the first machine built with this configuration and we are happy to have the system up and running. The scan times of the system are impressively fast, so that we were able to make about 120 scans in normal working time in the first three weeks of operation.”
HIGH SCANNING VOLUME WITH A SMALL FOOTPRINT
In addition, the CT solution from WENZEL has the smallest footprint in its class at 150 kV and also offers a scan volume of 400 mm in height and 235 mm in diameter. “The desire for the largest possible measuring volume with a comparatively small machine design was another important requirement criterion,” emphasizes Humml. In addition to the small footprint and large scan volume, the exaCT L offers another major advantage – transport and assembly do not require any breakthroughs of doors or aisles, which ensures fast and smooth installation without additional effort. The exaCT L is also best in class when it comes to system weight, at only 2,650kg, which allows for flexibility in set-up locations.
FROM ADDITIVE MANUFACTURING TO MACHINING
Due to the high quality awareness, 1zu1 has to solve numerous measuring and testing tasks for its customers: Whether dimensional evaluations, compensation of shrinkage and warpage, testing for inclusions and impurities, geometric tests, assembly analyses (Multiscan) and process monitoring (measurement series), the measurement and test reports are always presented in a customer-friendly and comprehensible manner. In doing so, 1zu1 relies on technologies such as 3D printing, plastic vacuum and injection molding, and mechanical manufacturing. A large part of 1zu1’s investment goes into additive manufacturing. Here, the company is among the world leaders and since 2020 has been a pilot customer and development partner of new 3D printing technologies for EOS, one of the world’s leading suppliers of equipment for industrial 3D printing. Industrial computed tomography and additive manufacturing are two comparatively young technologies that can be excellently combined. While “Additive Manufacturing” allows new structures, the quality assurance of these novel products is done by a CT. Based on these results, correction data is generated, which can decisively improve both the dimensional accuracy and the mechanical stability of 3D-printed parts. Especially the complex shapes created by 3D printing often pose difficulties for conventional measuring systems. Only CT technology enables non-destructive material analysis and dimensional accuracy testing.
AN INVESTMENT WITH PLEASURE AND ADDED VALUE
“What we appreciate about WENZEL is the competent advice and the ability to listen in sales and understand our needs and high requirements. Our direct contact, Bernd Fleckenstein, gave us the feeling at every stage of the decision that we were with the right manufacturer,” enthuses Wolfgang Humml. For him as managing director, the preliminary acceptance of the system was also convincing. He was accompanied by Dr. Uwe Hilpert, CT product manager at WENZEL, who was able to explain in a well-founded and competent manner the measurement of each individual pixel on the ultra-fast 7.5-megapixel detector. “The CT training was also conducted at our site in Dornbirn by Dr. Hilpert. After a week of intensive training and an introduction deep into the CT technology, our measurement technicians were ‘ready to go’, but from the very first measurement task on, they were well equipped to operate the system. This is how investments are fun and create added value for us and our customers,” sums up Managing Director Humml.


