A new technology designed to make manufacturing faster, cheaper and more productive
Los Alamos National Laboratory team produces ‘intelligent’ inspection process to more accurately spot dimensional errors
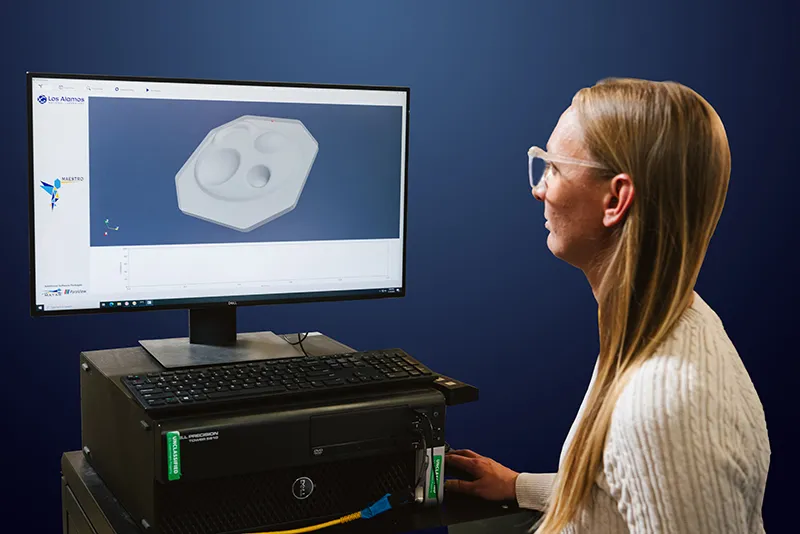
Researcher Sarah Brown runs the Maestro inspection software to intelligently, rapidly and optimally inspect a National Institutes of Standards and Technology artifact.
A team at Los Alamos National Laboratory has developed a technology to rapidly and accurately assess dimensional errors in the manufacturing process in a way that will improve component performance and safety, reduce rework and scrap and save production time and costs — from small machine shops to large manufacturing facilities.
Looking for dimensional errors in the manufacturing process can feel like trying to identify a breed of dog while blindfolded and wearing thick winter gloves. You feel the dog and realize it’s big, with a long tail, floppy ears and a long snout. With your gloves on, you decide that it’s a golden retriever — but you’re wrong. The blindfold and thick gloves don’t allow you to glean the fine details: the thicker fur, the larger size, the broader tail and the white coat that would allow you to easily identify the dog as a Great Pyrenees.
This less-than-ideal dog-identifying technique is not unlike modern-day optical inspection techniques that attempt to find dimensional errors in manufacturing both quickly and accurately.
There are other techniques, as well. For instance, if you had been allowed to take the thick gloves off, but could only touch the dog at single points with a single finger (a few hairs on the shoulder; the tip of the nose), it would be similar to a more traditional process of identifying manufacturing errors using highly accurate, but relatively slow, coordinate measuring machines (CMMs). These machines, developed in the mid-twentieth century, were the earliest automated, high-precision devices to mechanically inspect geometries of complex shaped parts. In the last two decades, digital 3D optical scanning methods have been developed and improved for the rapid and more thorough inspection of manufactured components, but at a reduced accuracy compared with the CMM.
The Los Alamos team developed a technology product and process — called Intelligent, Rapid, & Optimized Dimensional Inspection (IRODI) — that will use the fast optical scan data found in the glove-wearing analogy as a starting point for predicting the surface contour of a component. It then intelligently pulls additional dimensional information with selected inspection points, similar to the second single-point inspection, from the CMM. This high-accuracy data from the CMM will be used to update the predicted surface contour and inform the machine on where to sample next until the statistics on the surface contour meet a defined inspection objective. This inspection process can be performed in real time, during the manufacturing process, as well as after all machining steps have been completed.
The result? A faster, more efficient and accurate manufacturing process.
“By intelligently merging the speed of optical scanning with the accuracy of the CMM, less time is needed to achieve a high level of confidence and accuracy of the actual surface contour,” said John Bernardin, leader of the IRODI team and an R&D engineer. “Reducing the number of CMM points not only accelerates the process, but it also delivers an unmatched competitive advantage in industries where precise inspections are critical, like the aerospace and automotive industries.” He notes that, in those fields, an engine component with a slight geometric deviation could cause engine failure during operation and in turn lead to accidents and potential loss of life.
Others that could benefit include medical device and semiconductor manufacturing, nuclear and other energy industries and advanced manufacturing.
At the heart of IRODI is an intelligent software algorithm within a program called Maestro that runs within an existing commercial dimensional inspection software package. This software would already have the existing connection to the dimensional inspection hardware that Maestro would communicate with. The addition of Maestro within existing software platforms would be relatively easy and inexpensive. No hardware investments would be directly part of IRODI.
It also has the ability to move dimensional inspections from the metrology lab to the production floor, enabling real-time, in-process inspections. “By detecting errors early, it minimizes production bottlenecks, reduces waste and ensures consistent quality,” Bernardin said.
A patent is currently pending for this technology.

