Are your 3D printed parts as error-free as you think they are?
If you haven’t seen inside the material, then there are areas you are likely missing.
Written by Karen Swart - Wenzel America
When working with 3D printed parts, material integrity is of the utmost importance. Imperfections such as voids in the material, delamination and changes in density are critical facets of the additive process to manage. Even when voids are necessary, the infill of those parts needs to be correct. To maximize the stability of the finished product and to ensure overall quality, understanding the interior structure of 3D printed parts is critical.
Without the ability to look inside the material, there are areas your quality assurance testing is missing. A 3D printed part may pass external examination, but traditional measuring methods will not be able to account for AM specific errors such as flash formation. This is where CT scanning technology is an indispensable tool.
CT scanning is a modern addition to metrology allowing a detailed interior examination of material porosity and density. A robust, metrology-grade CT system can ensure you’re not surprised by interior geometry deviations or fissures in 3D printed parts.
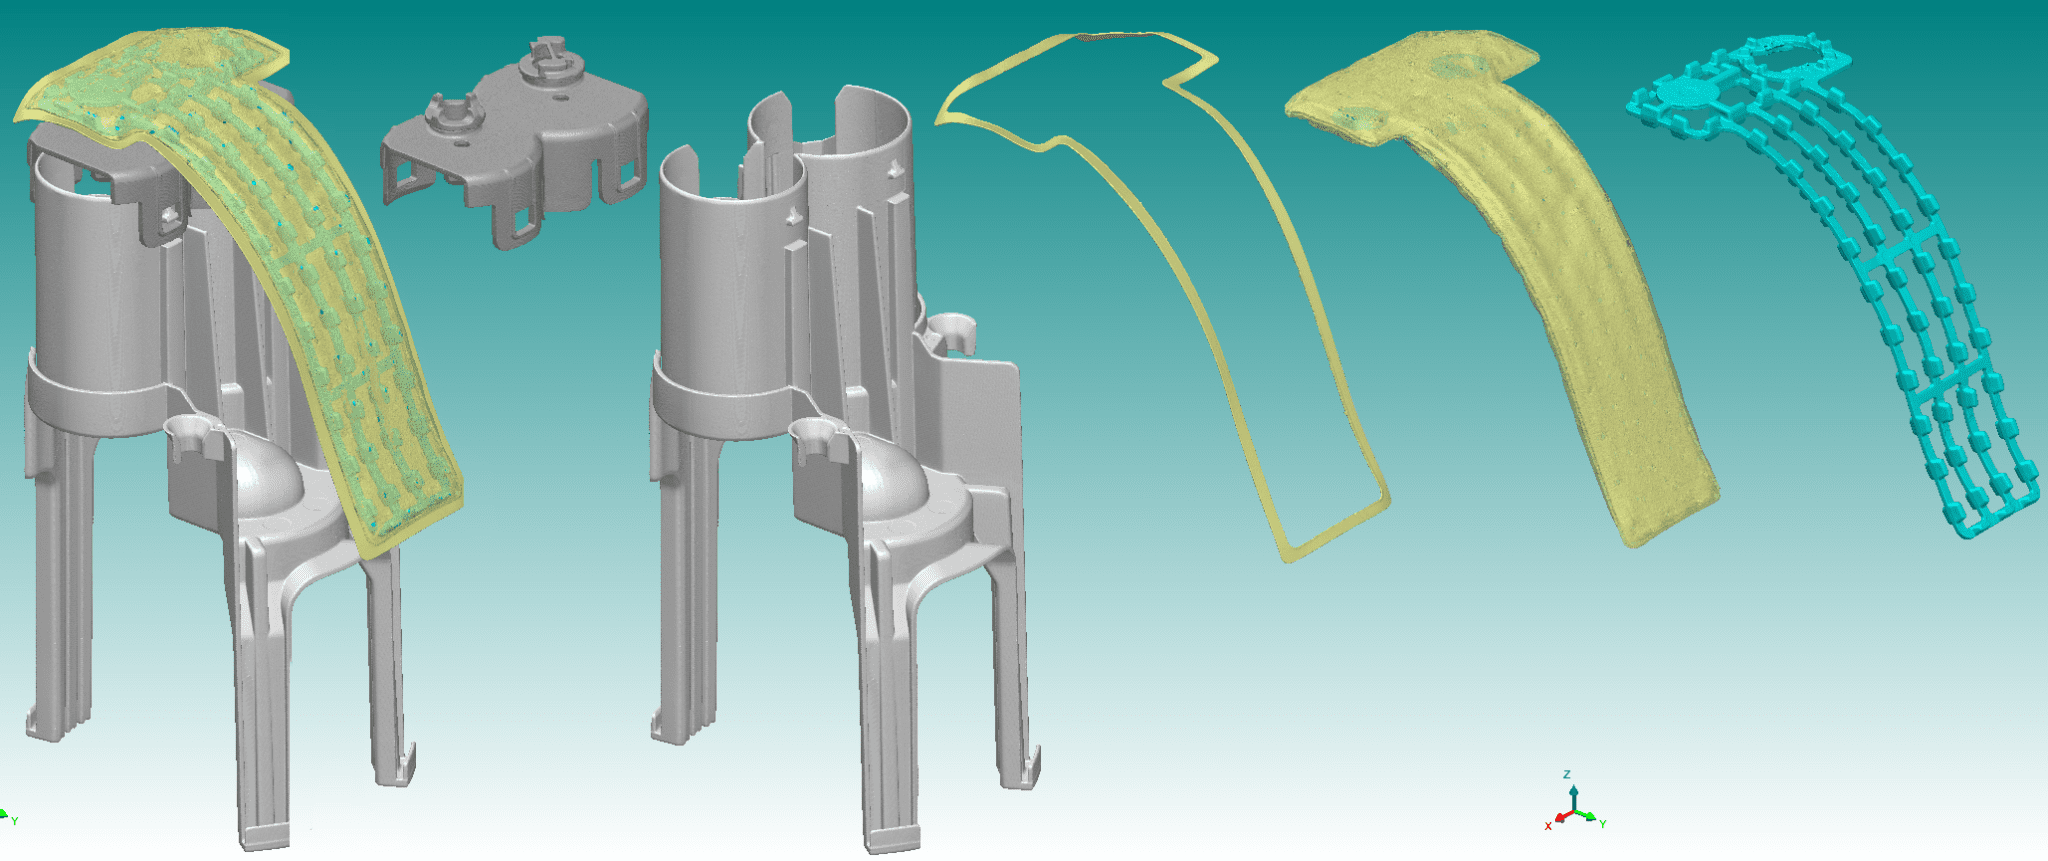
See the right photo for an example of a fuel cap we measured with our CT (notice the air from unwanted voids).
This unique measuring solution allows for an unprecedented look inside the full range of 3D printed parts: brake light systems and cup holders, all the way to valves, pistons and cylinder heads can be visualized—both inside and out– with the right CT system.
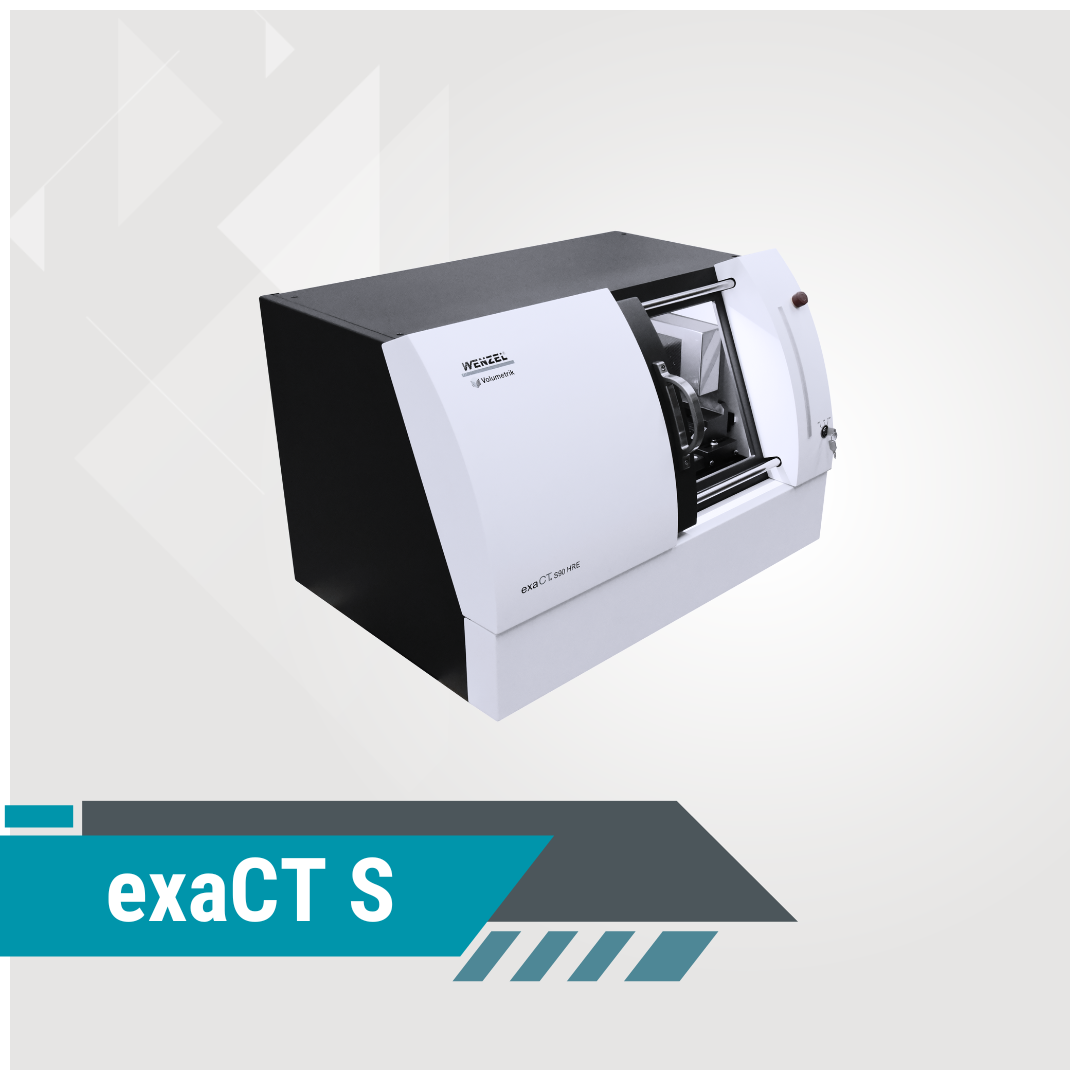
While lighter, more open-cell materials like plastic are easy for CT scanners like our desktop exaCT S to penetrate, a higher-powered X-ray will be required to account for the increased material density of most metals. A 300 kV system like WENZEL’s exaCT U would be an appropriate solution. With the smallest footprint for any 300 kV CT machine, the exaCT U is a powerful tool with a simple interface capable of capturing thousands of data points at once. This process can both increase your quality oversight by monitoring the interior and exterior production of individual parts, it can also streamline the testing process by capturing multiple points in a single scan.
A CT system’s utility goes beyond the metrology lab.
They’re also indispensable as tools for reverse engineering. A CT system can make the re-engineering of aftermarket interior components (brake cooling ducts, shifter boot trim, etc.) a simple process. One of WENZEL’s own CT department managers utilized one of the smaller exaCT systems to reverse engineer an ignition coil for his restored 1972 Triumph Trident motorcycle. Read more about that process on our blog.
To monitor defects that arise during the AM process, it is vital to have the technology capable of visualizing impurities trapped within the component. CT scanning technology captures data that other forms of metrology cannot. For critical additive manufactured components, the WENZEL exaCT series provides the internal and external dimensional geometry measurements and defect detection necessary to compete with rising industry standards and increasing demand on production.


