How to Perform Dimensional Inspection of Pressure Vessels Using 3D Scanning
Written by SCANTECH
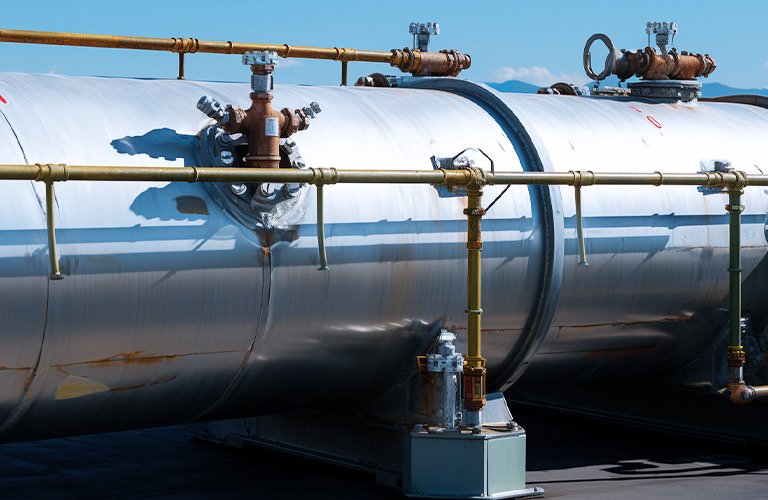
Pressure vessels are essential components in industries like oil and gas, chemical manufacturing, and energy production. Their primary function is to safely contain fluids or gases under high pressure or vacuum, making their integrity critical to operational safety.
The sudden release of energy from a pressure vessel can cause catastrophic damage, which may endanger lives. Therefore, pressure vessels must be manufactured to precise specifications to ensure compliance with safety standards and regulatory requirements.
This case study explains how 3D scanning technology can enhance the quality control process for pressure vessels by enabling accurate inspection that helps manufacturers maintain high standards of production.
Drawbacks of Traditional Measurement Methods
It is essential to confirm the dimensional accuracy and geometry of these vessels. Traditionally, manufacturers use tapes, calipers and similar tools to measure.
It often requires two or three individuals to accurately measure each part as many of the components are large and complex.
There are several issues with the measurement process, including inconsistent results between different operators and lengthy measurement times. Additionally, traditional tools are unable to measure dimensions when they are specified from the center of the vessel.
As a result, more advanced measurement techniques, such as 3D laser scanning, are increasingly being explored to improve accuracy, efficiency, and reliability in the inspection of these large vessels.
Essential Measurement for Pressure Vessel
Key measurements for assessing a pressure vessel’s integrity include the welded beams, bolt hole position and diameter, and overall deviations. These measurements ensure the vessel’s safety and compliance with design standards.
3D Scanning Process
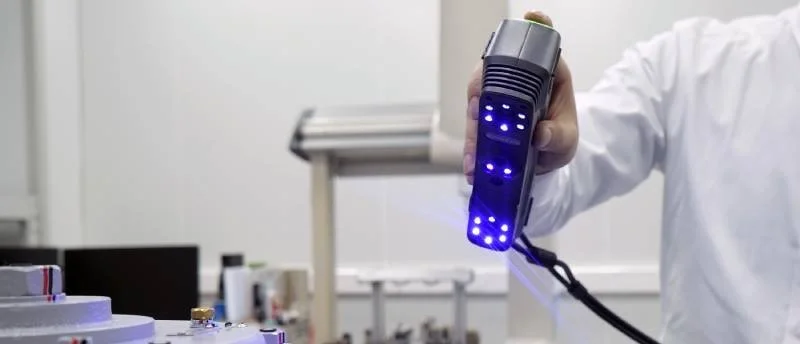
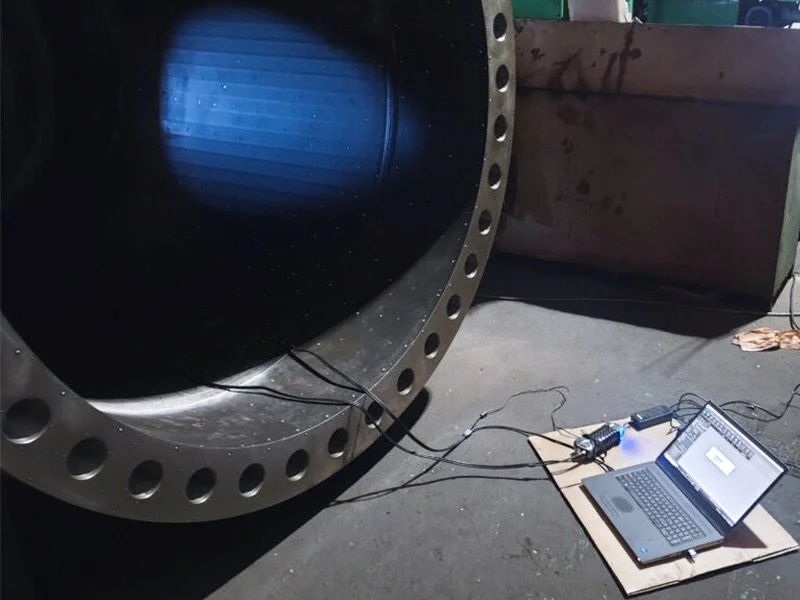
The actual 3D scanning process involves the use of portable SIMSCAN 3D laser scanner, which captures the geometry of the pressure vessel by emitting laser that reflects off the surface.
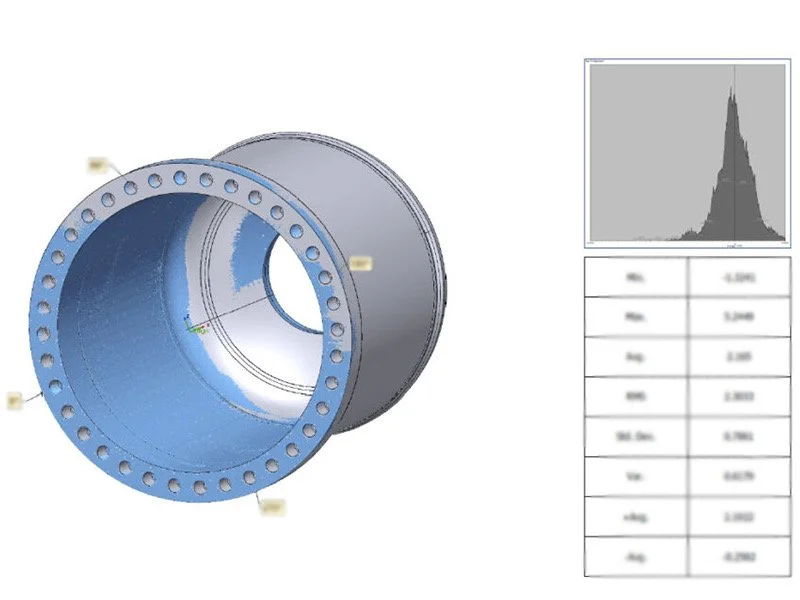
The 3D scanner collects a dense set of data points, creating a 3D point cloud. These data points represent the physical shape of the object.
Comparing the 3D Scan to the Solid Model
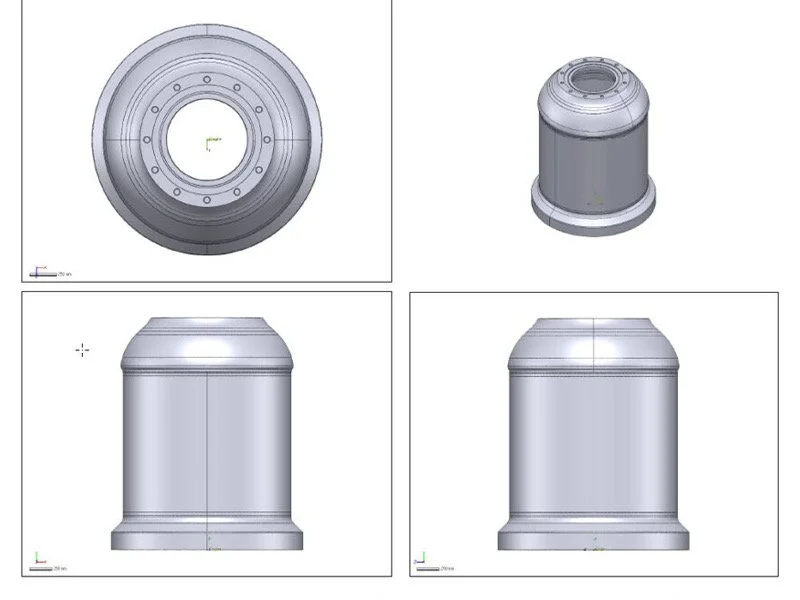
After the scanning process is complete, the next step is to compare the scanned data to the 3D Solid model of the pressure vessel. The Solid model is the digital representation of the pressure vessel as designed, with precise dimensions and tolerances specified.
Alignment and Surface Selection
To conduct an accurate comparison, it is essential to determine which reference surface on the pressure vessel will be used for alignment.
Commonly, the external surfaces of the vessel are chosen. The scanner’s data is then aligned with the corresponding surface on the SOLID model.
Surface alignment ensures that the scanned data corresponds directly to the design specifications.
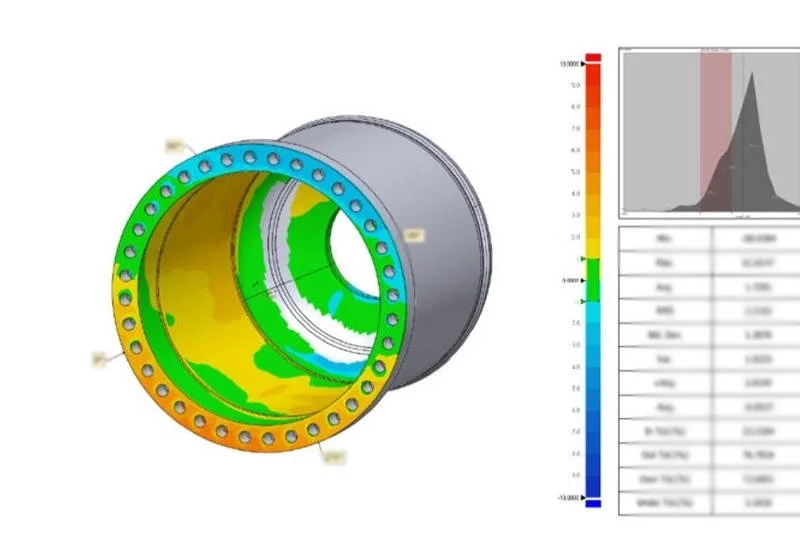
This comparison reveals any deviations in the physical vessel from its intended design, such as areas where the vessel is either too large or too small in relation to the specifications.
Deviation Analysis
Once the alignment is complete, the 3D scanned model and the SOLID model are overlaid. The software then generates a mesh comparison, showing the deviations between the two models.
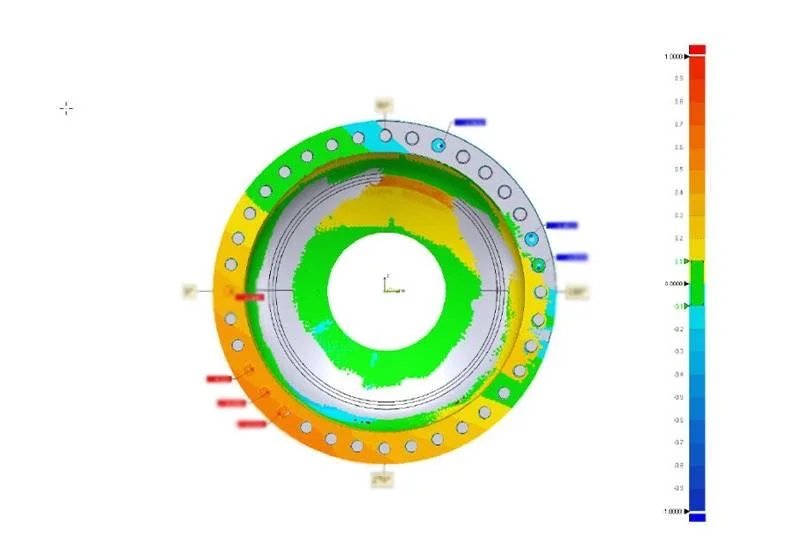
This is typically visualized using a color gradient scale, where each color represents a different degree of deviation.
Key Measurements
The quality of the welded seams has been carefully inspected to ensure there are no defects or weaknesses that could compromise the vessel’s strength.
Additionally, stress concentration points on the inner surface have been detected, revealing areas where the reduction in the radius (R-angle) leads to an increase in stress levels.
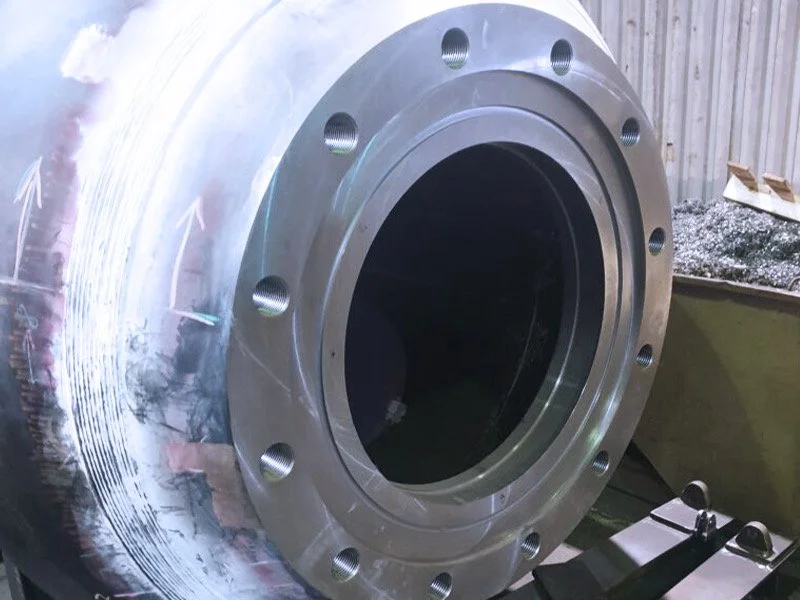
The flatness of the flange has also been measured, along with the dimensions and positioning of the holes, including their diameter, depth, and location accuracy.
These measurements are critical in verifying that the pressure vessel meets design specifications and can safely withstand operational stresses.
Benefits of Using SIMSCAN 3D Scanning for Pressure Vessel QC
Excellent for Narrow Space: The SIMSCAN is a compact, palm-sized portable 3D scanner that combines ease of use with exceptional performance.
It delivers high-quality 3D scans, unaffected by environmental constraints, making it perfect for scanning both tight spaces and large-scale objects. It performs well when scanning the inner surface of the pressure vessel.
Increased Accuracy: Traditional manual measurement methods are prone to human error and may not be able to detect subtle deviations.
3D scanning, on the other hand, can capture the intricate details of the vessel’s surface with accuracy of up to 0.020 mm, identifying even small errors that might otherwise go unnoticed.
Time Efficiency: SIMSCAN can perform quantitative measurements with a measurement rate of up to 2.8 million measurements/s. SIMSCAN 3D scanning significantly reduces the time required for inspection.
What would take hours or days using manual measurement tools can be done in minutes or hours with scanning technology, allowing for quicker iterations in the manufacturing process.
Comprehensive Analysis: The tolerance report generated from the scan data provides a comprehensive analysis of the vessel’s compliance with design specifications.
This level of detail helps manufacturers pinpoint problems early, reducing costly rework and ensuring the final product meets safety standards.
Documentation and Traceability: 3D scanning provides detailed digital documentation of the vessel’s geometry, creating a permanent record that can be used for future reference or audits.
This traceability is valuable for compliance with industry regulations and quality assurance protocols.
Conclusion
Integrating 3D scanning into pressure vessel quality control offers key advantages over traditional methods. It allows manufacturers to detect even minute deviations in the vessel’s geometry, enabling rapid corrections before the vessel is put into service.
The tolerance report generated from the 3D scan offers a clear, visual understanding of the deviations, making it easier for engineers to assess and resolve issues.
Ultimately, SIMSCAN’s 3D scanning streamlines the quality control process, enhances product accuracy, and ensures that pressure vessels meet both safety and operational standards.
