Sensors Assembly
Click on the Sensor icon.
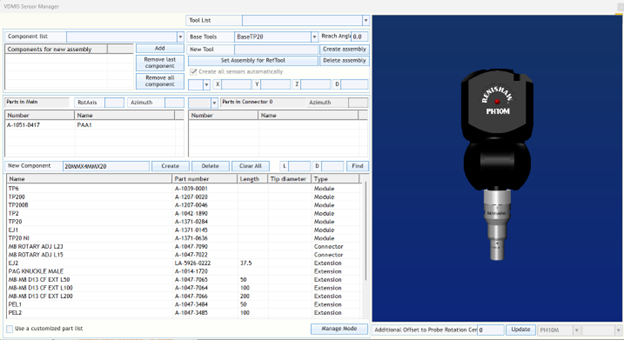
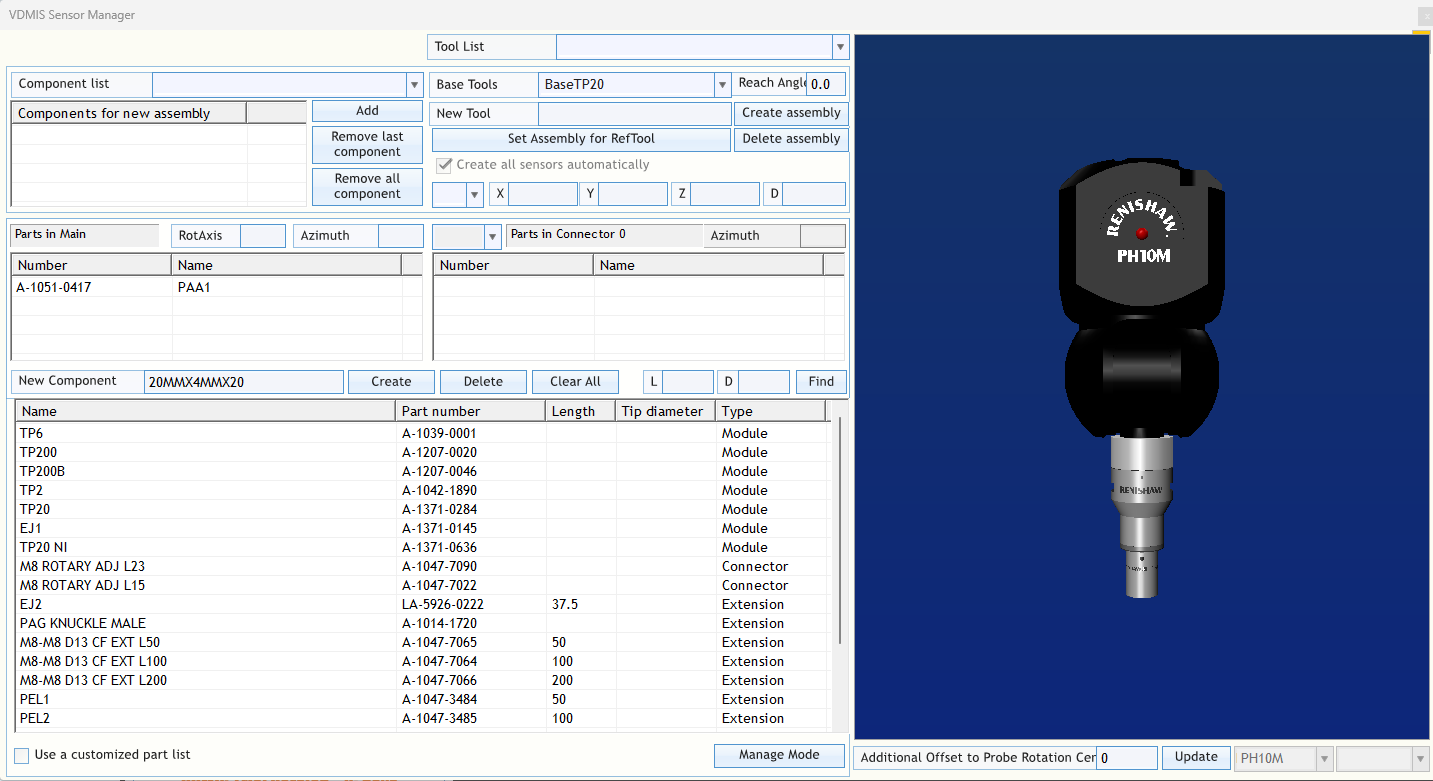
Select the Sensor Assembly icon. Here is where we will build the Sensor Assembly.
1) The Component List. This list consists of the Renishaw components that can be attached to the assembly based on your sensor configuration. This list will update to the new component type as you assemble your sensor.
Simply select the correct component to add to the PH10. In our example it will be a PAA1.
Double click on PAA1 to add it to the list and be displayed in the build list #2.
The PAA1 was added to the list. Now highlight the TP20 and double click it to add to the list. Graphically it will attach itself to the PAA1.
Now add a TP20 STD (Standard Module) to the assembly.
Next, we will add our stylus extension (if applicable) and the stylus.
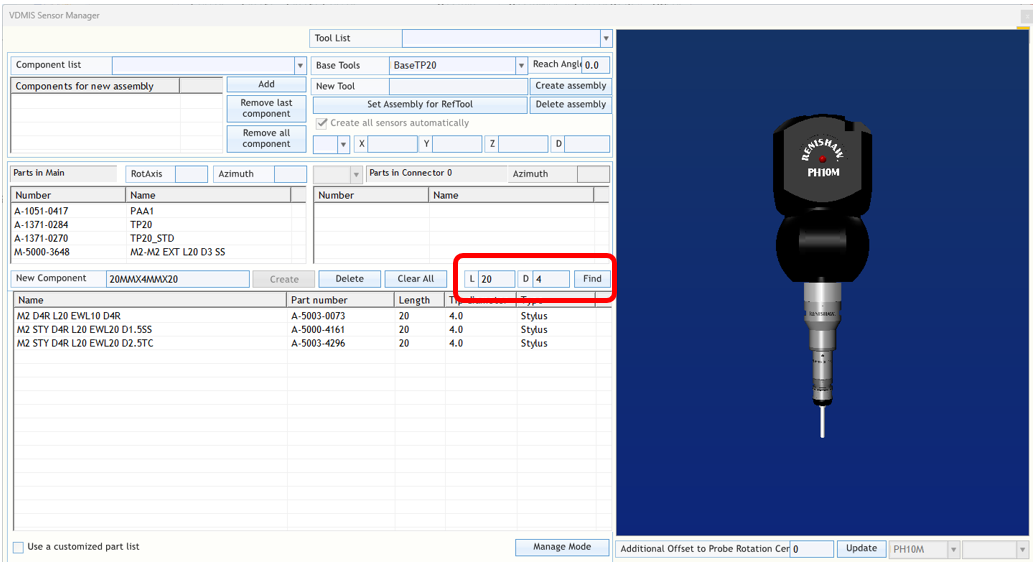
We will add a 20mm extension and a 4mm Dia. stylus at a 20mm length.
TIP: You can use the highlighted filter to enter a Length and/ or Diameter and click Find.
This will filter your search list.
The sensor assembly is now complete. Now type a name for your sensor (alphanumeric only, no spaces) and click create.
Now in the New Tool dialog box give the sensor assembly a name. It may be the same name you type in the New Component dialog box or a different name.
Click Create Assembly.


